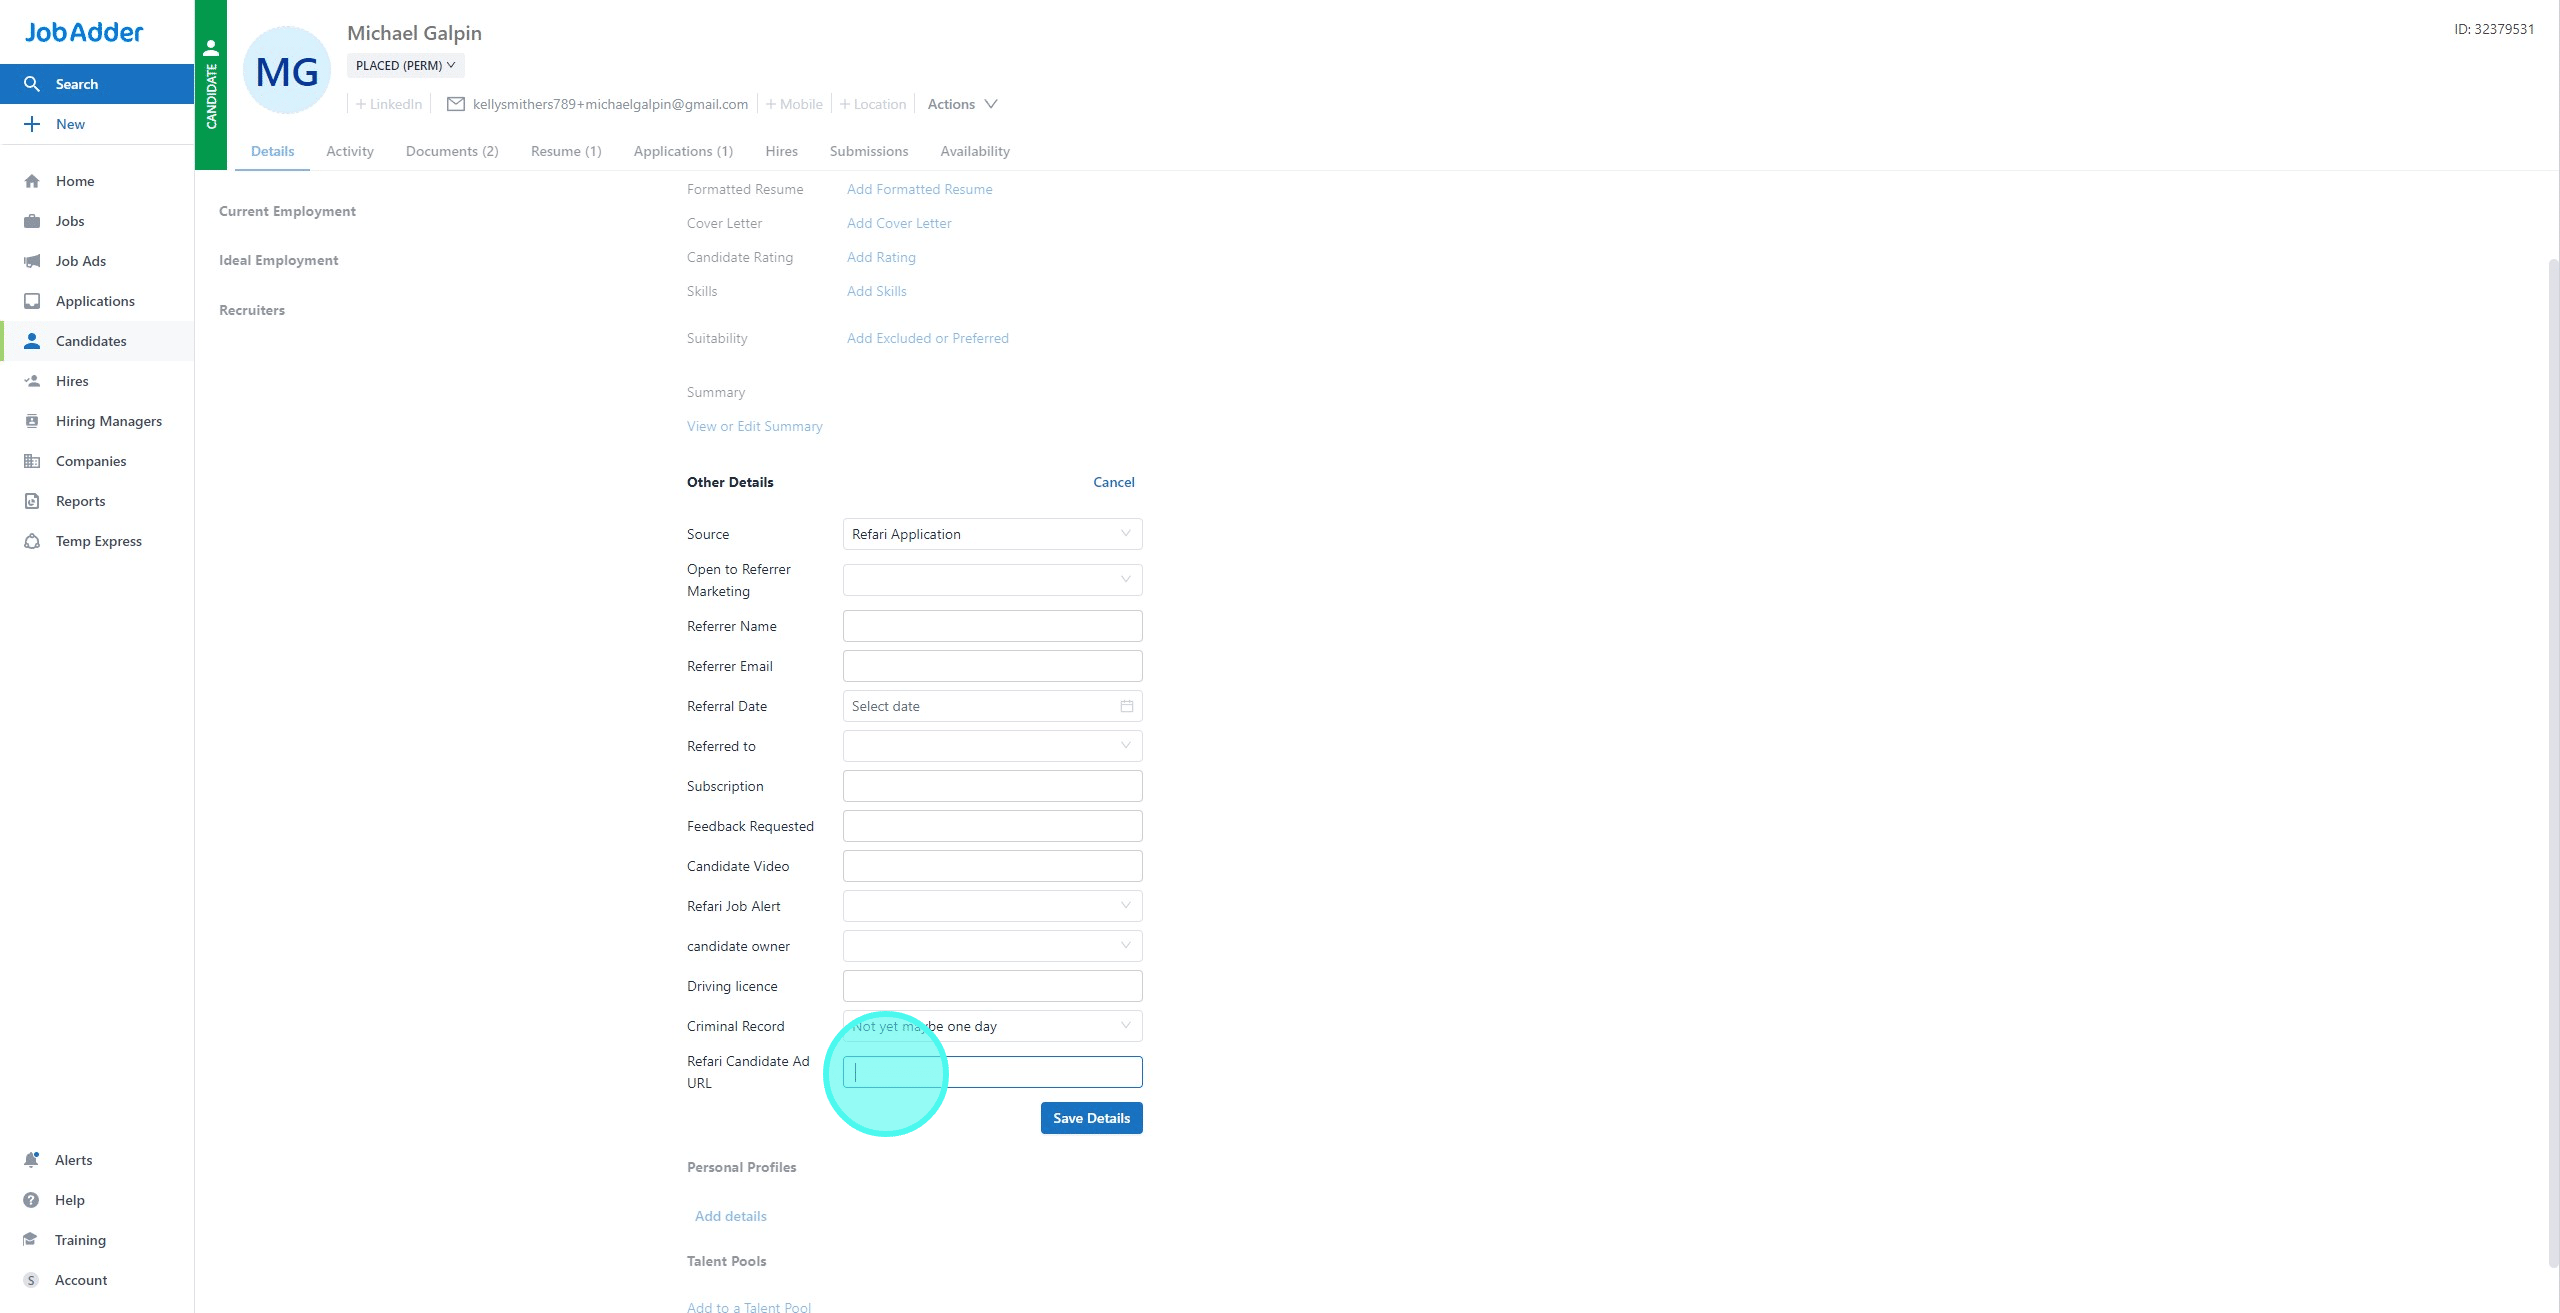
1. Firstly, we need to contact JobAdder to add the field 'Refari Candidate Ad URL' to your candidates records.
2. Firstly, we need to contact JobAdder to add the field 'Refari Candidate Ad URL' to your candidates records. This can be seen below
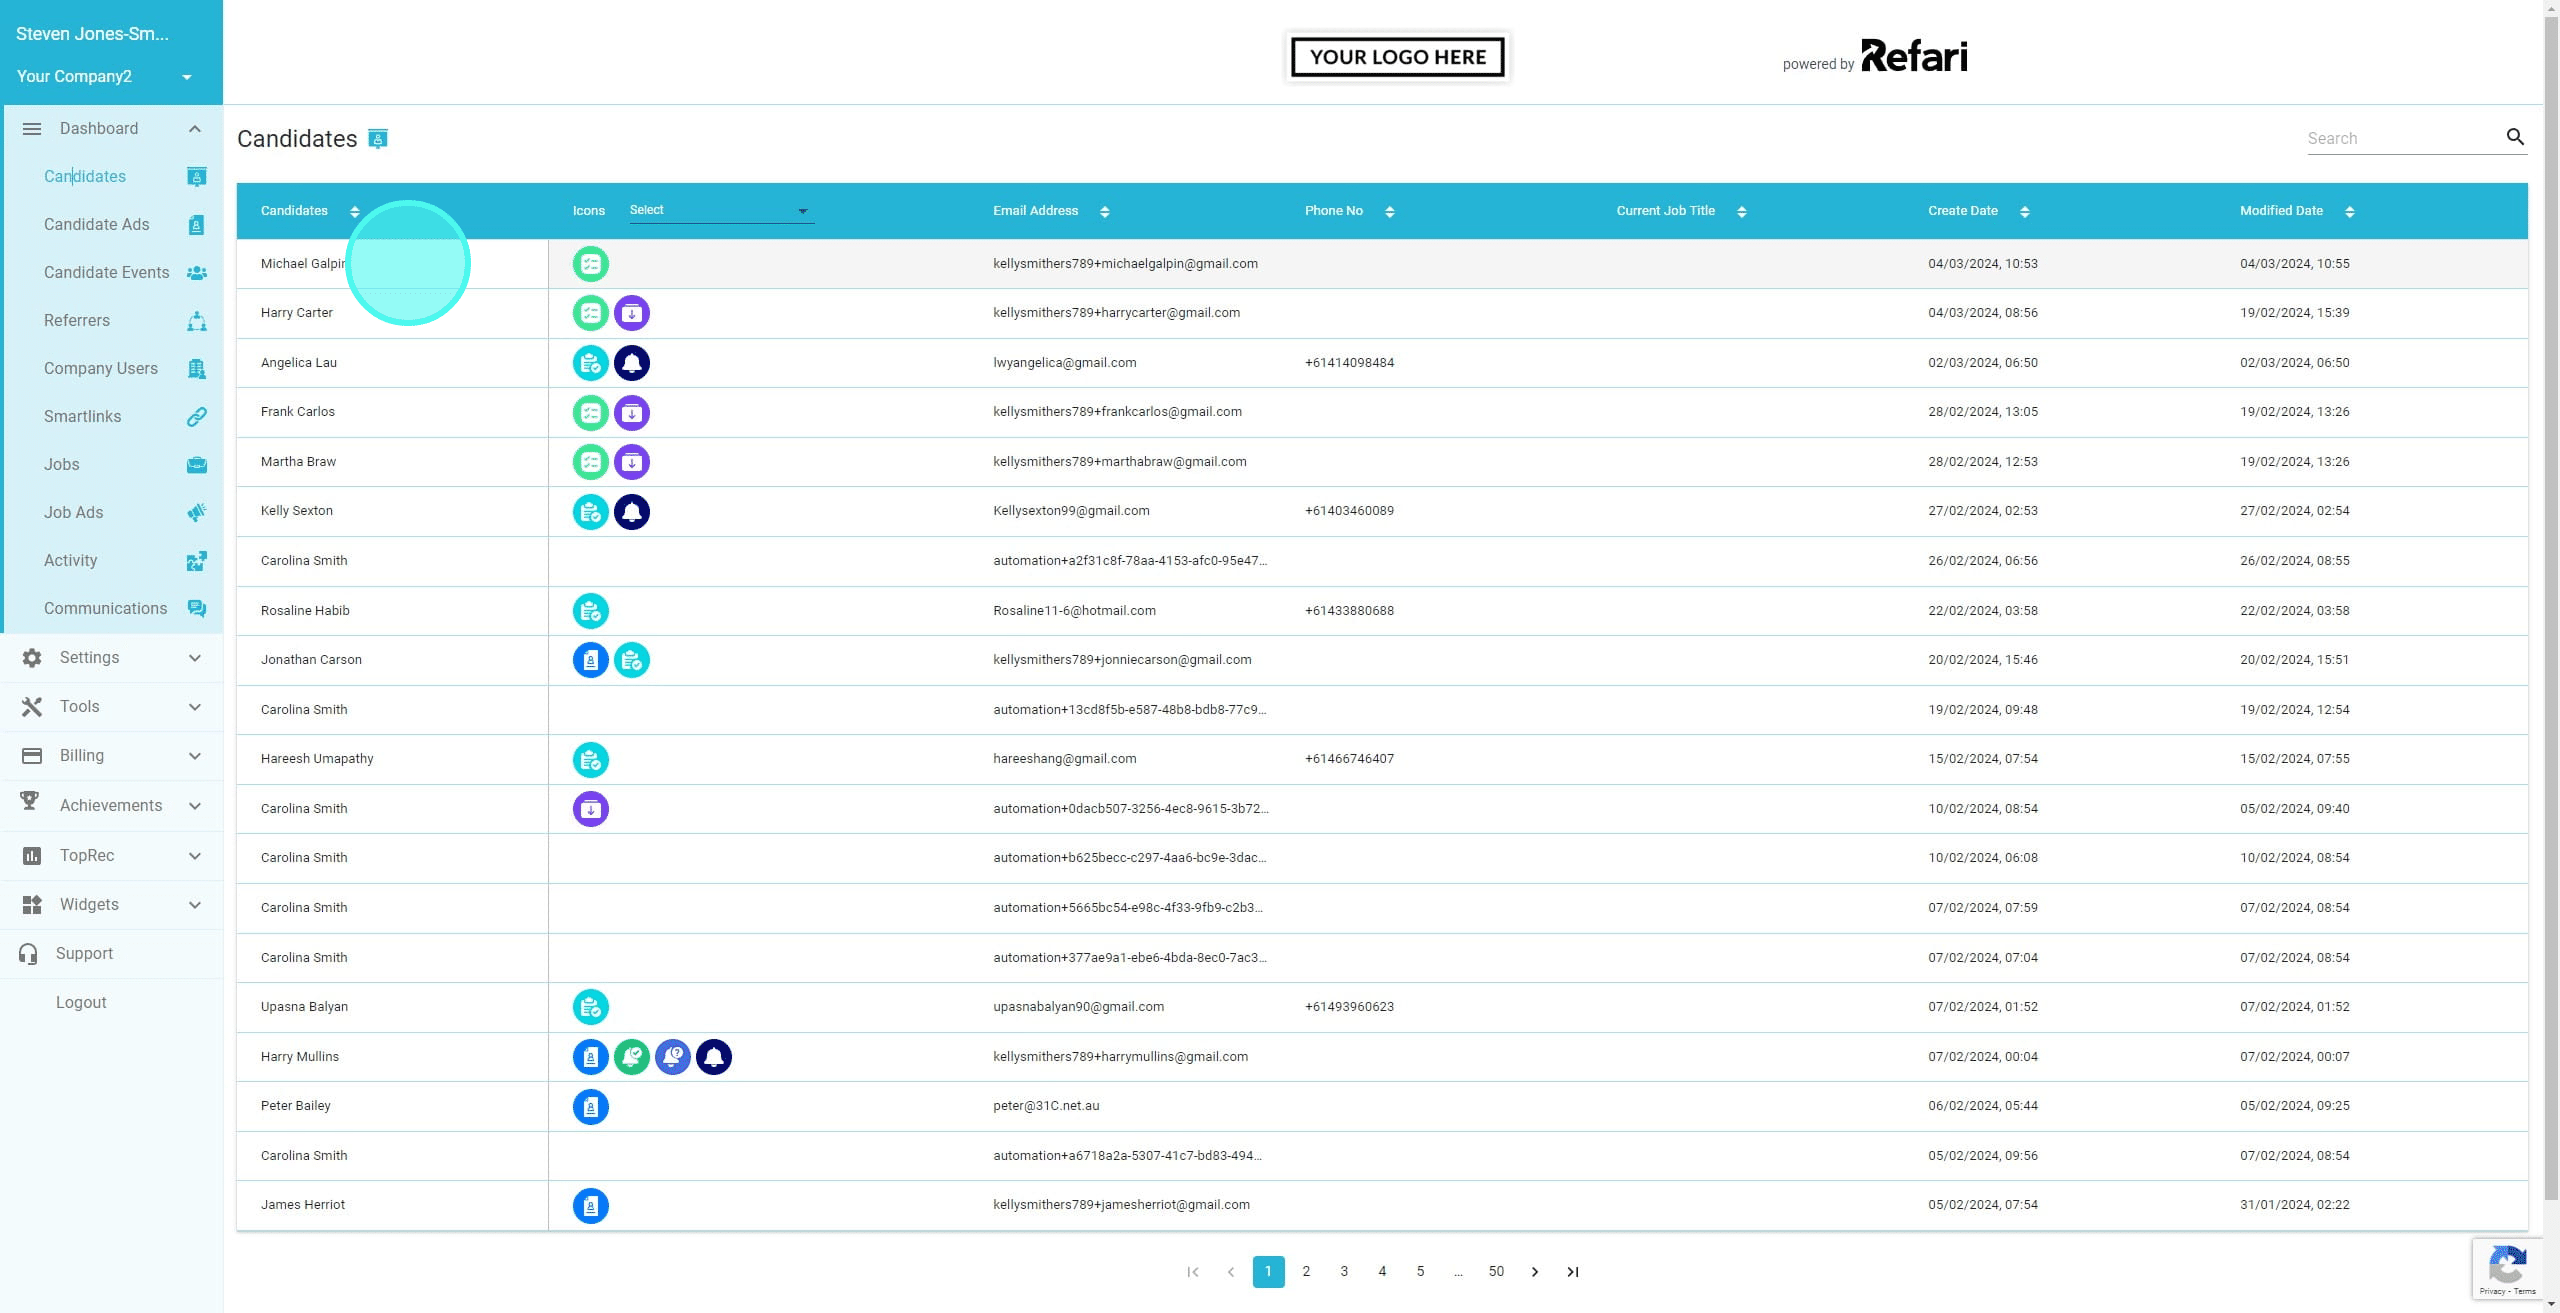
3. To create a Candidate Ad, we can click on their name/row within your Refari Dashboard.
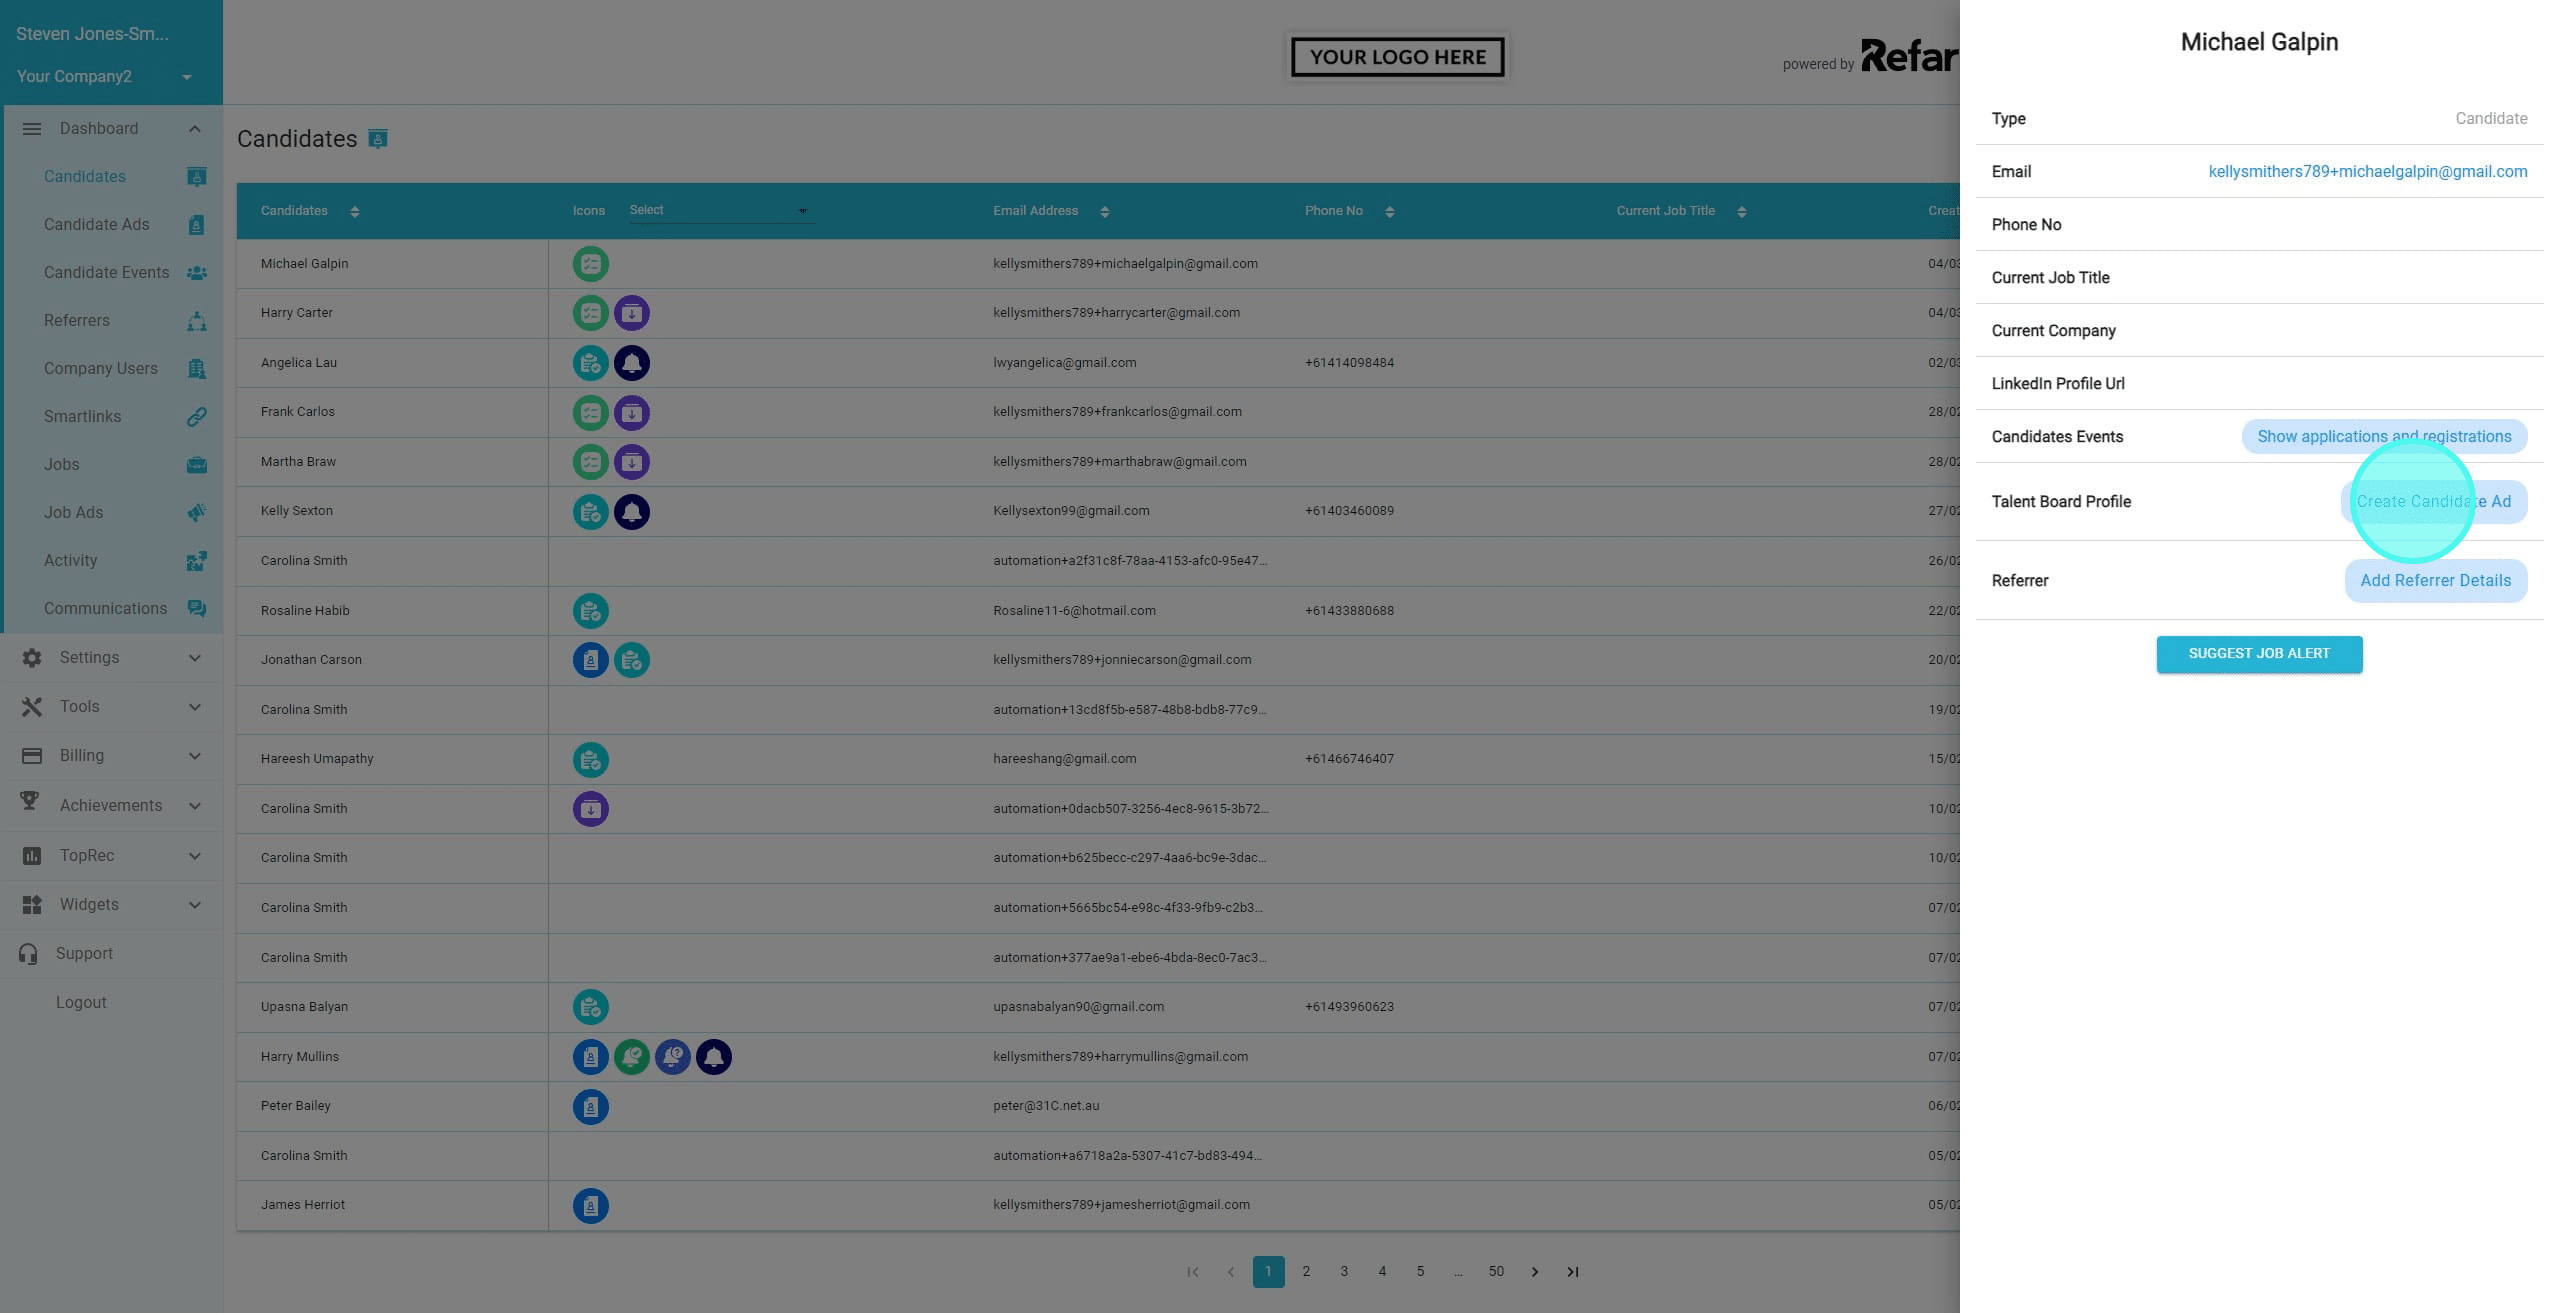
4. Click on "Create Candidate Ad" . If you can't see ''Create Candidate Ad' you will need to contact the Refari team to have this feature turned on.
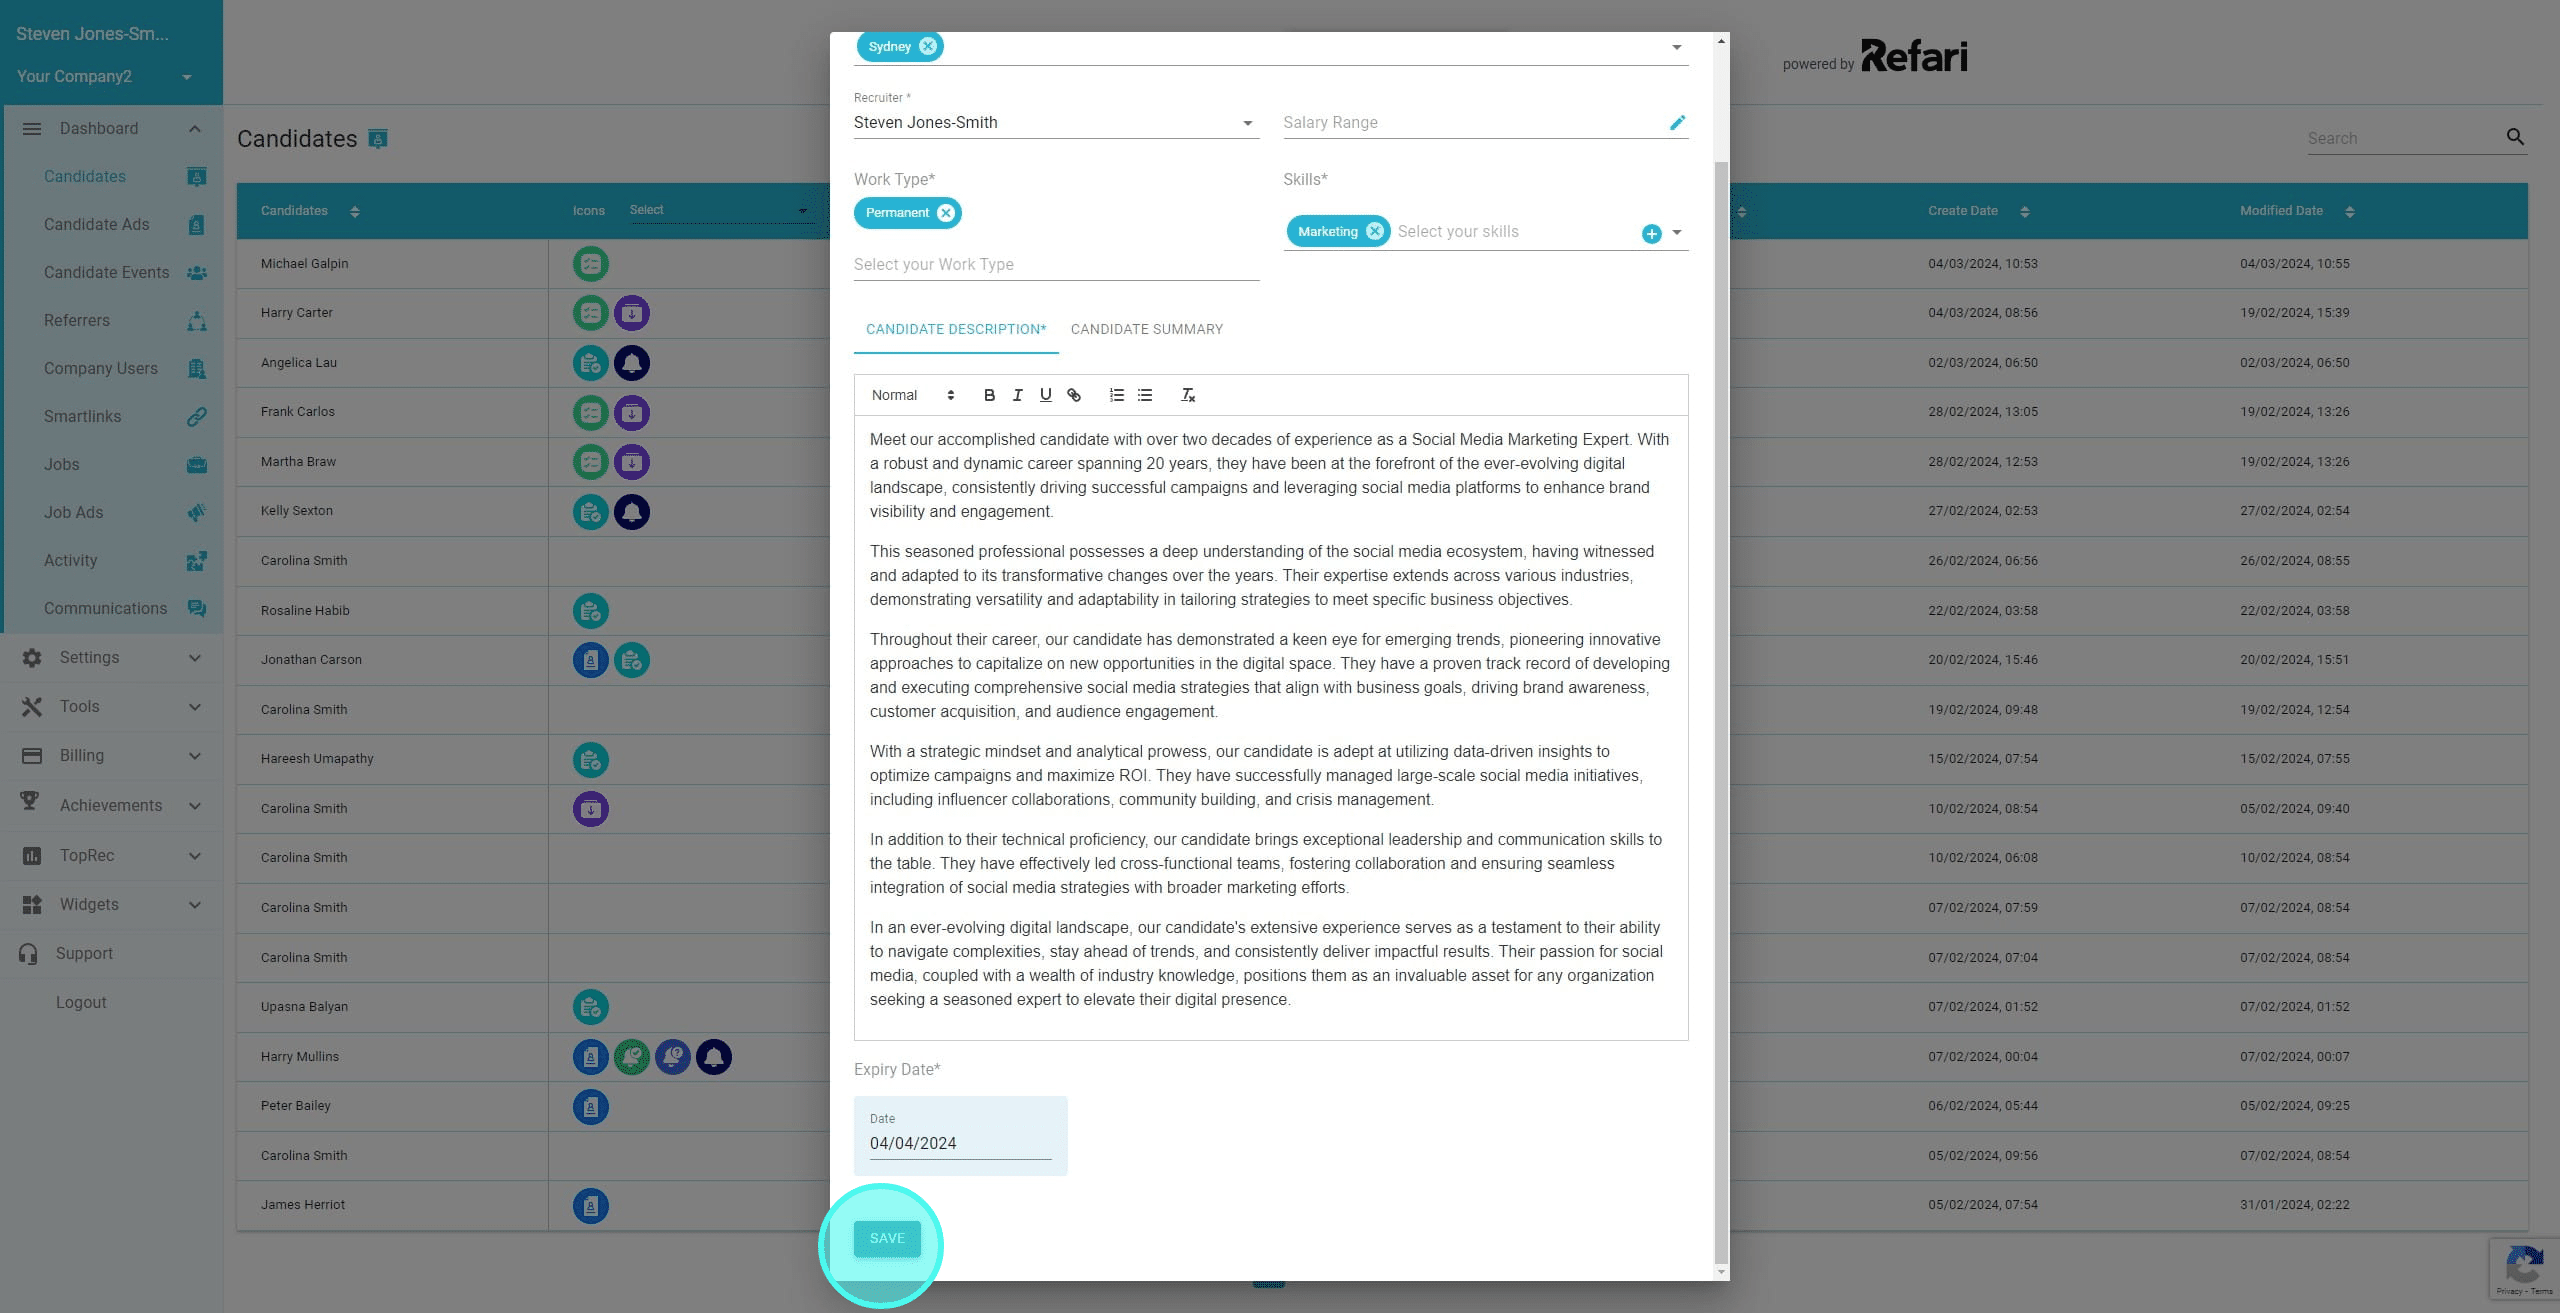
5. We then need to fill in the relevant information about the candidate including a title (the candidate ad should not include any personal identifiable information)
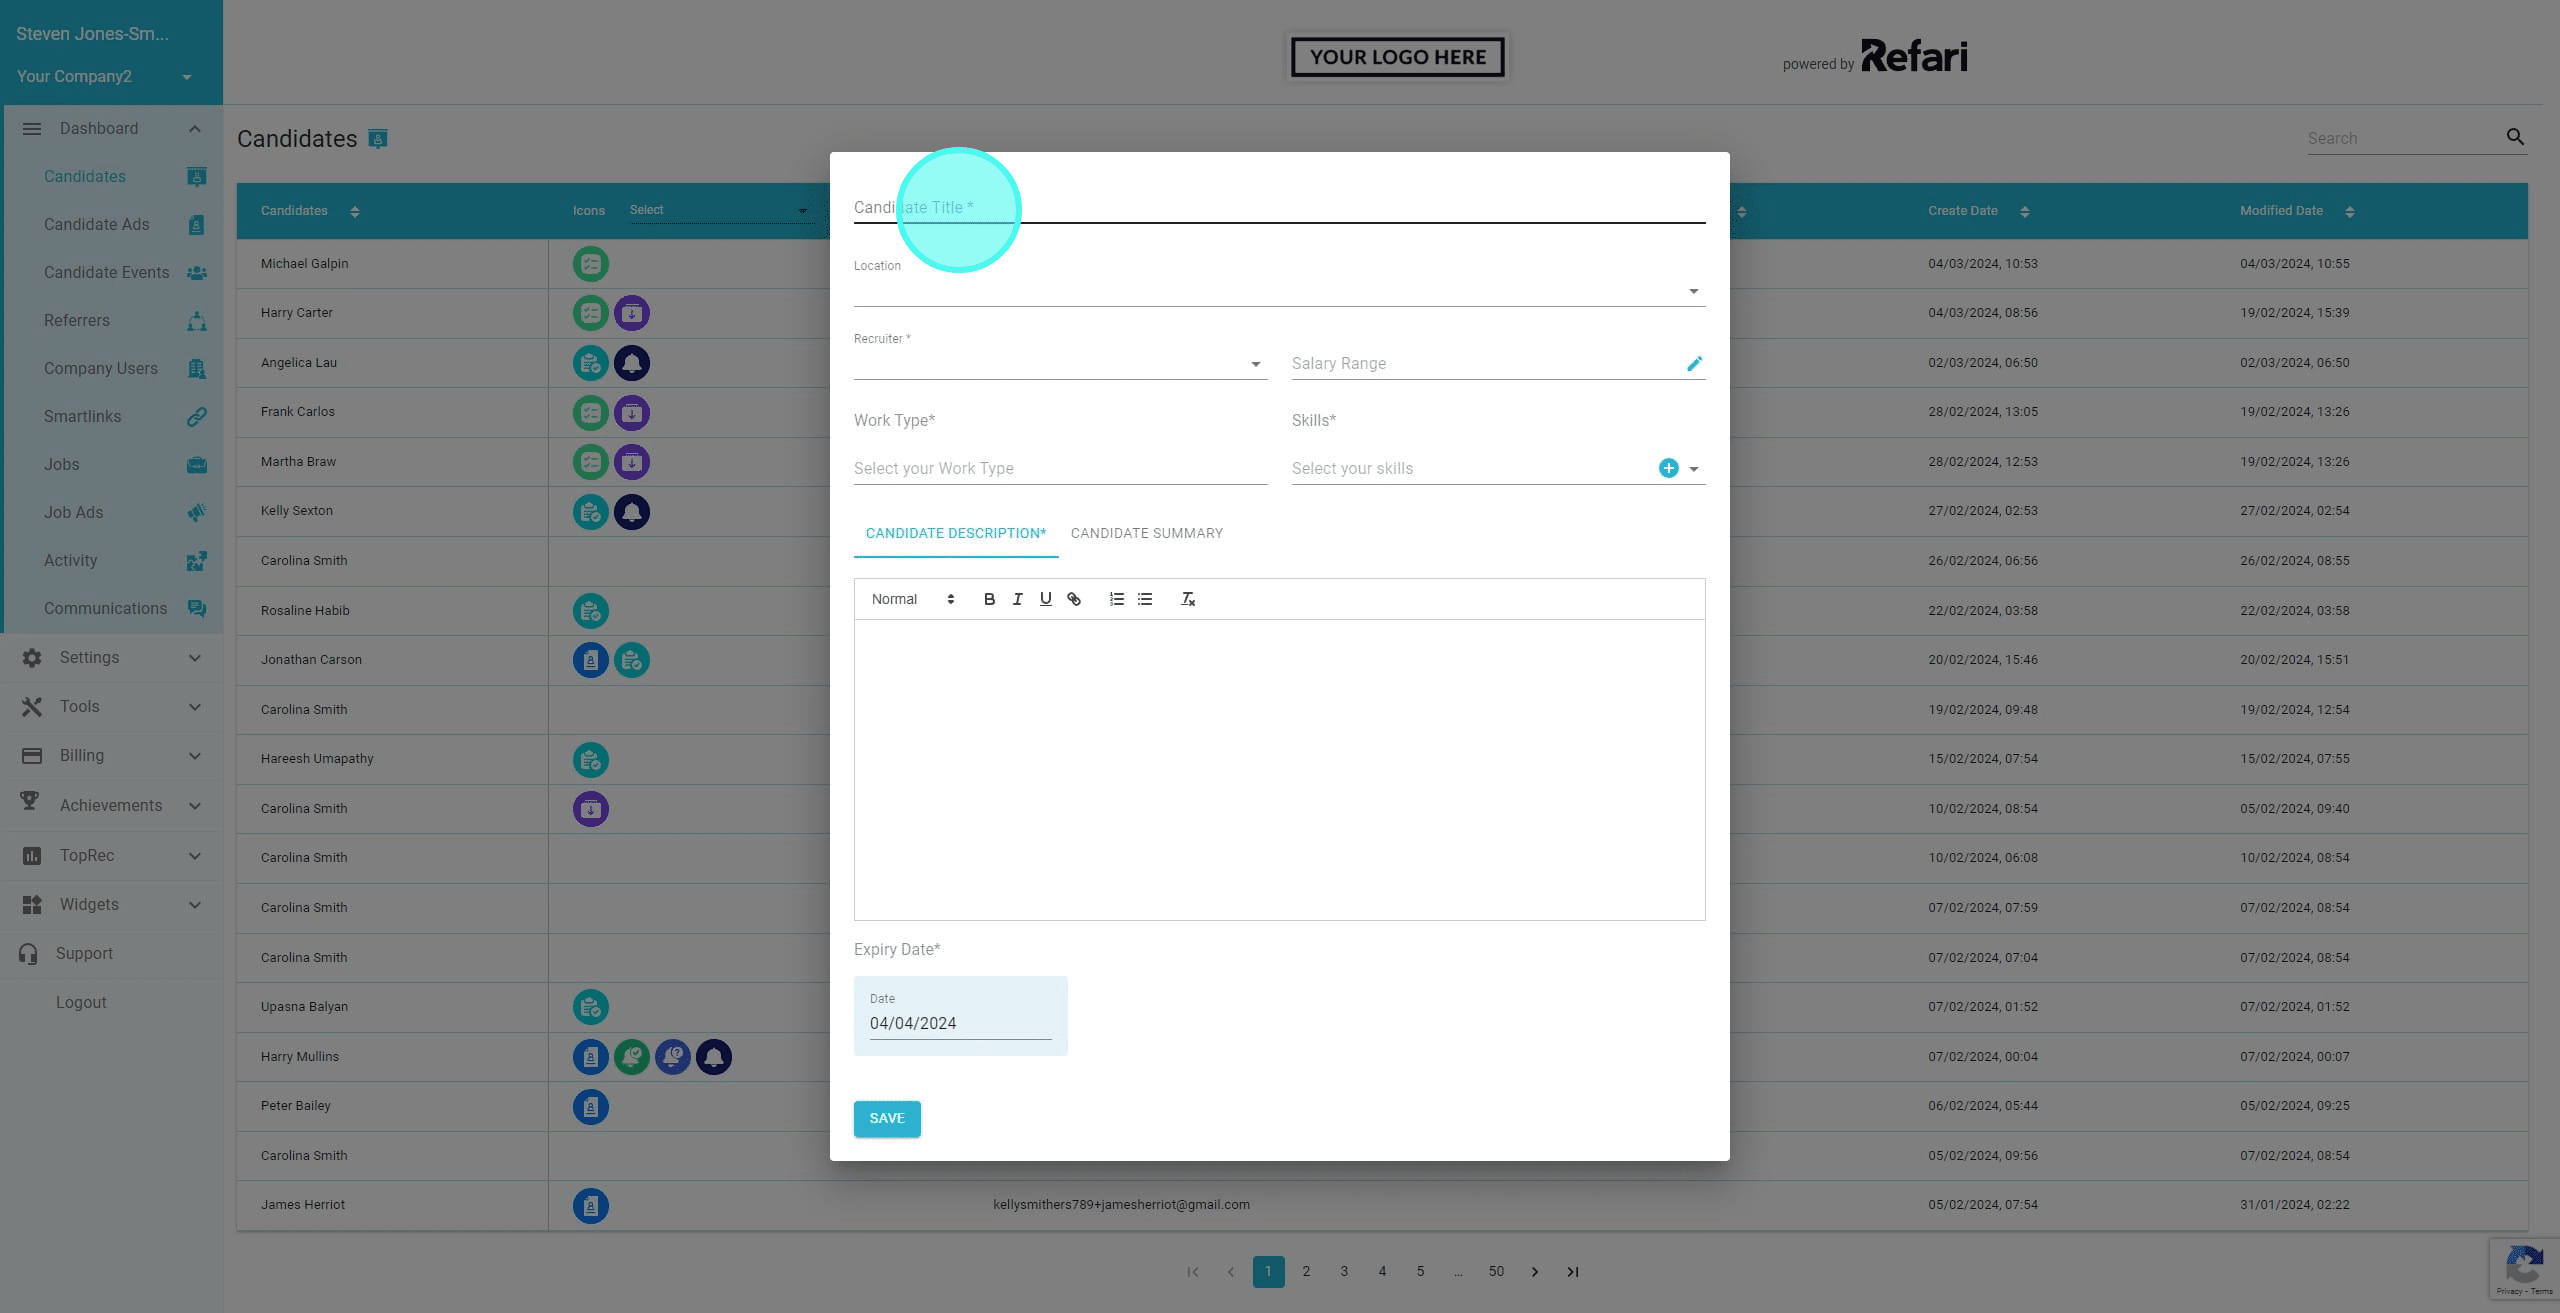
6. Once you have completed the profile, click on 'Save'
7. You will notice the 'Live Candidate Ad' badge has now appeared for that candidate.

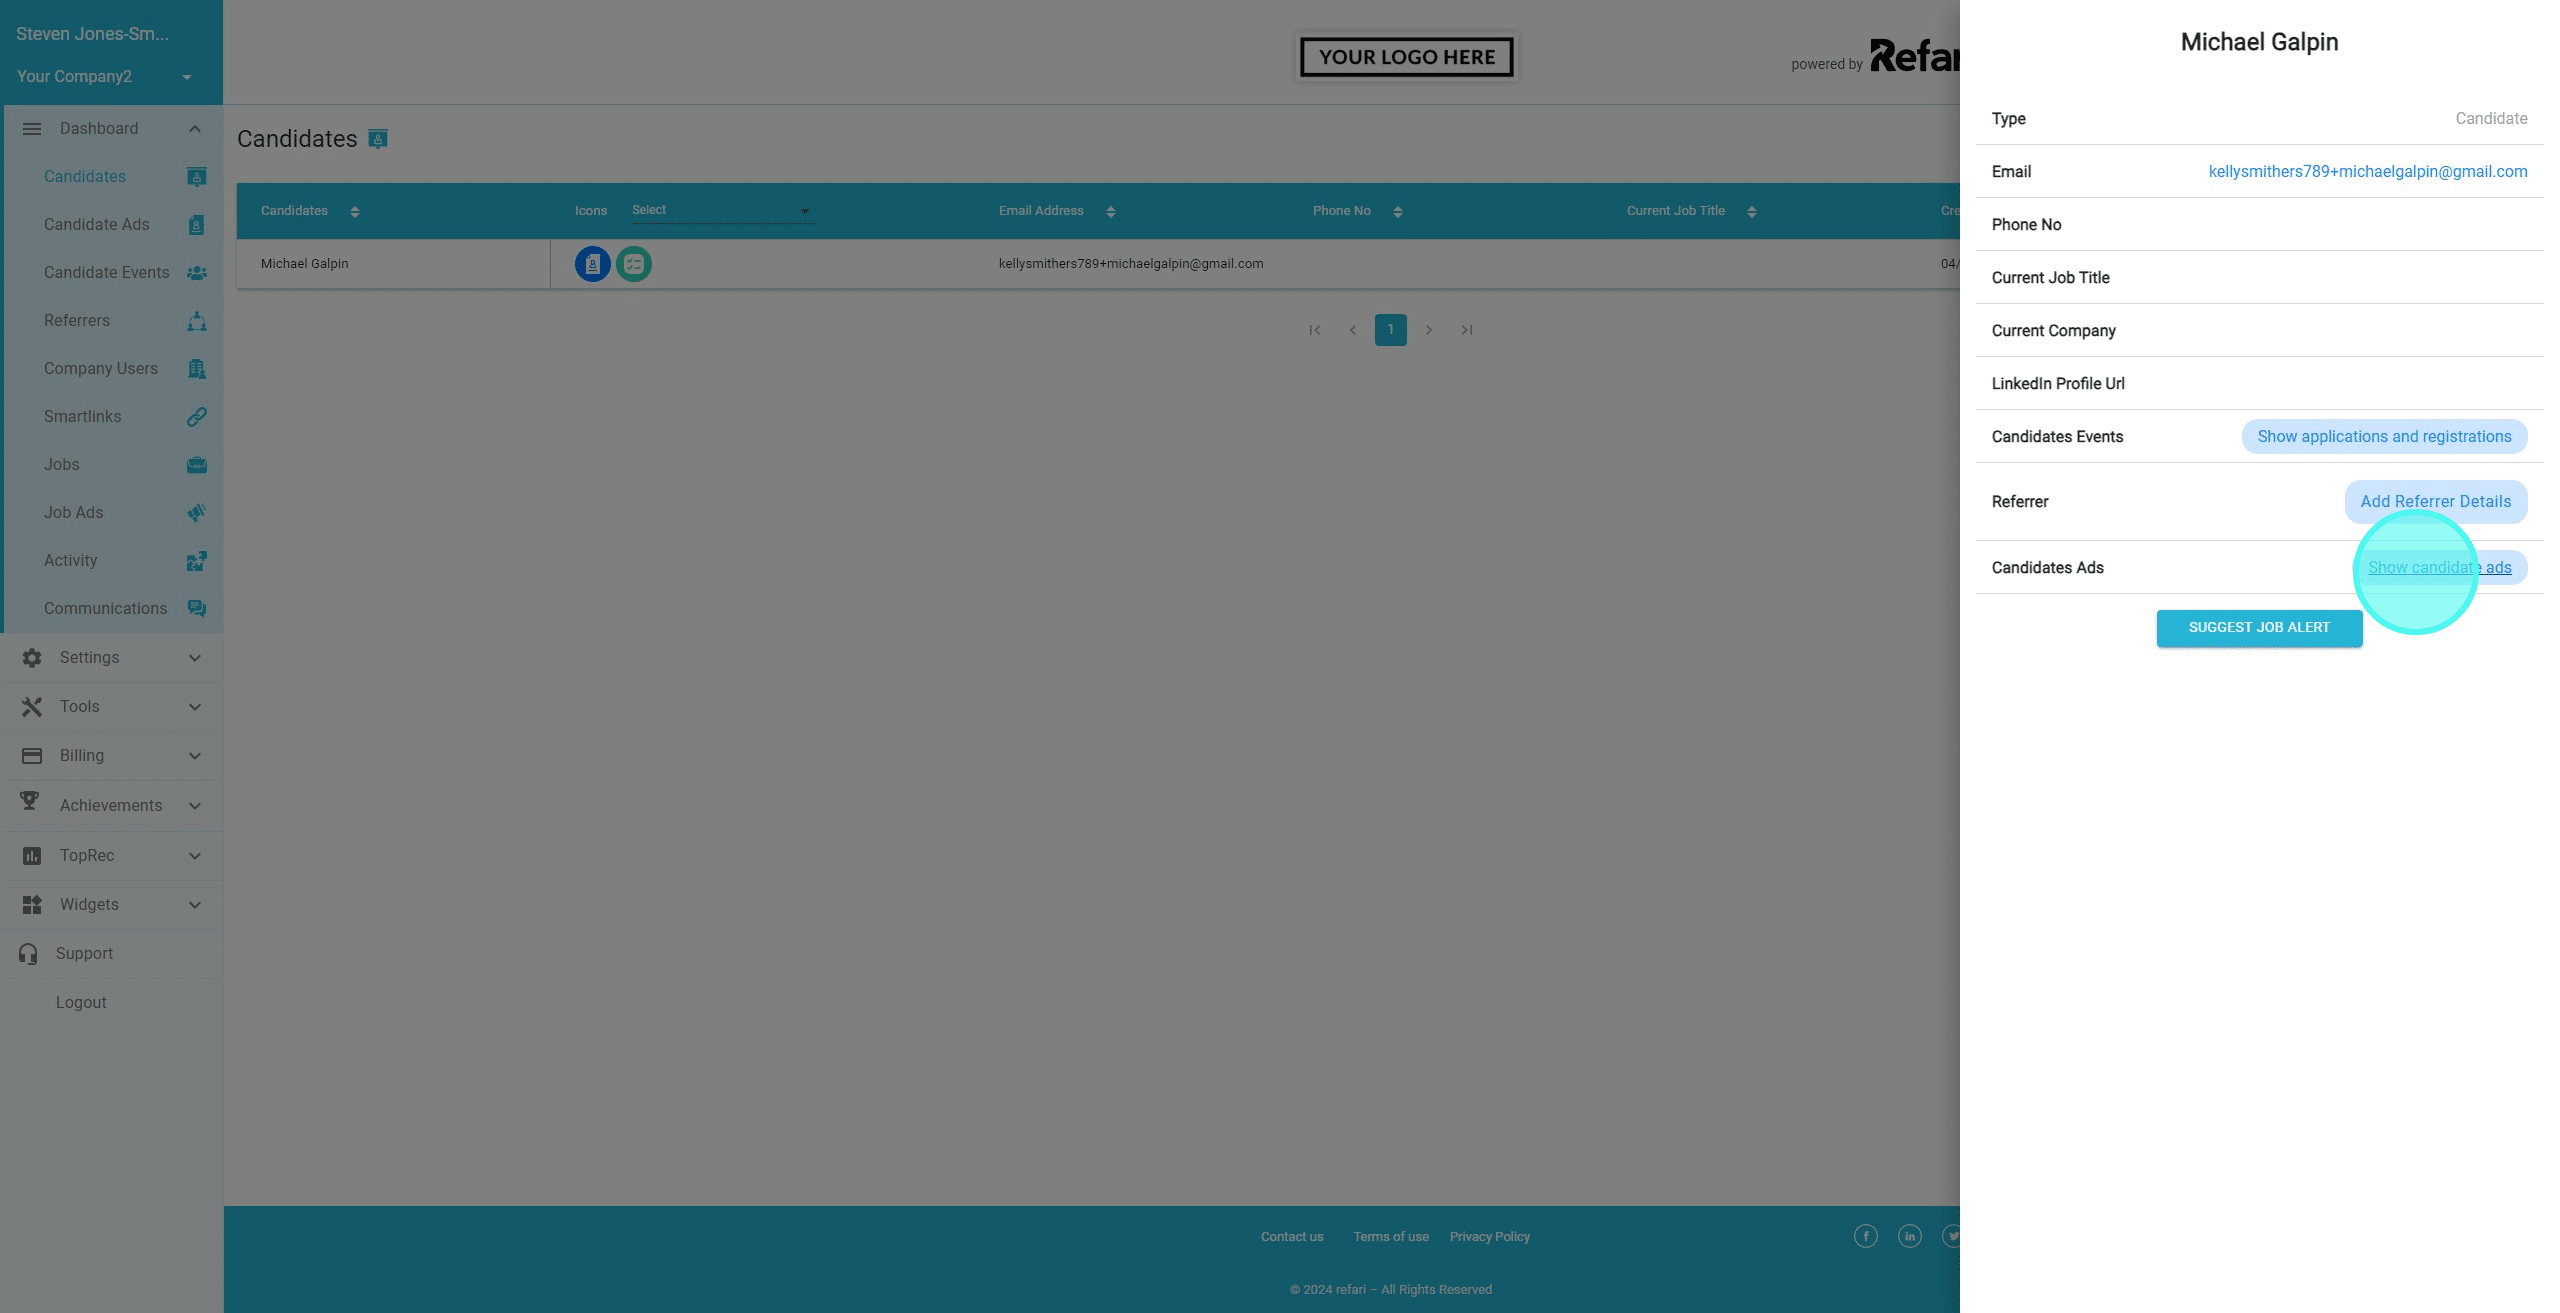
8. To navigate to the Candidate ad, we can click on 'Show candidate ads' within the popout drawer.
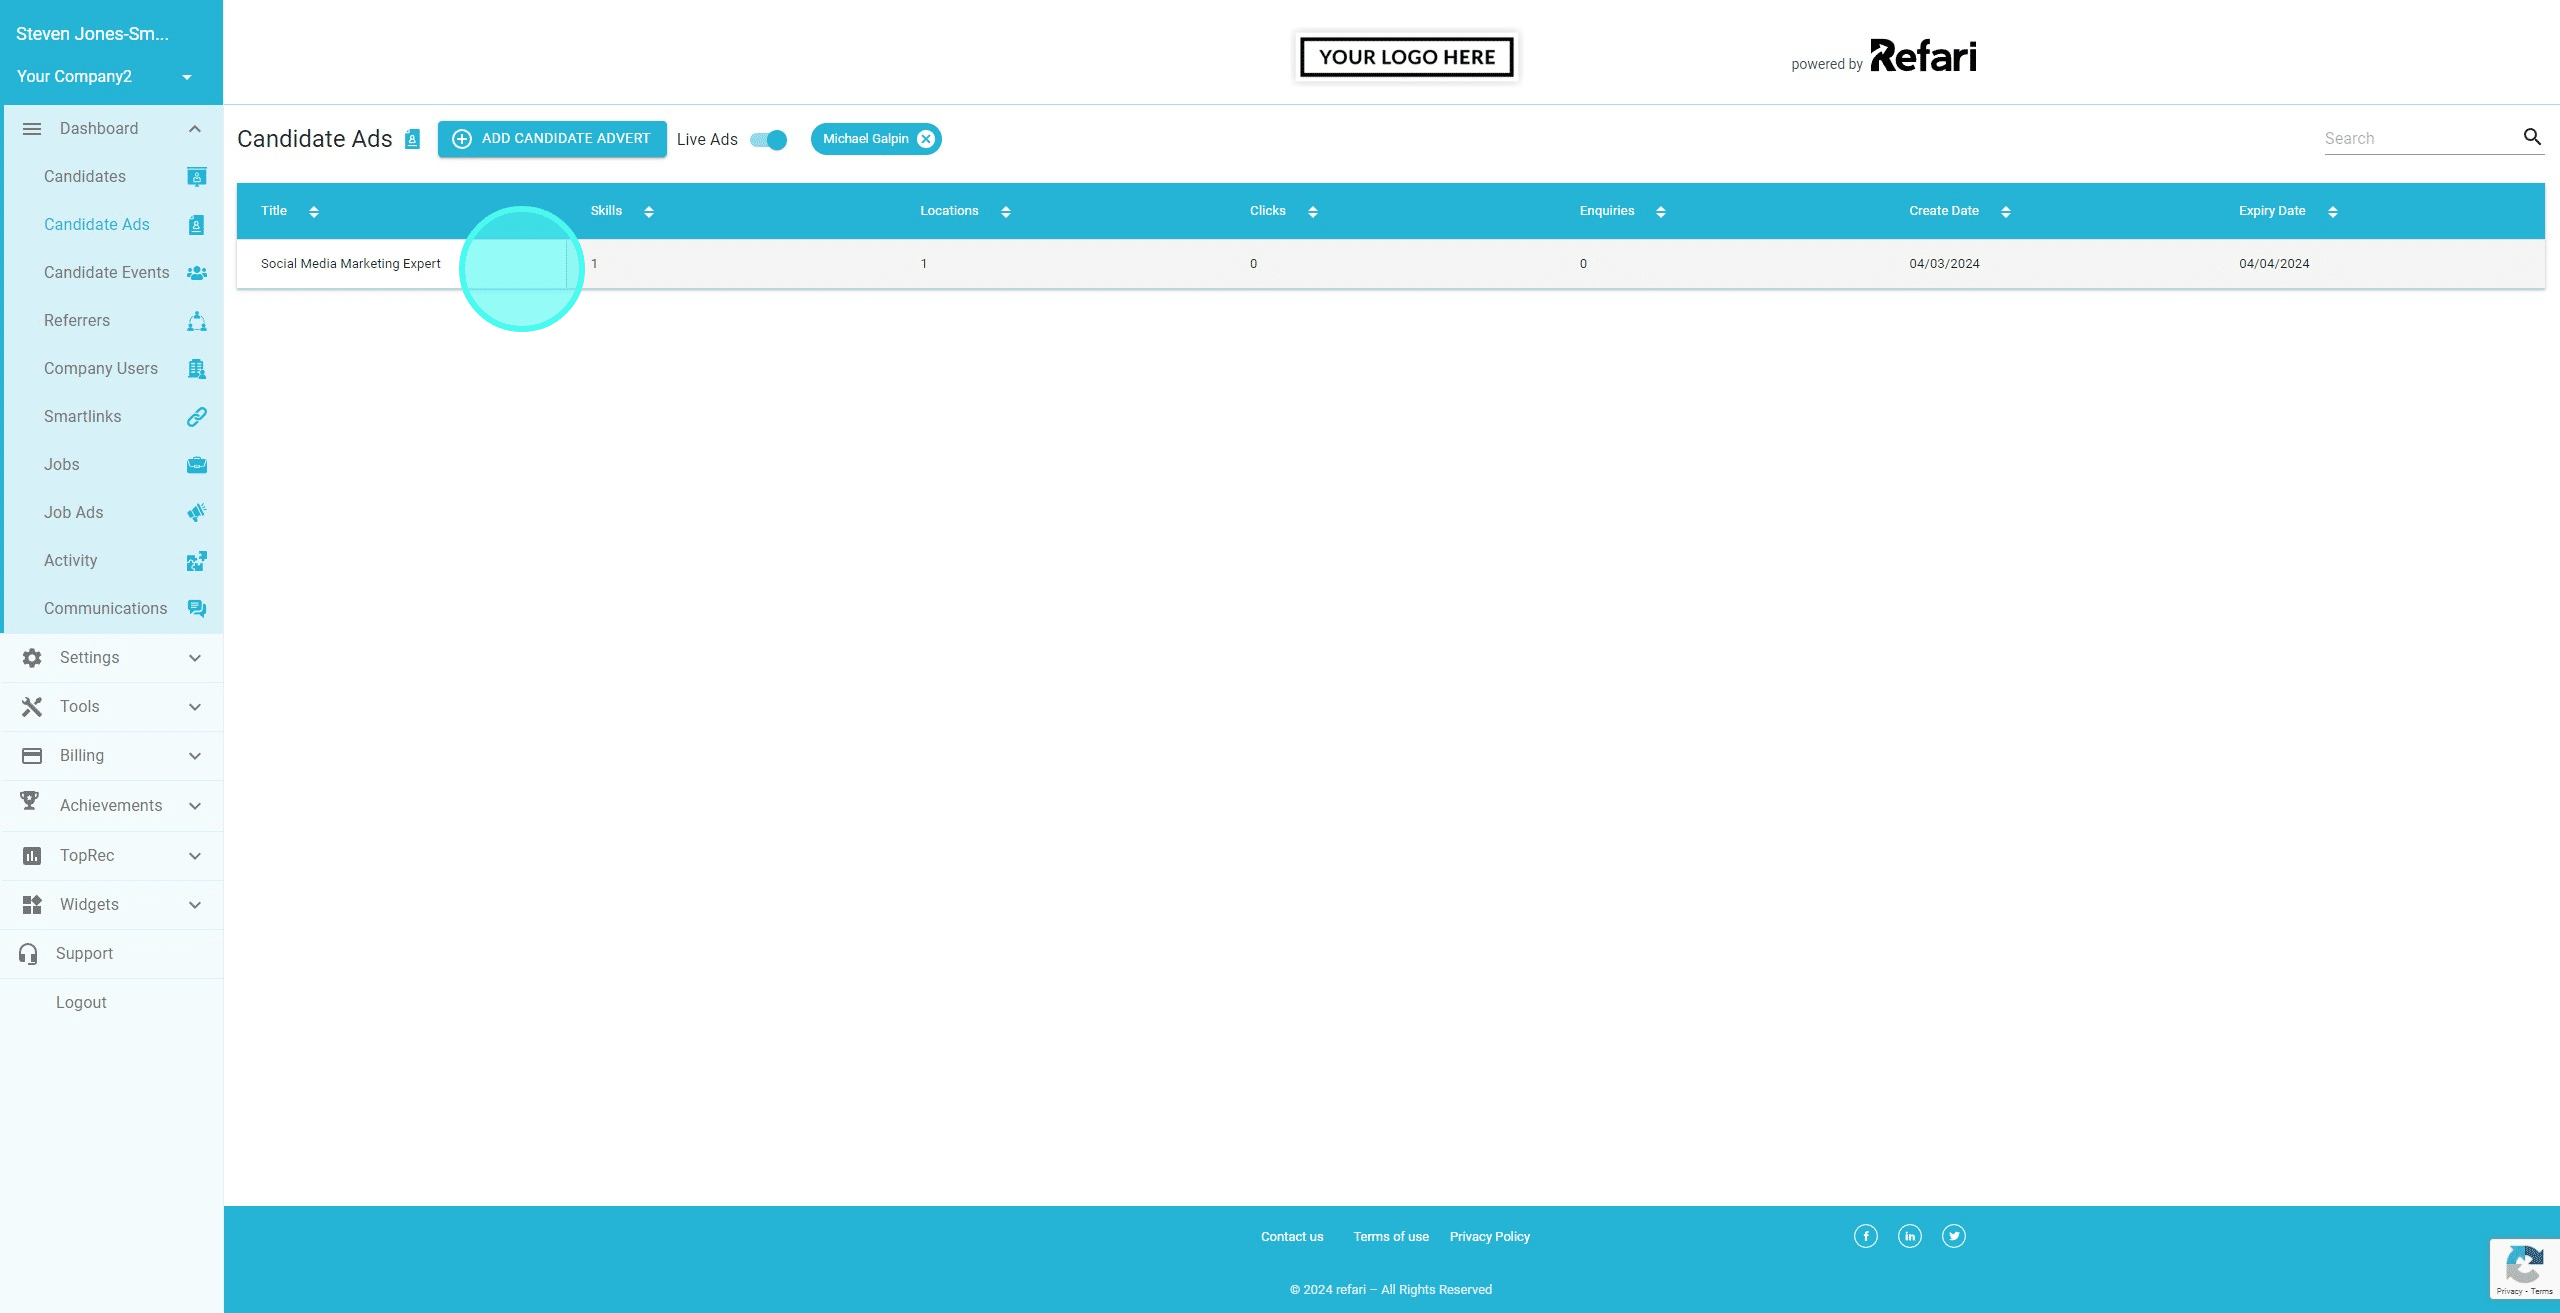
9. In this instance, this candidate only has 1 Candidate Advert. Click on the title of the Ad.
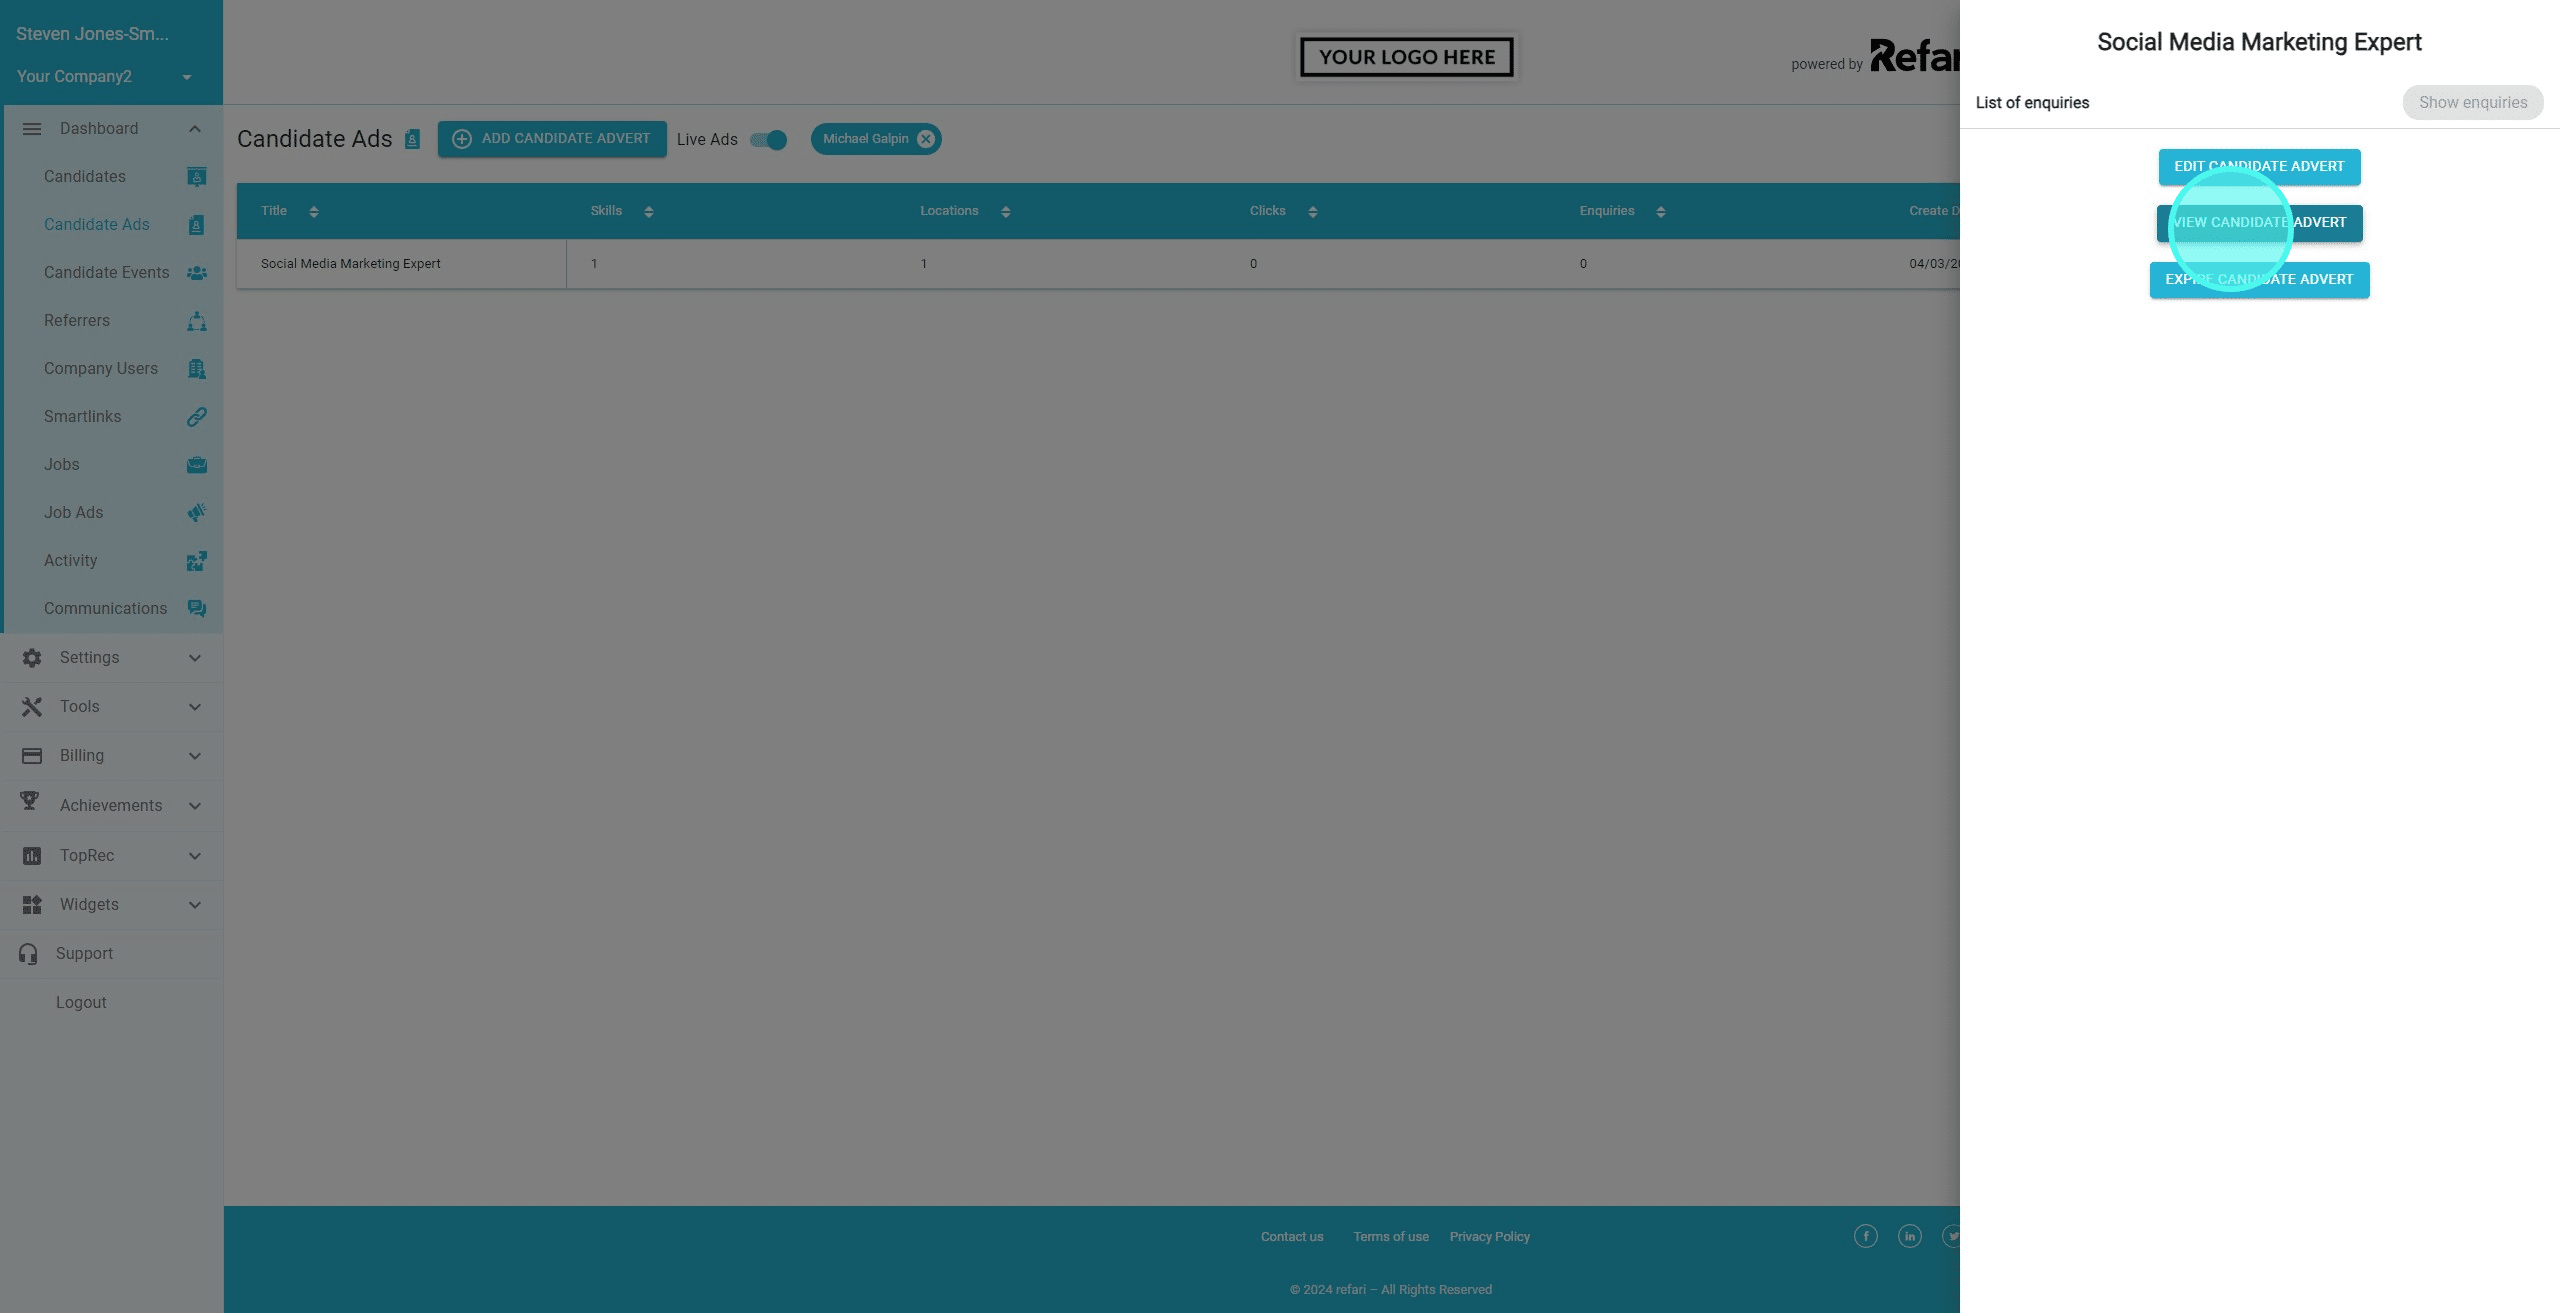
10. Click on "View Candidate Advert"
11. You can now see the Candidate Ad (note: the Candidate Name is visible but only because I am currently logged in as a recruiter)

12. Here is our Talent Board showing all Candidate Adverts similar to how the Job Board works. (note: the Candidate Names are visible but only because I am currently logged in as a recruiter)

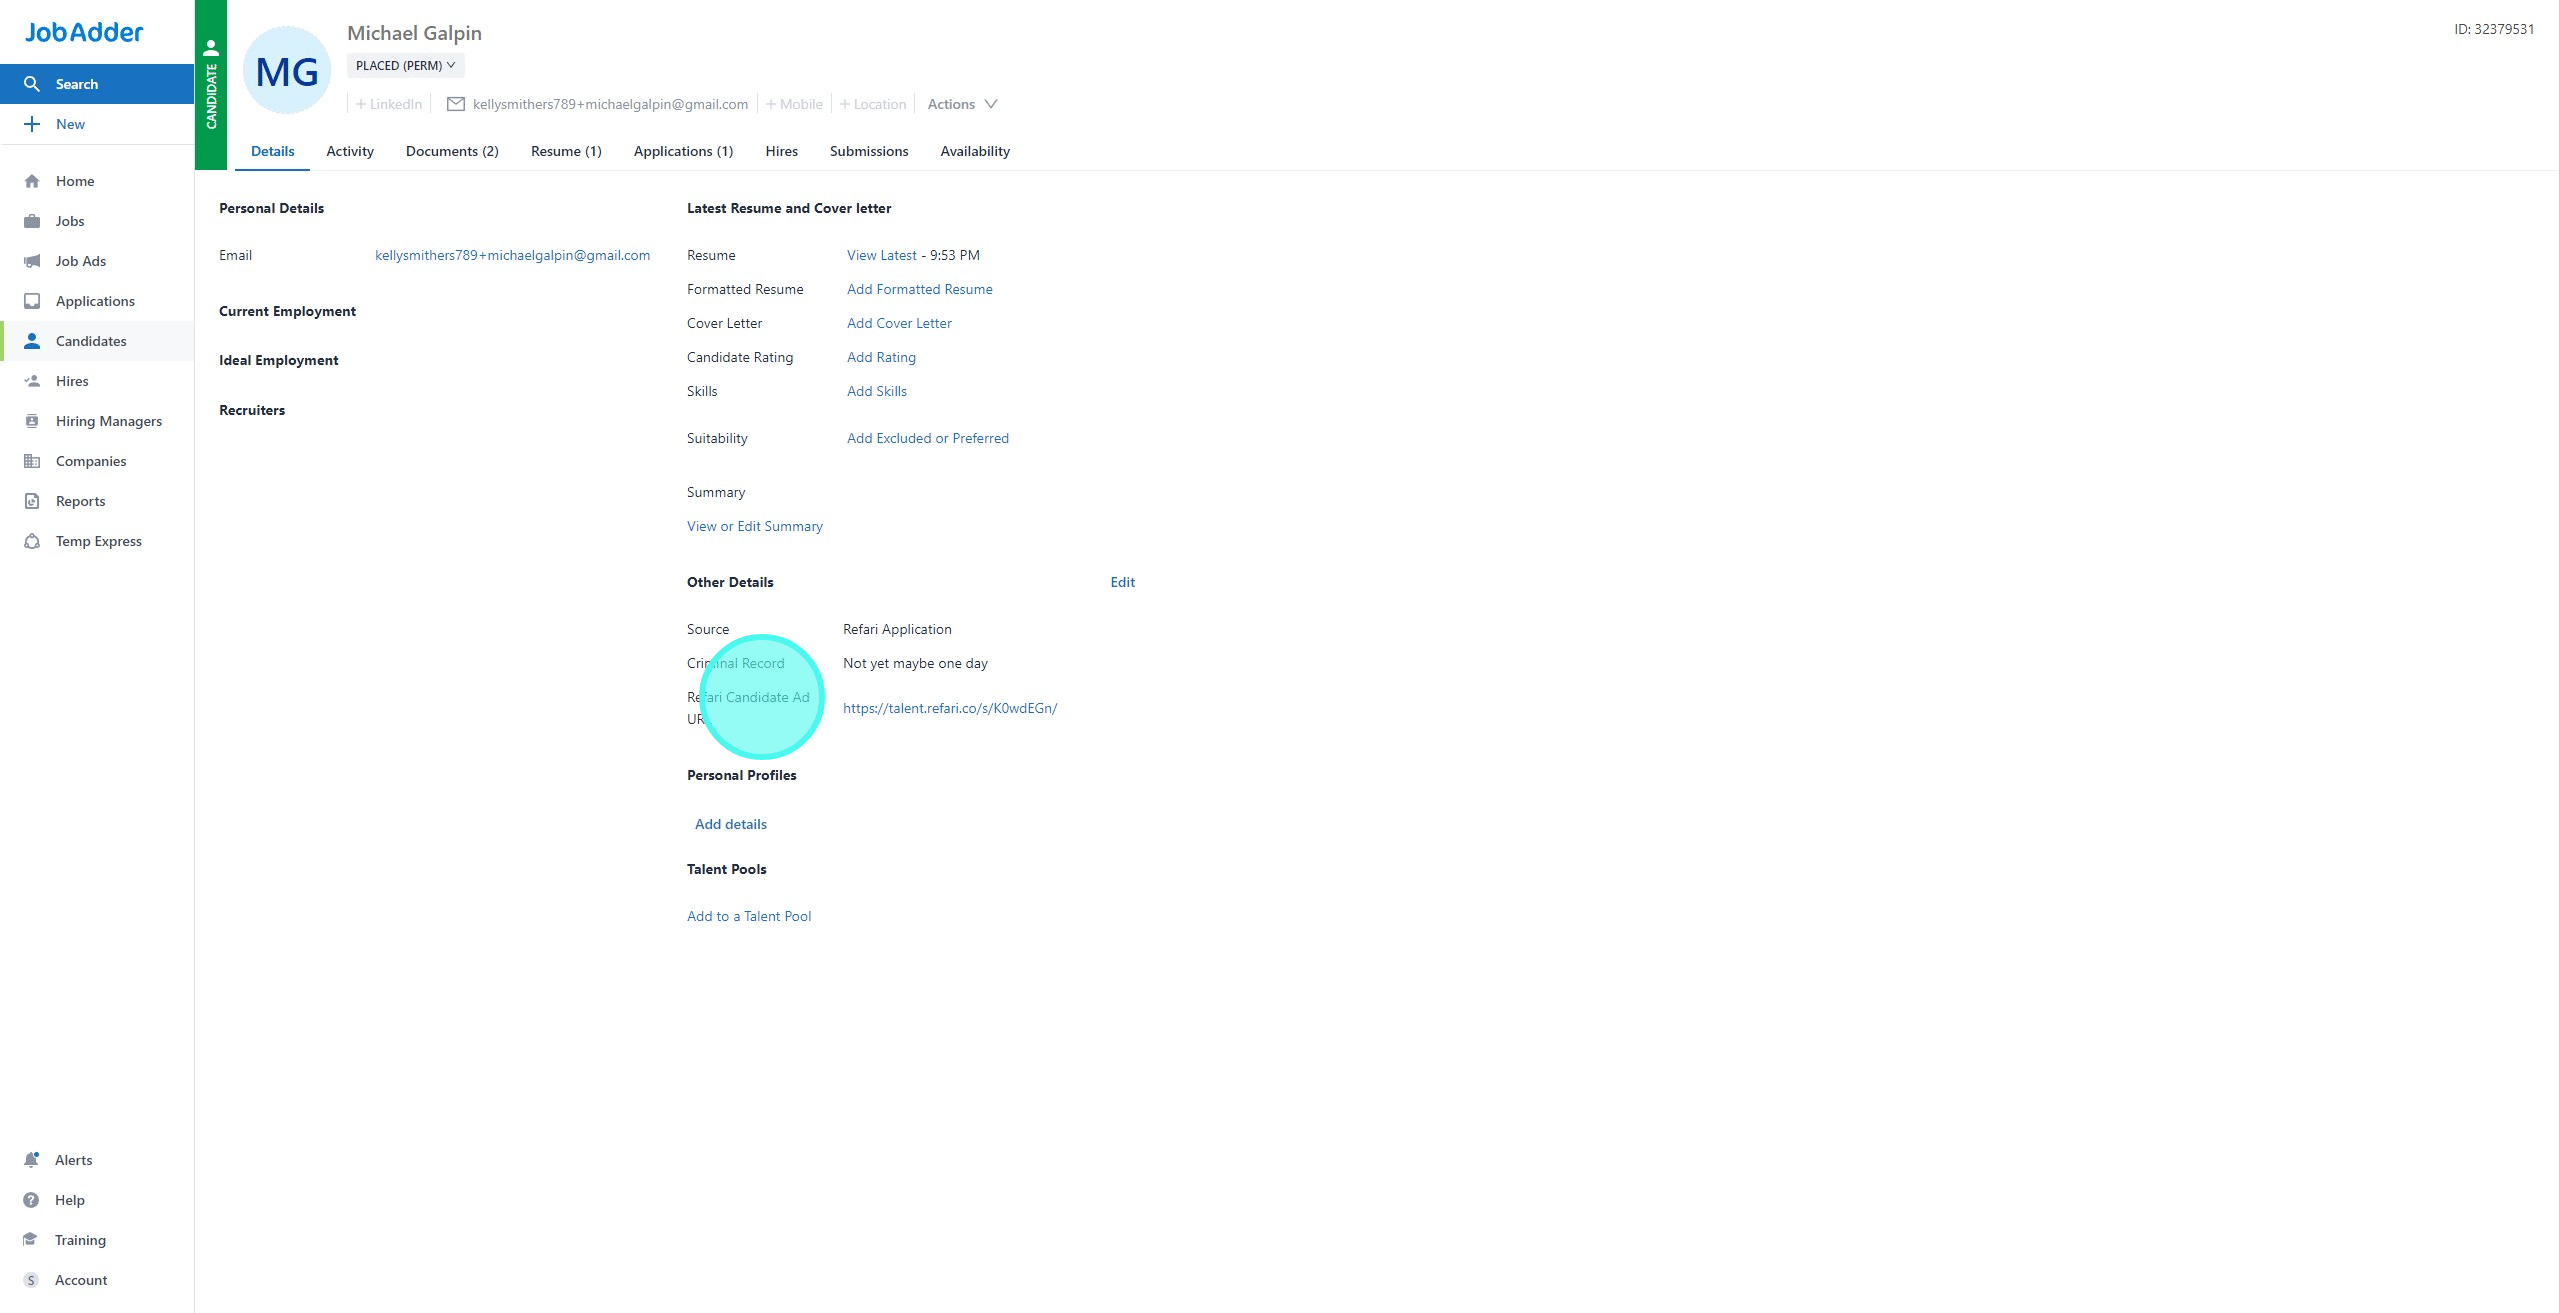
13. Navivate back to the candidate details within JobAdder and you will now see the 'Refari Candidate Ad URL' is filled in.
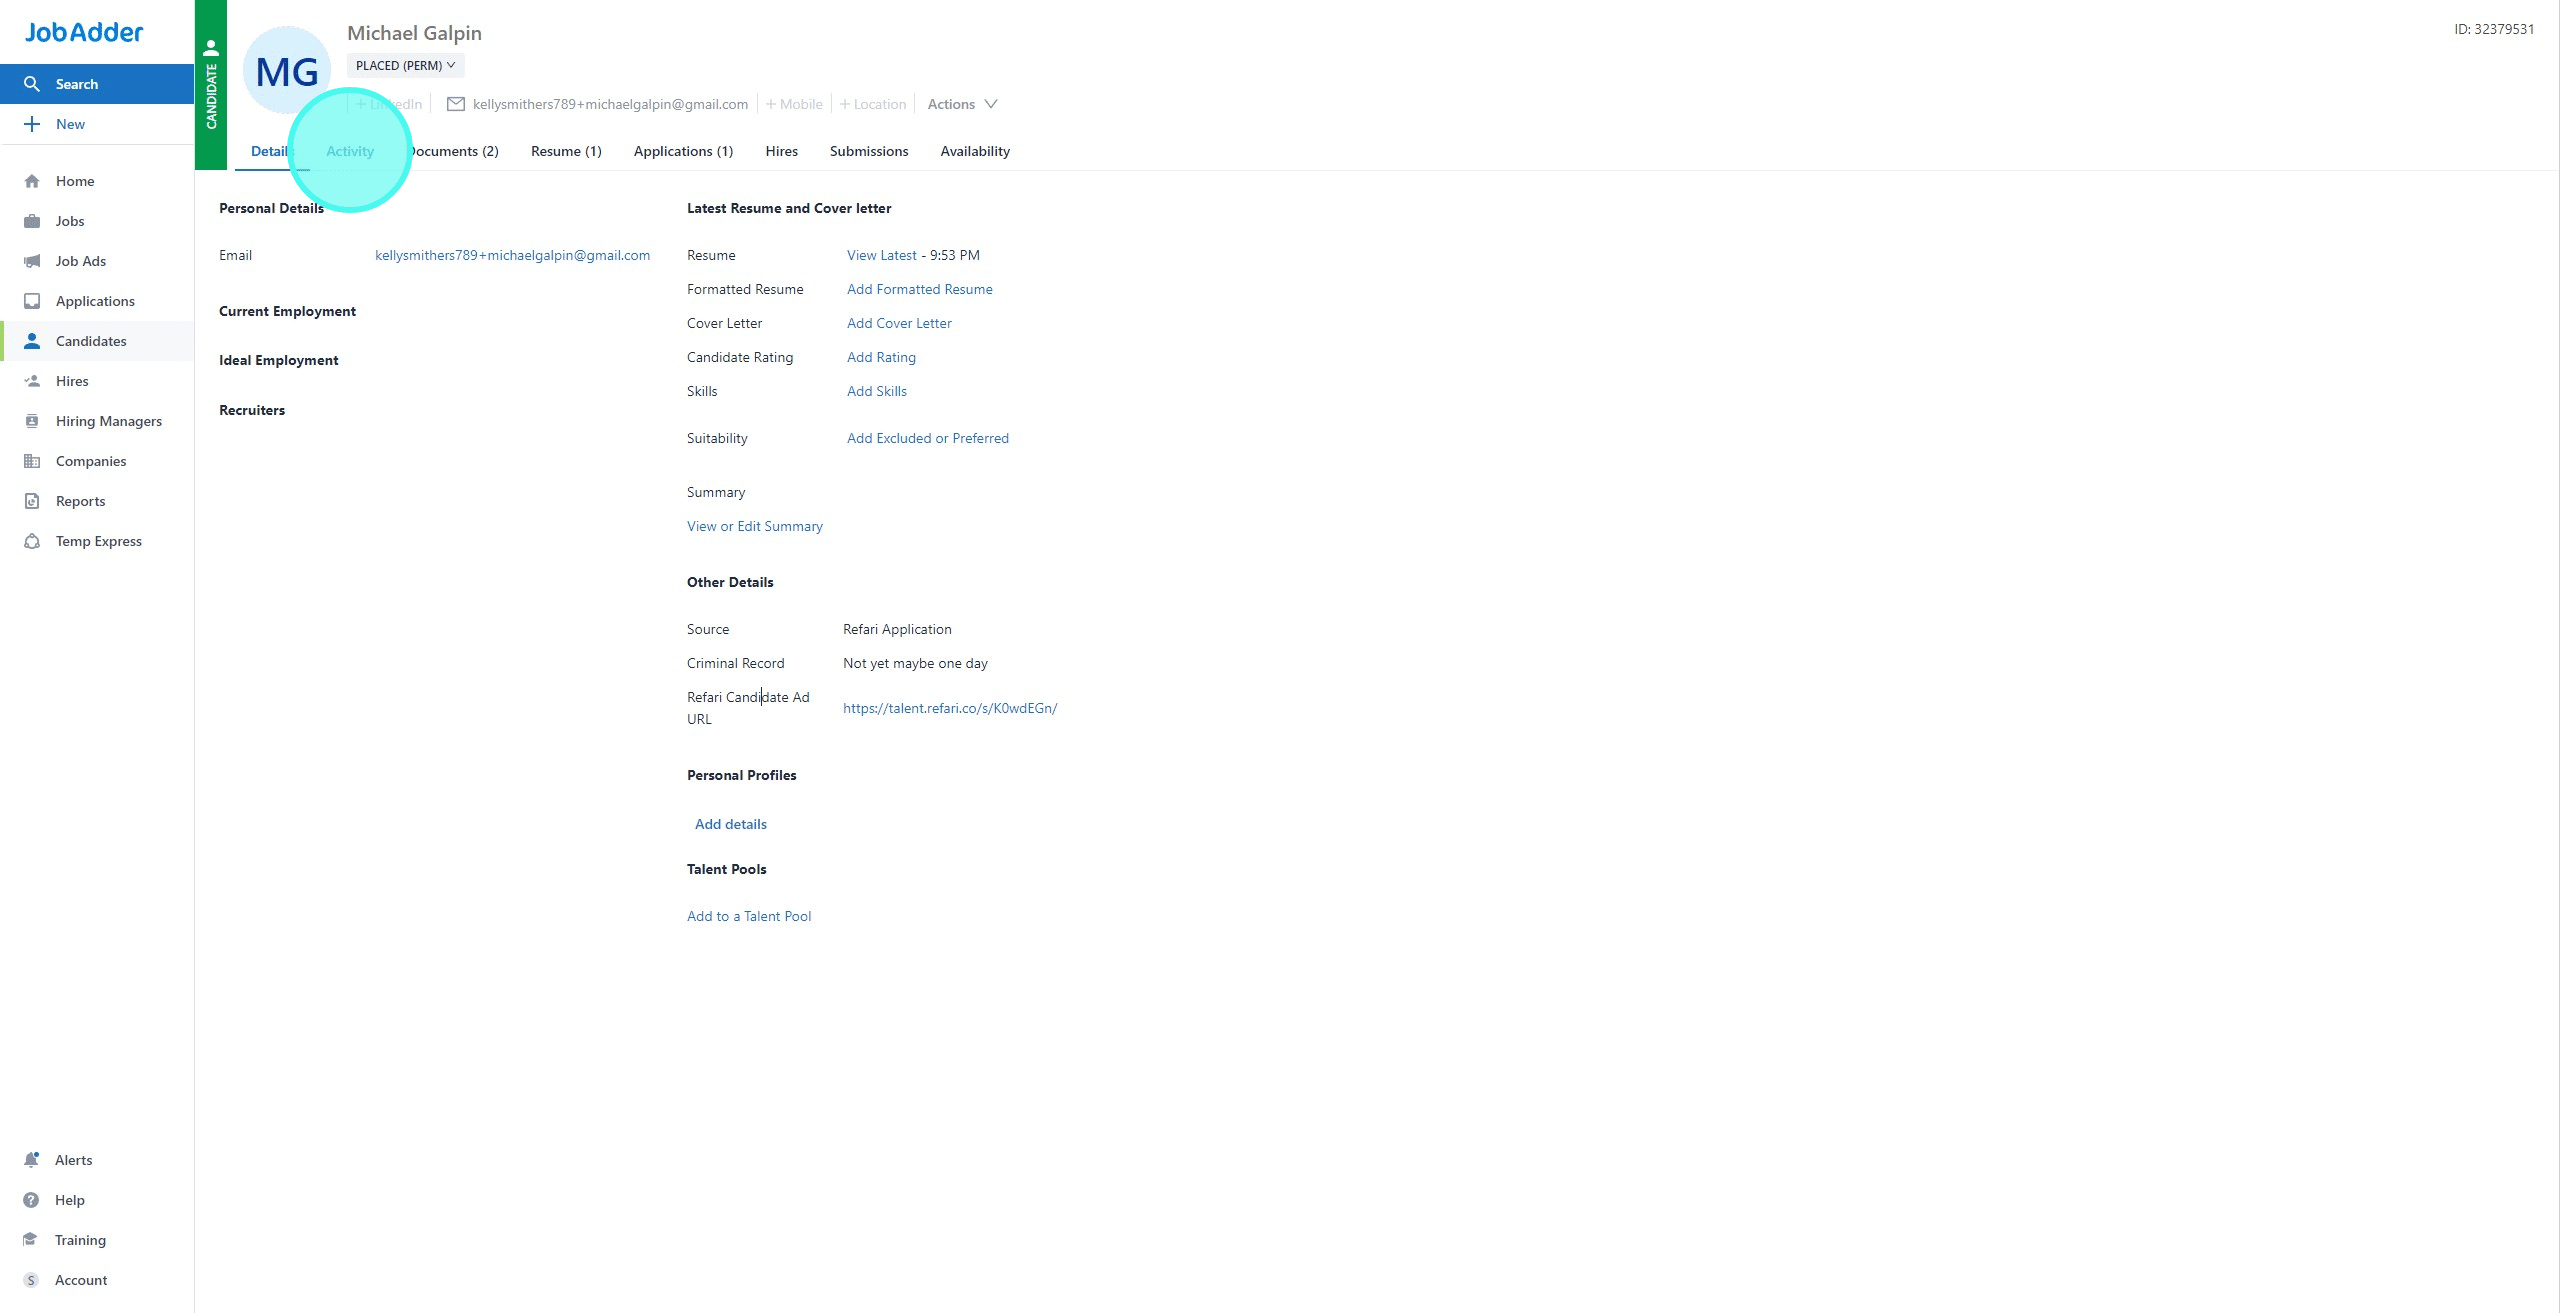
14. We can also click on 'Activity' to see the Activity and Notes for this candidate.
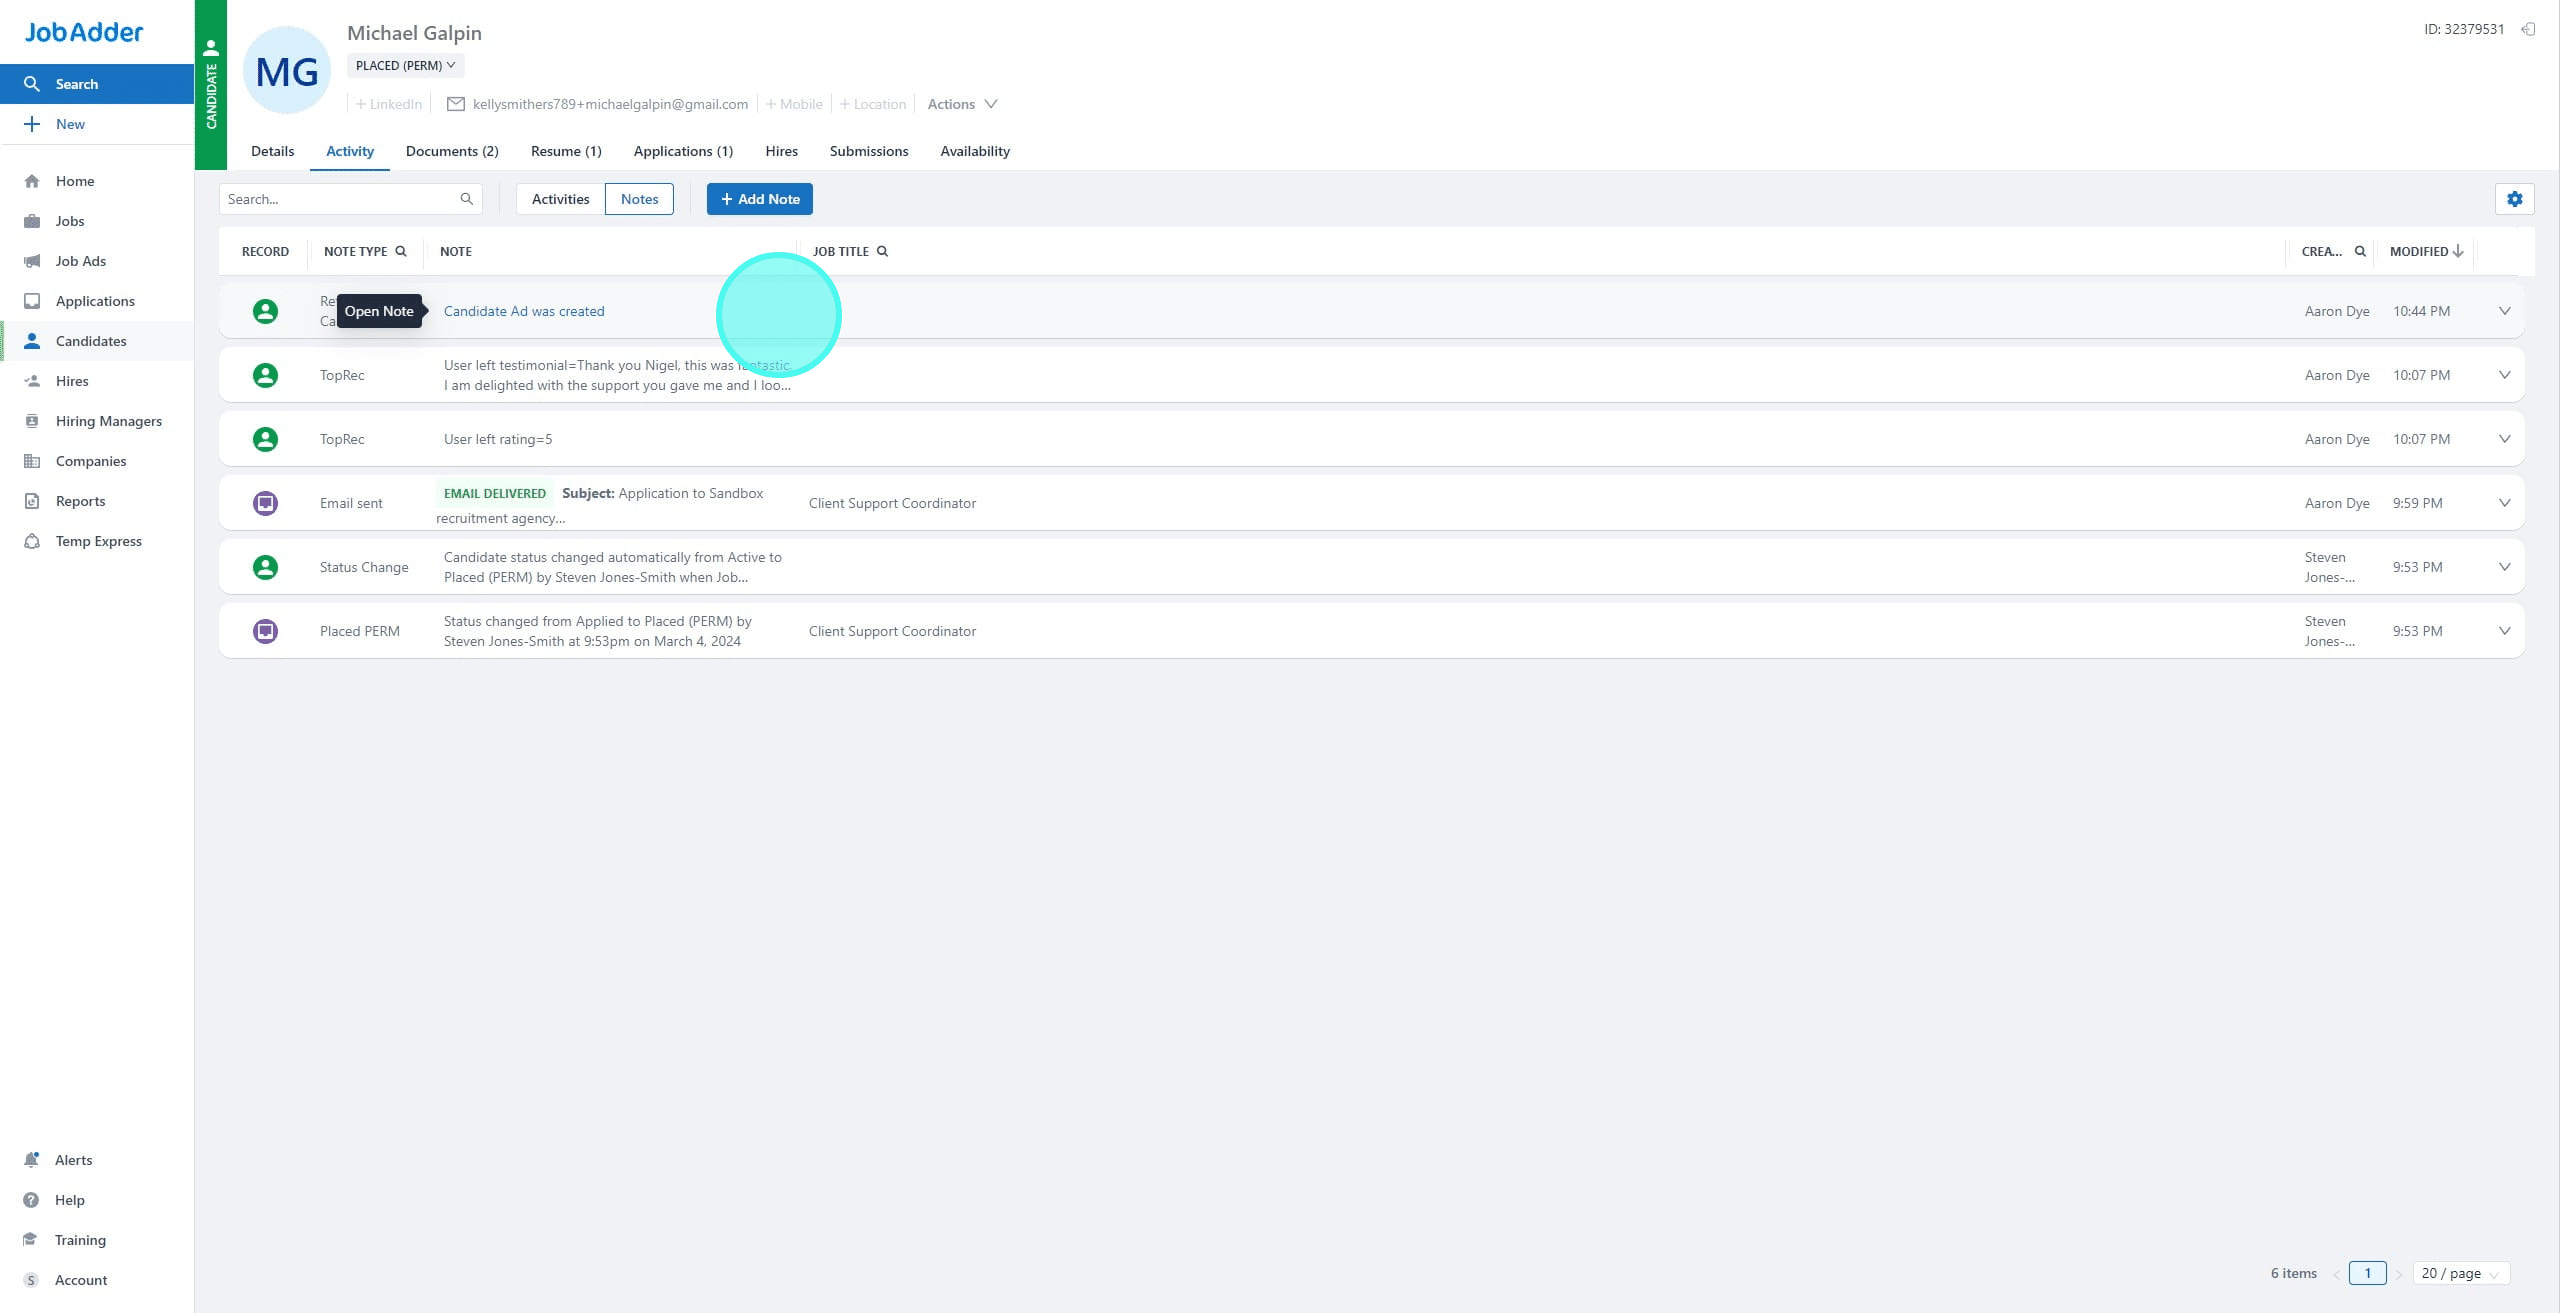
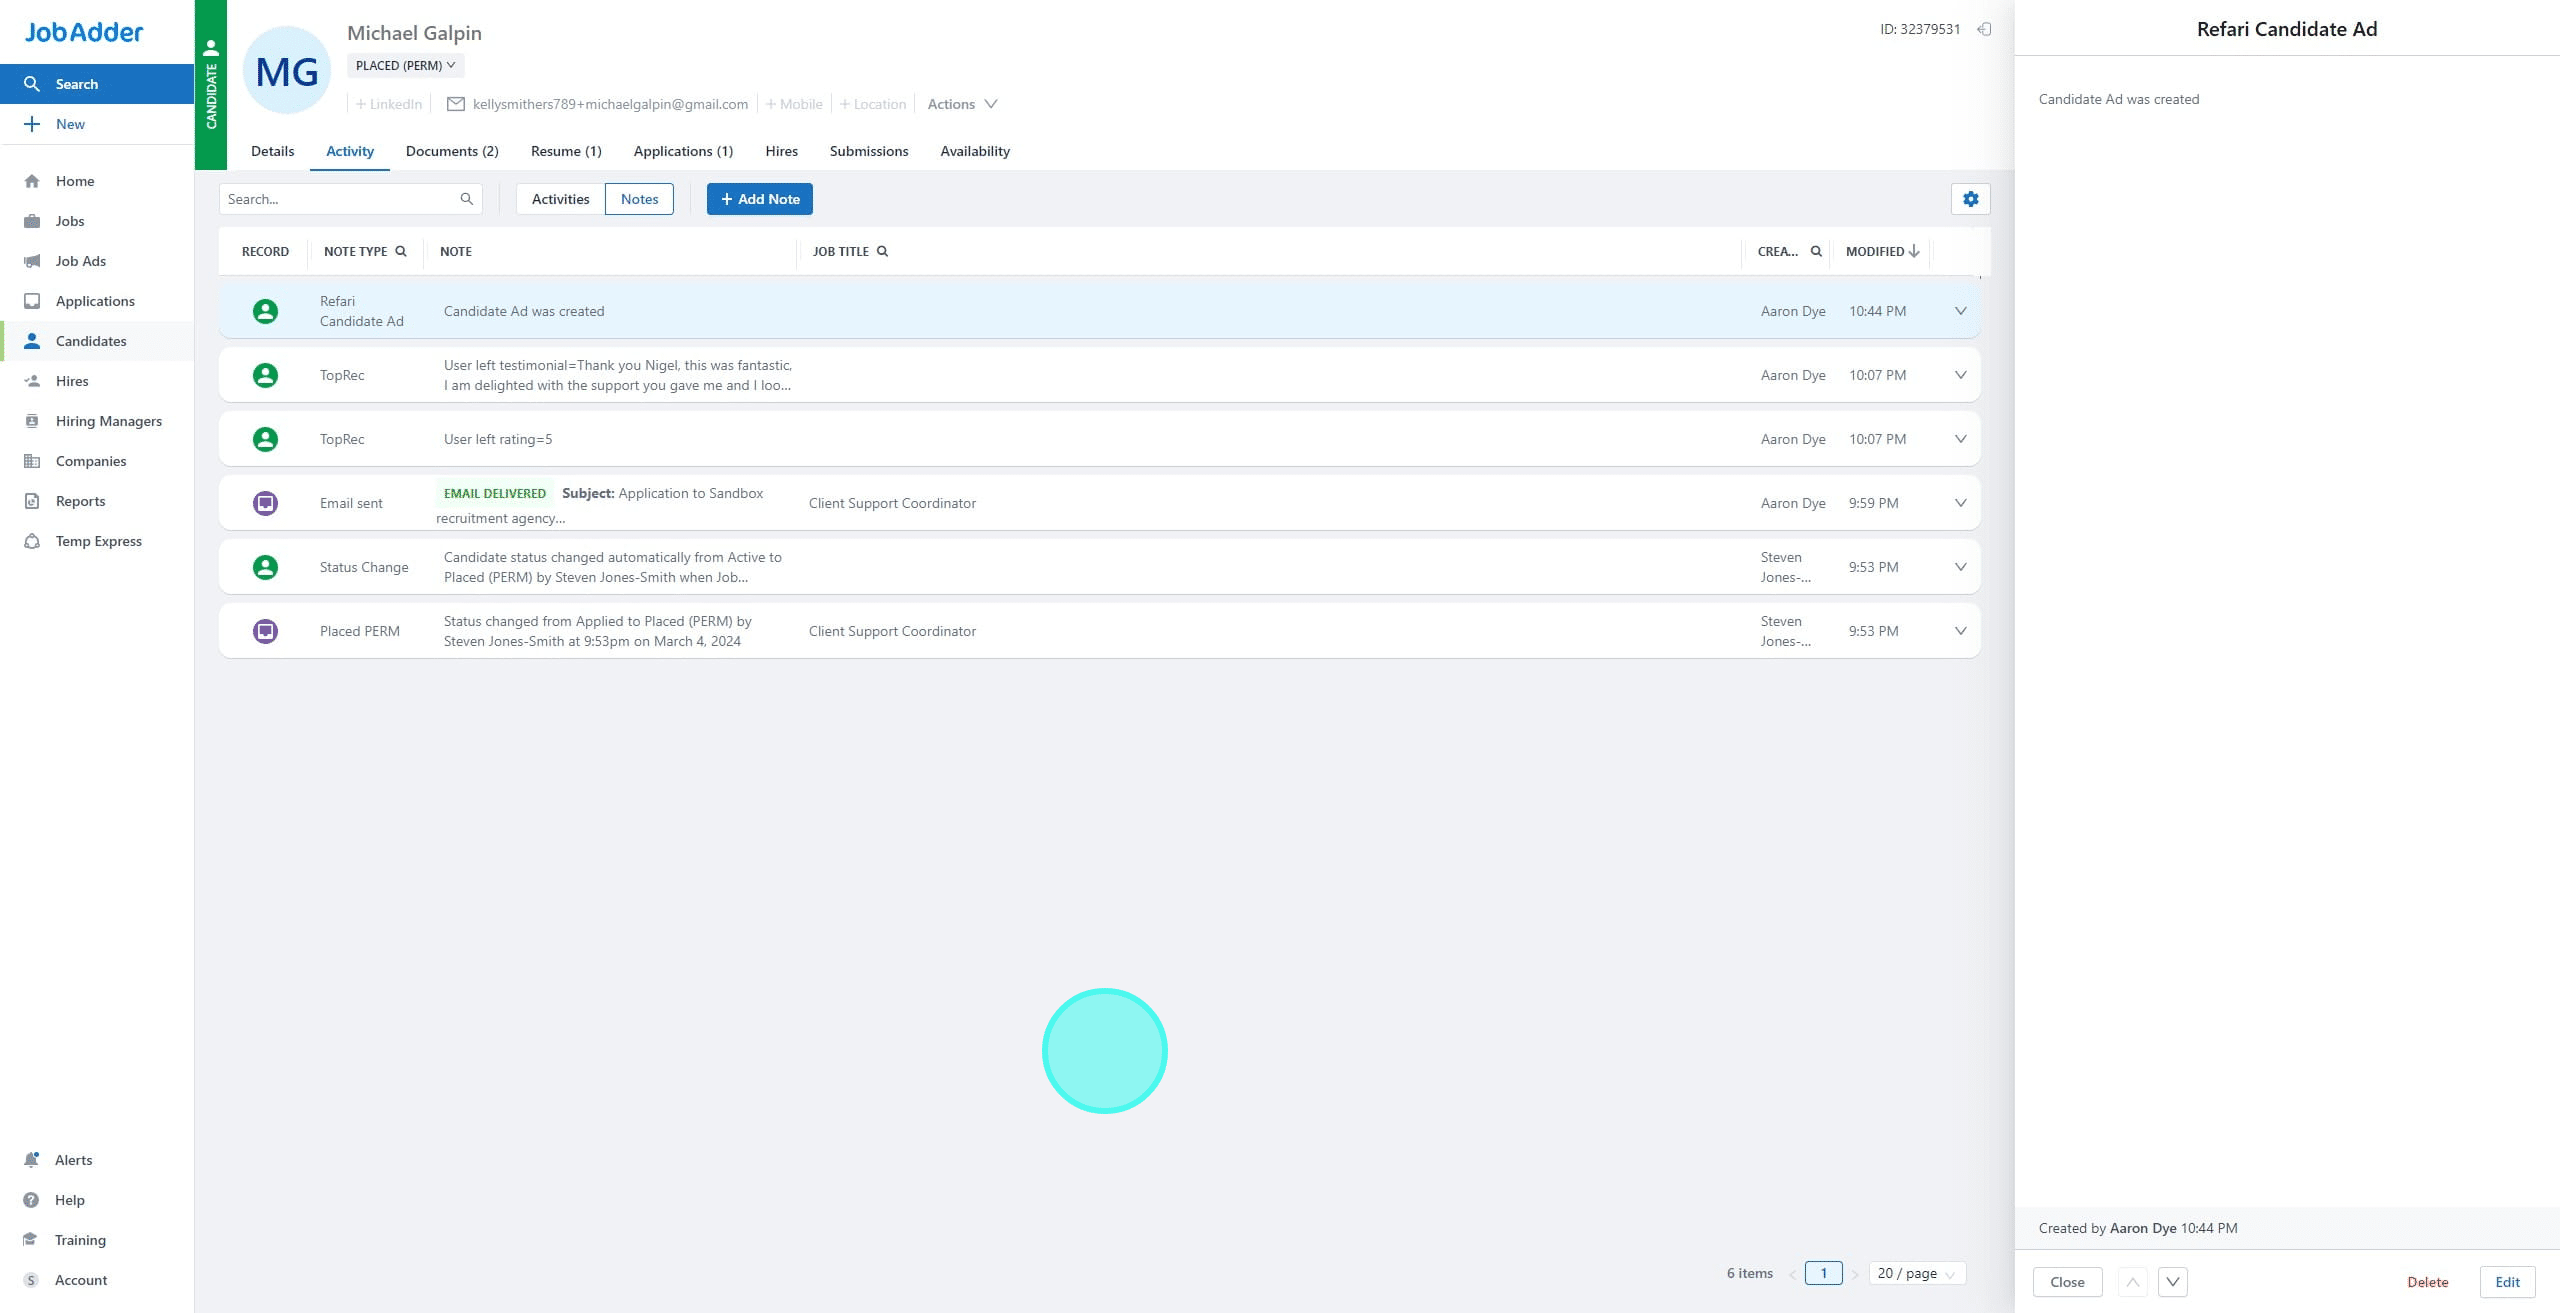
15. On the notes, you will see 'Candidate Ad was created' has been added.
16. That's how you can create a Candidate Ad and what information is also sent to JobAdder
Was this article helpful?
That’s Great!
Thank you for your feedback
Sorry! We couldn't be helpful
Thank you for your feedback
Feedback sent
We appreciate your effort and will try to fix the article