This guide walks you through connecting Mailchimp to a Gravity Form on your Refari-built website, so that anyone who submits the form is added to your Mailchimp audience automatically. Gravity Forms is the form builder your site uses, and Mailchimp is an email marketing service: joining them means you stop copying addresses across by hand.
Before you start: you need a Mailchimp account with at least one audience set up, and Administrator access to your website.Install the Mailchimp add-on
Step 1: Log in to your website
Log in to the WordPress dashboard of your Refari website.

Step 2: Open the add-ons list
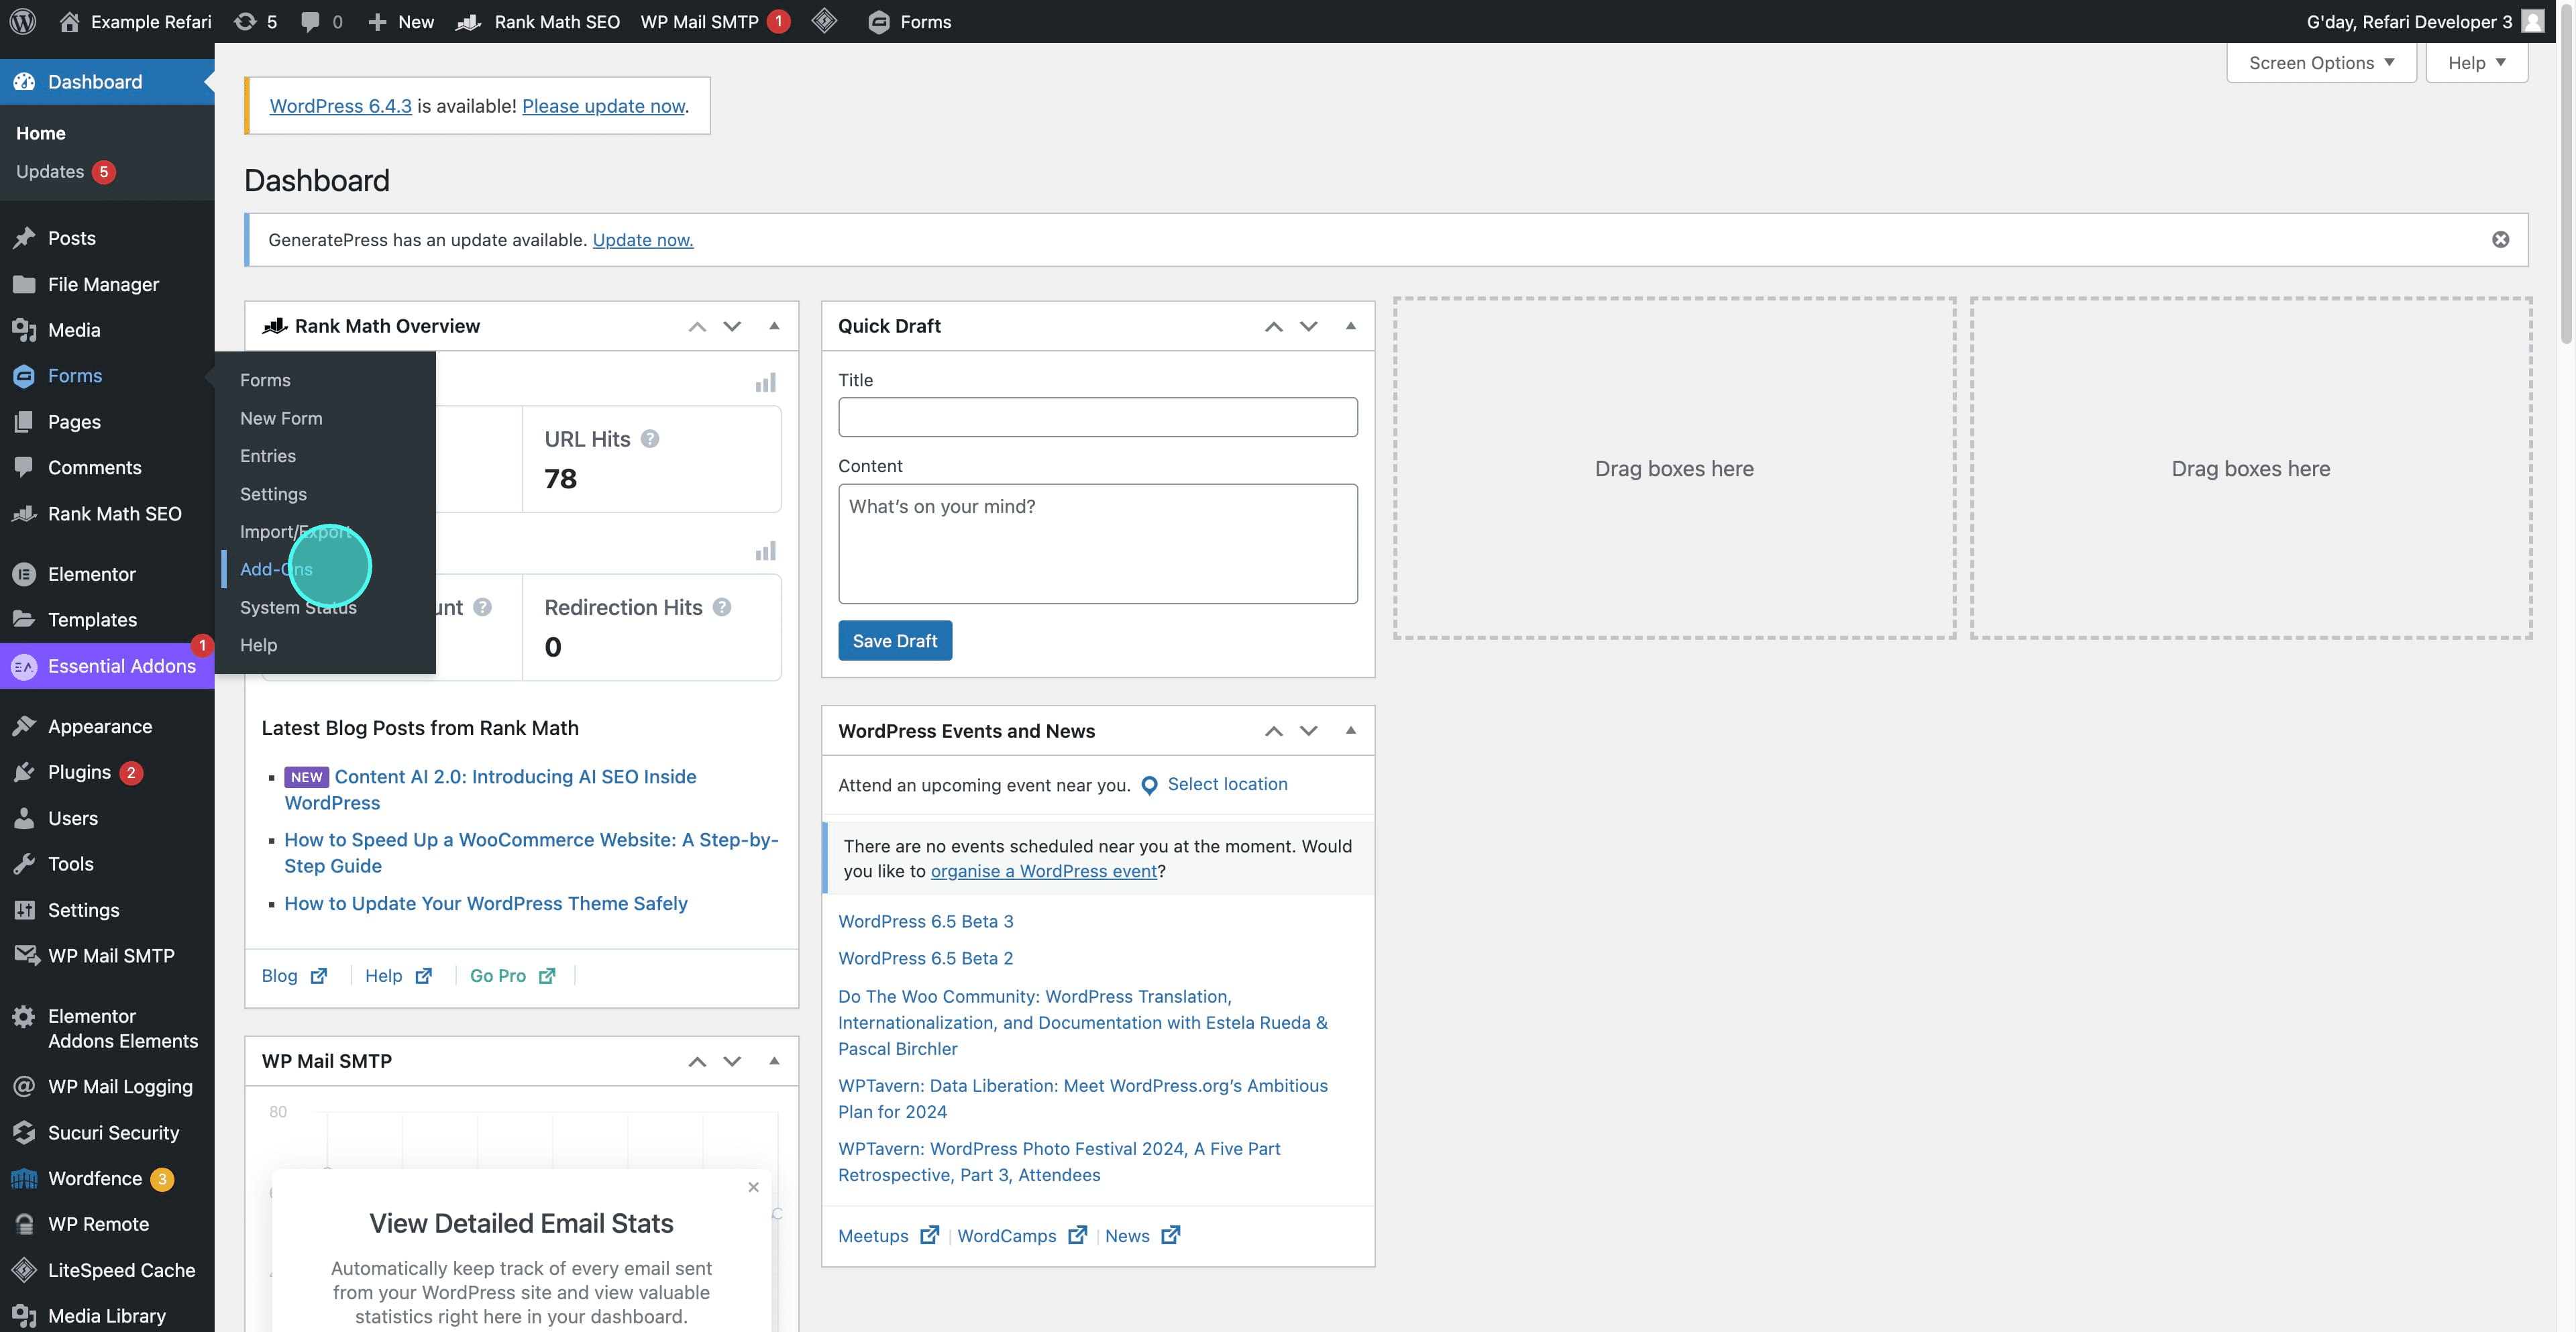
Go to Forms and select Add-Ons.
Step 3: Install and activate
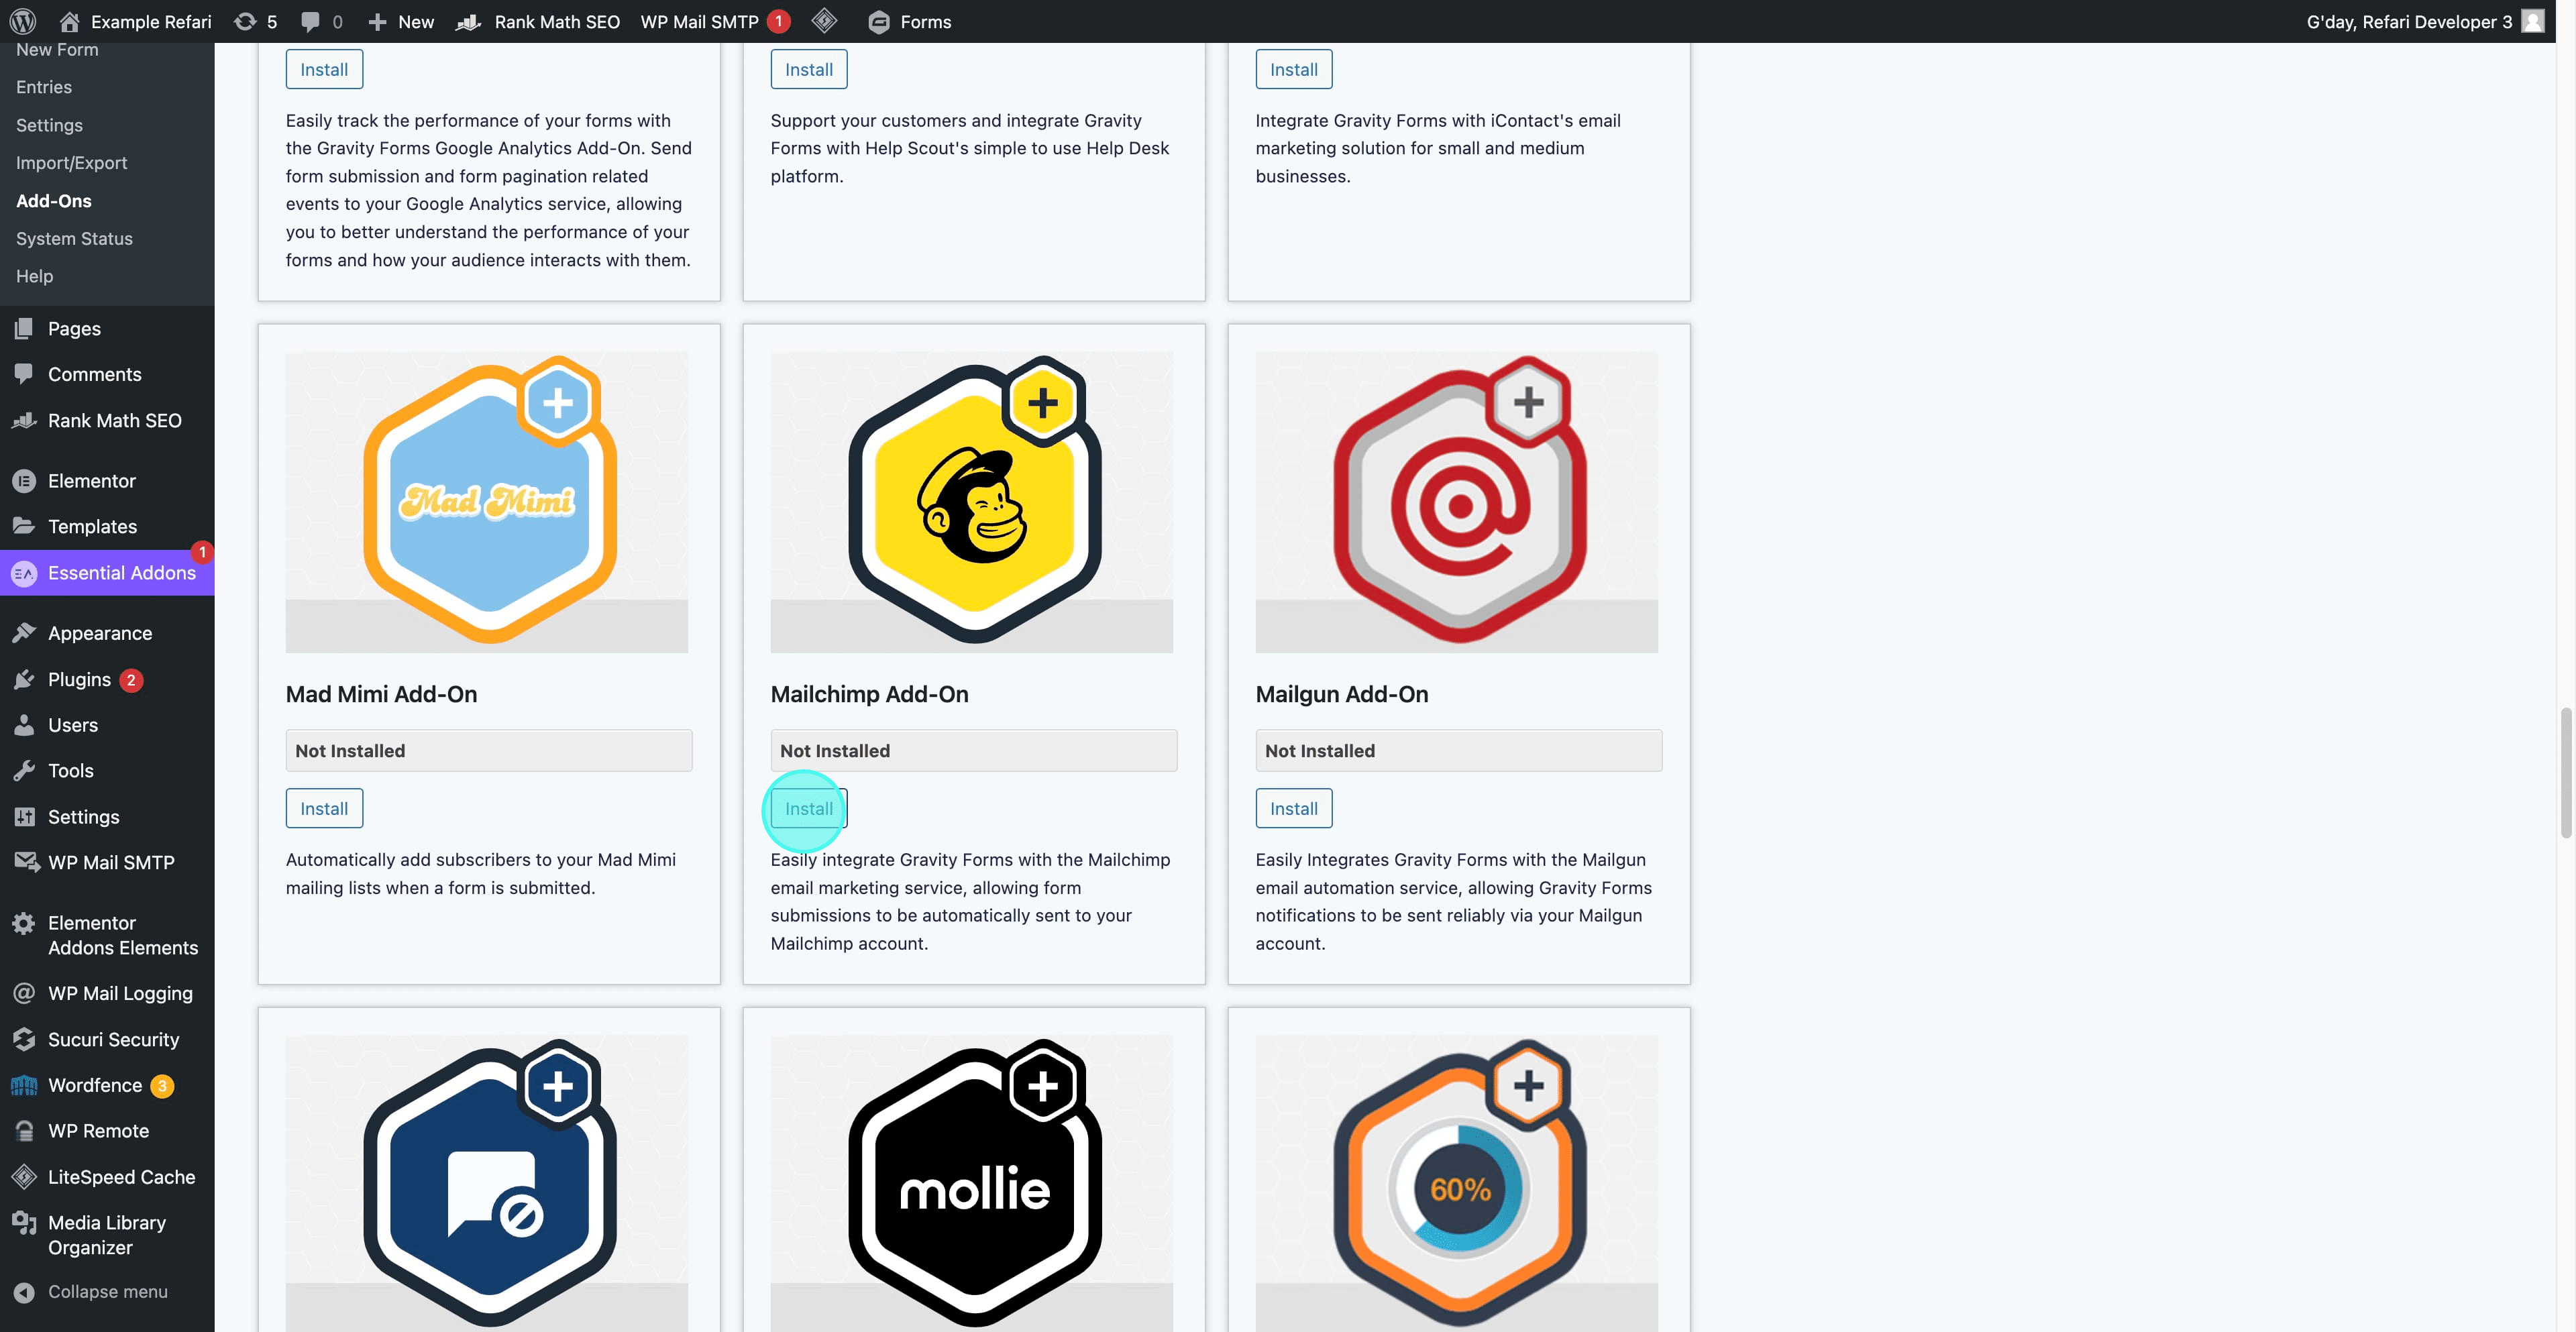
Find the Mailchimp add-on, click Install, then Activate.
Step 4: Open its settings
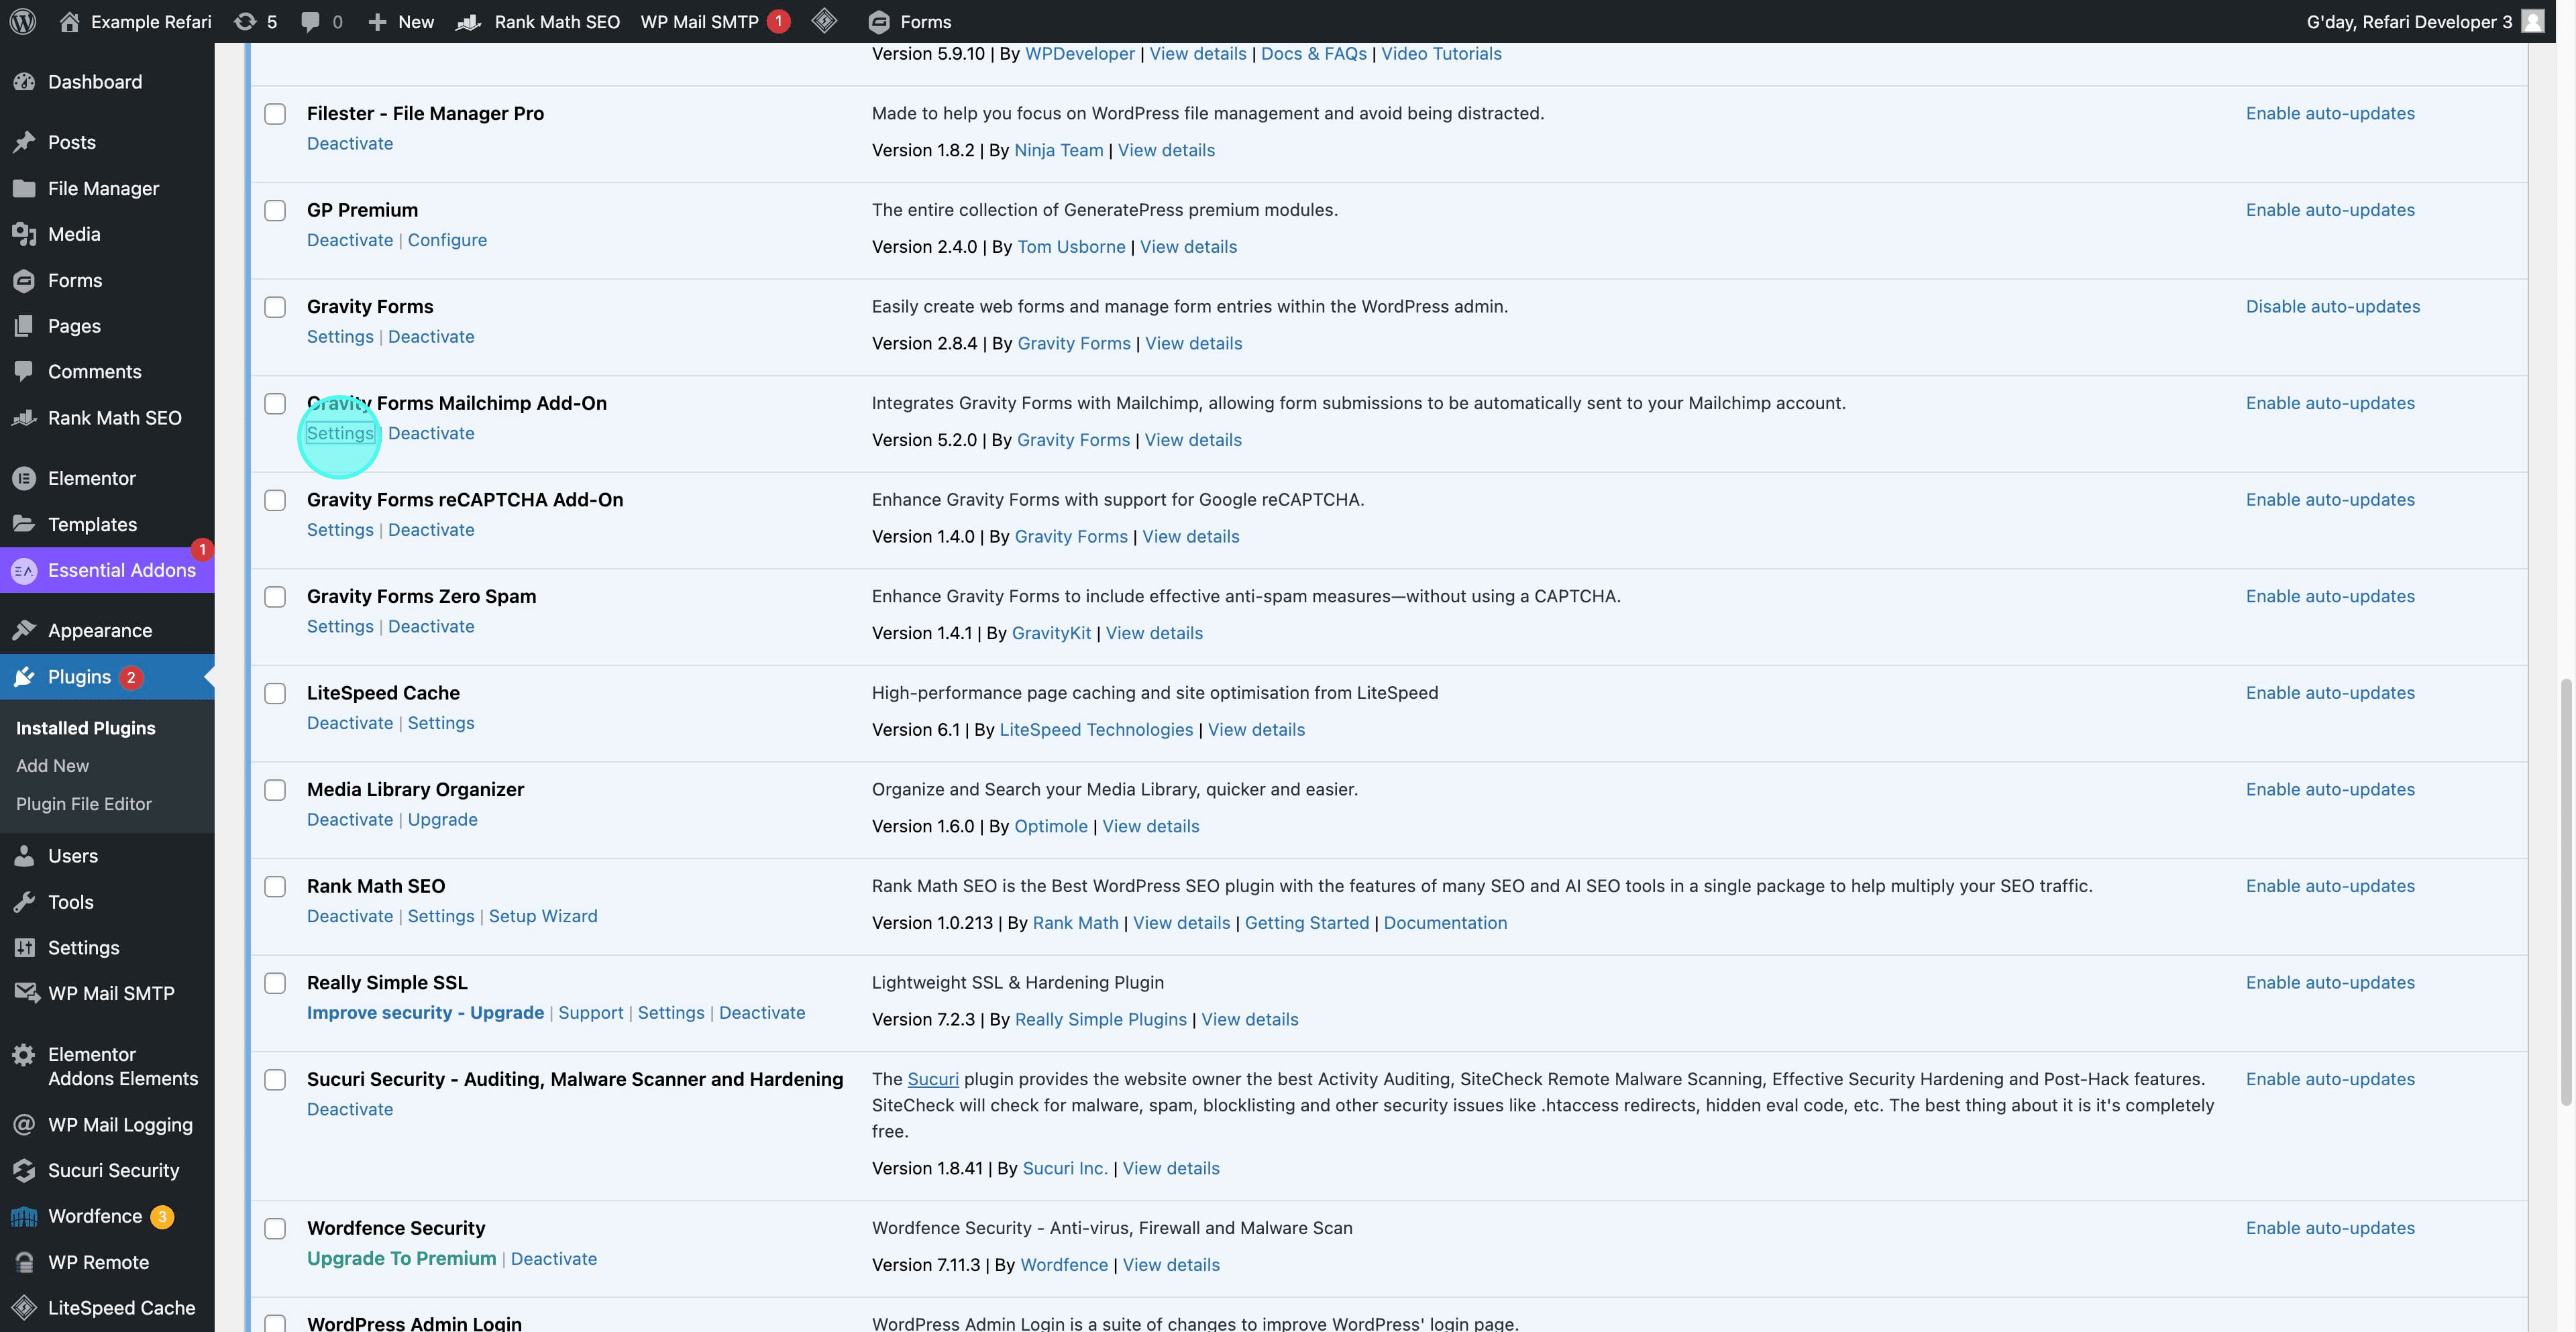
On the plugins page, click Gravity Forms Mailchimp Add-On Settings.
Connect Gravity Forms to Mailchimp
Step 5: Start the connection
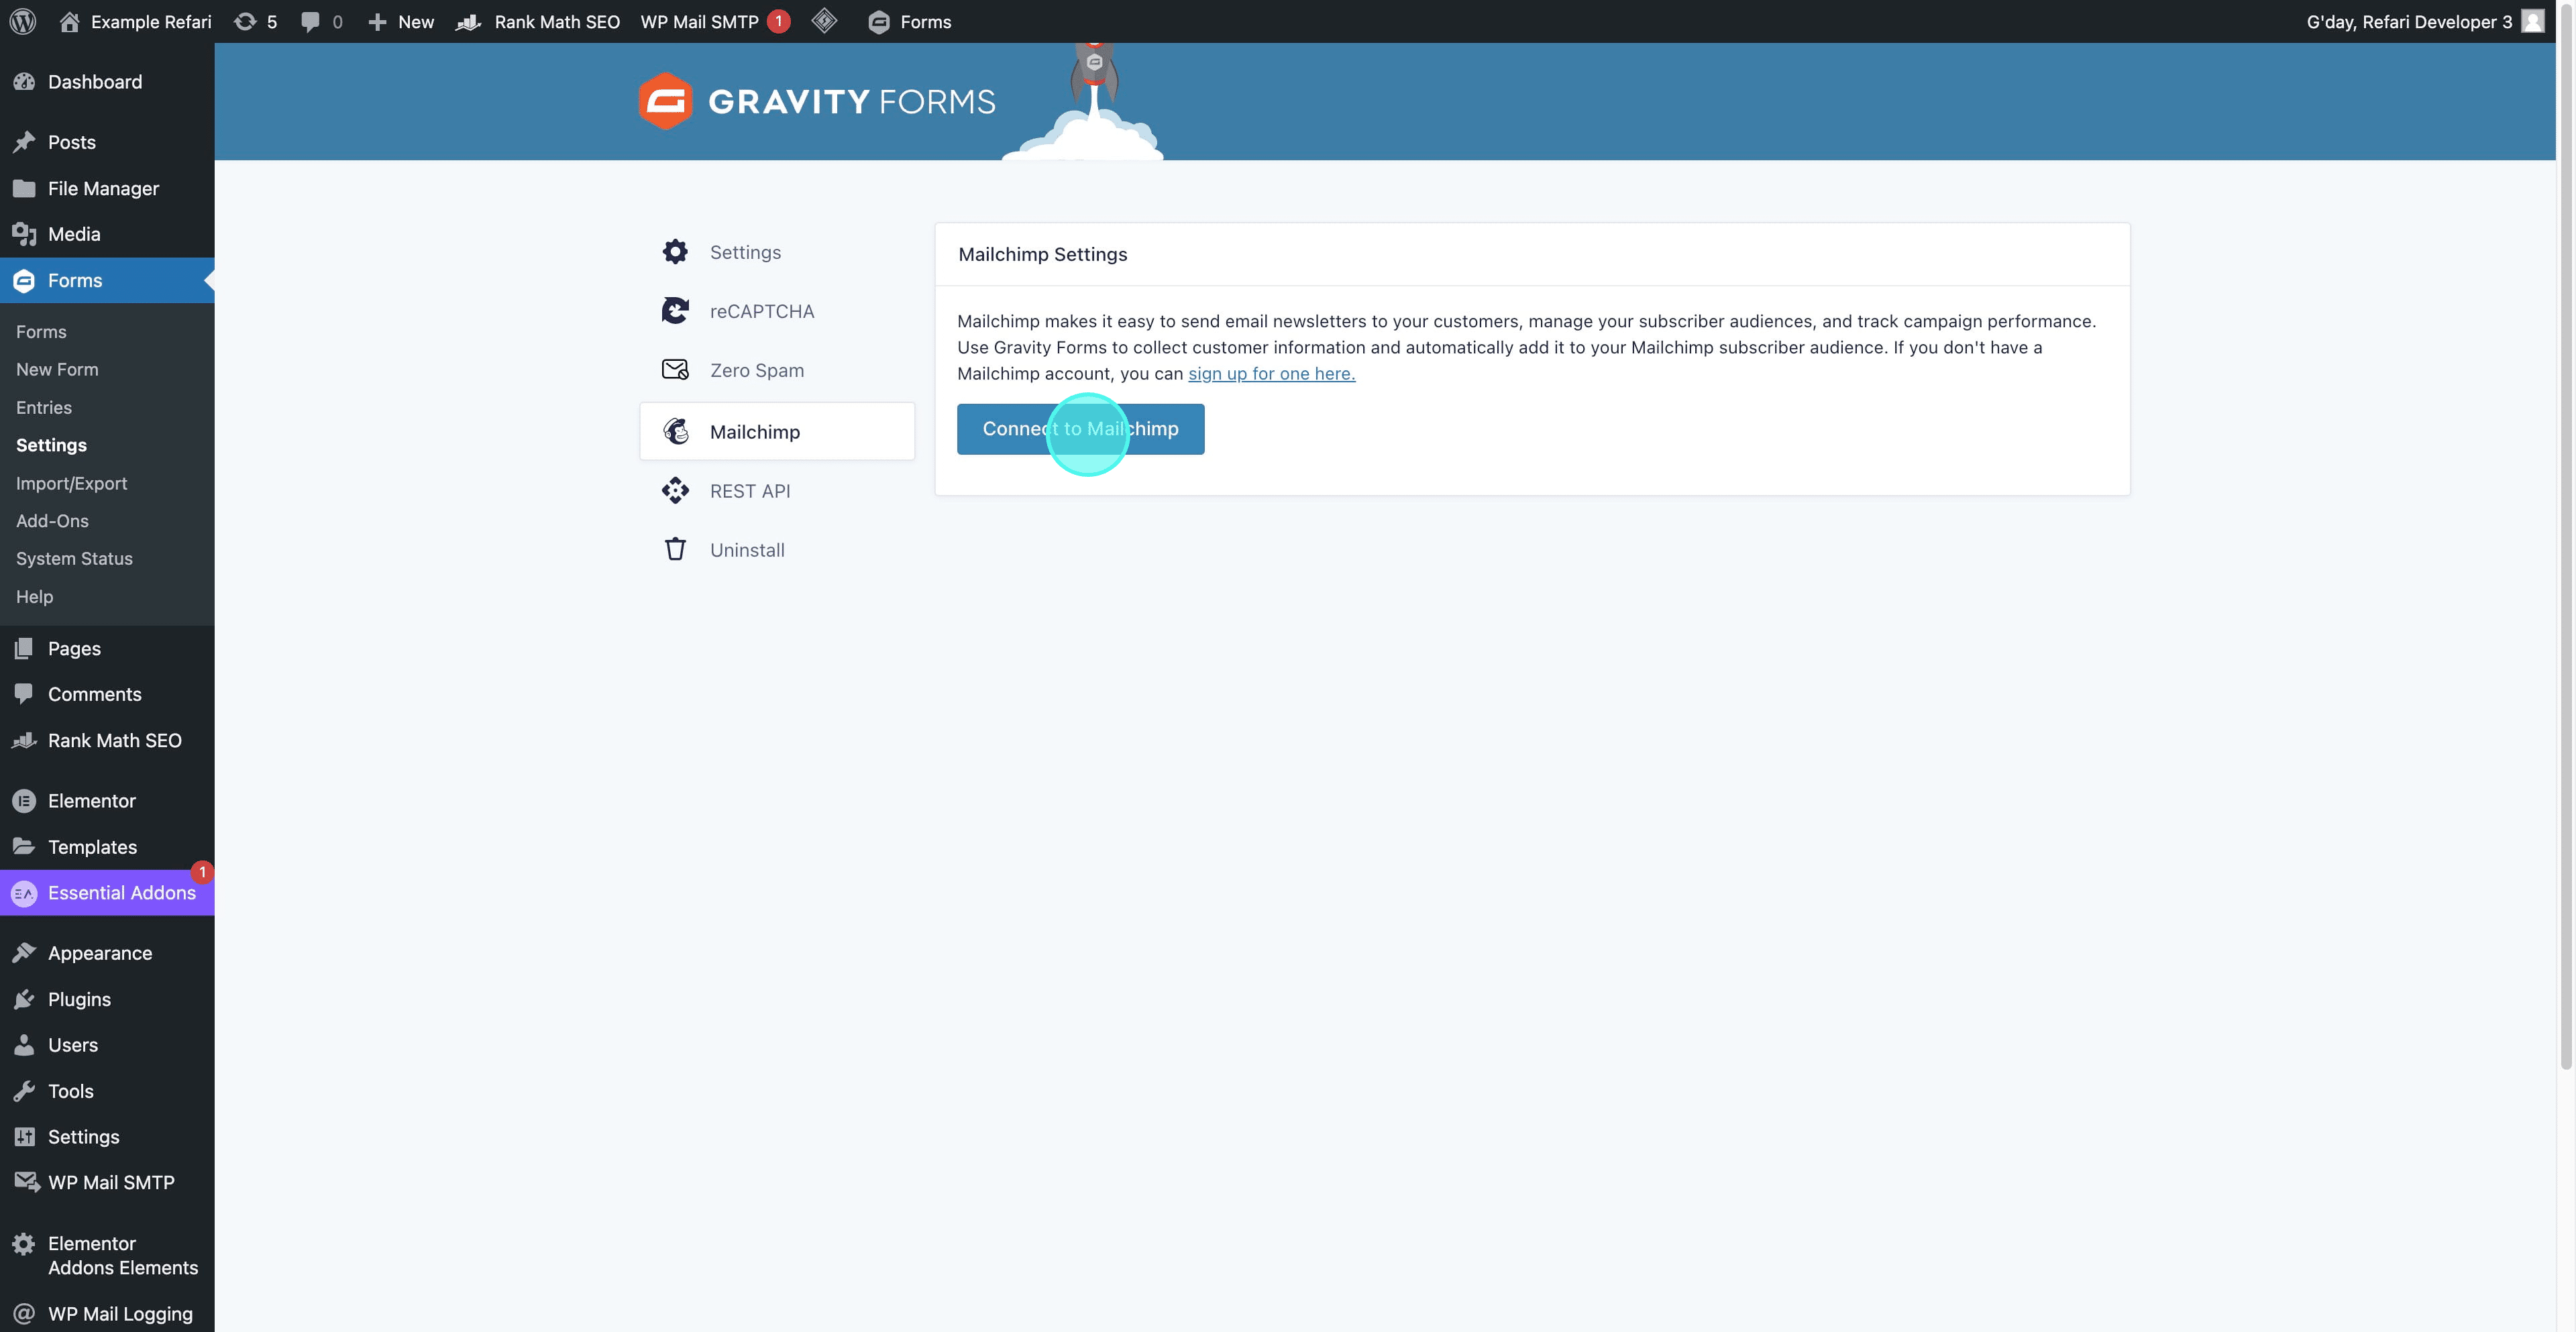
On the Mailchimp settings page, click Connect to Mailchimp.
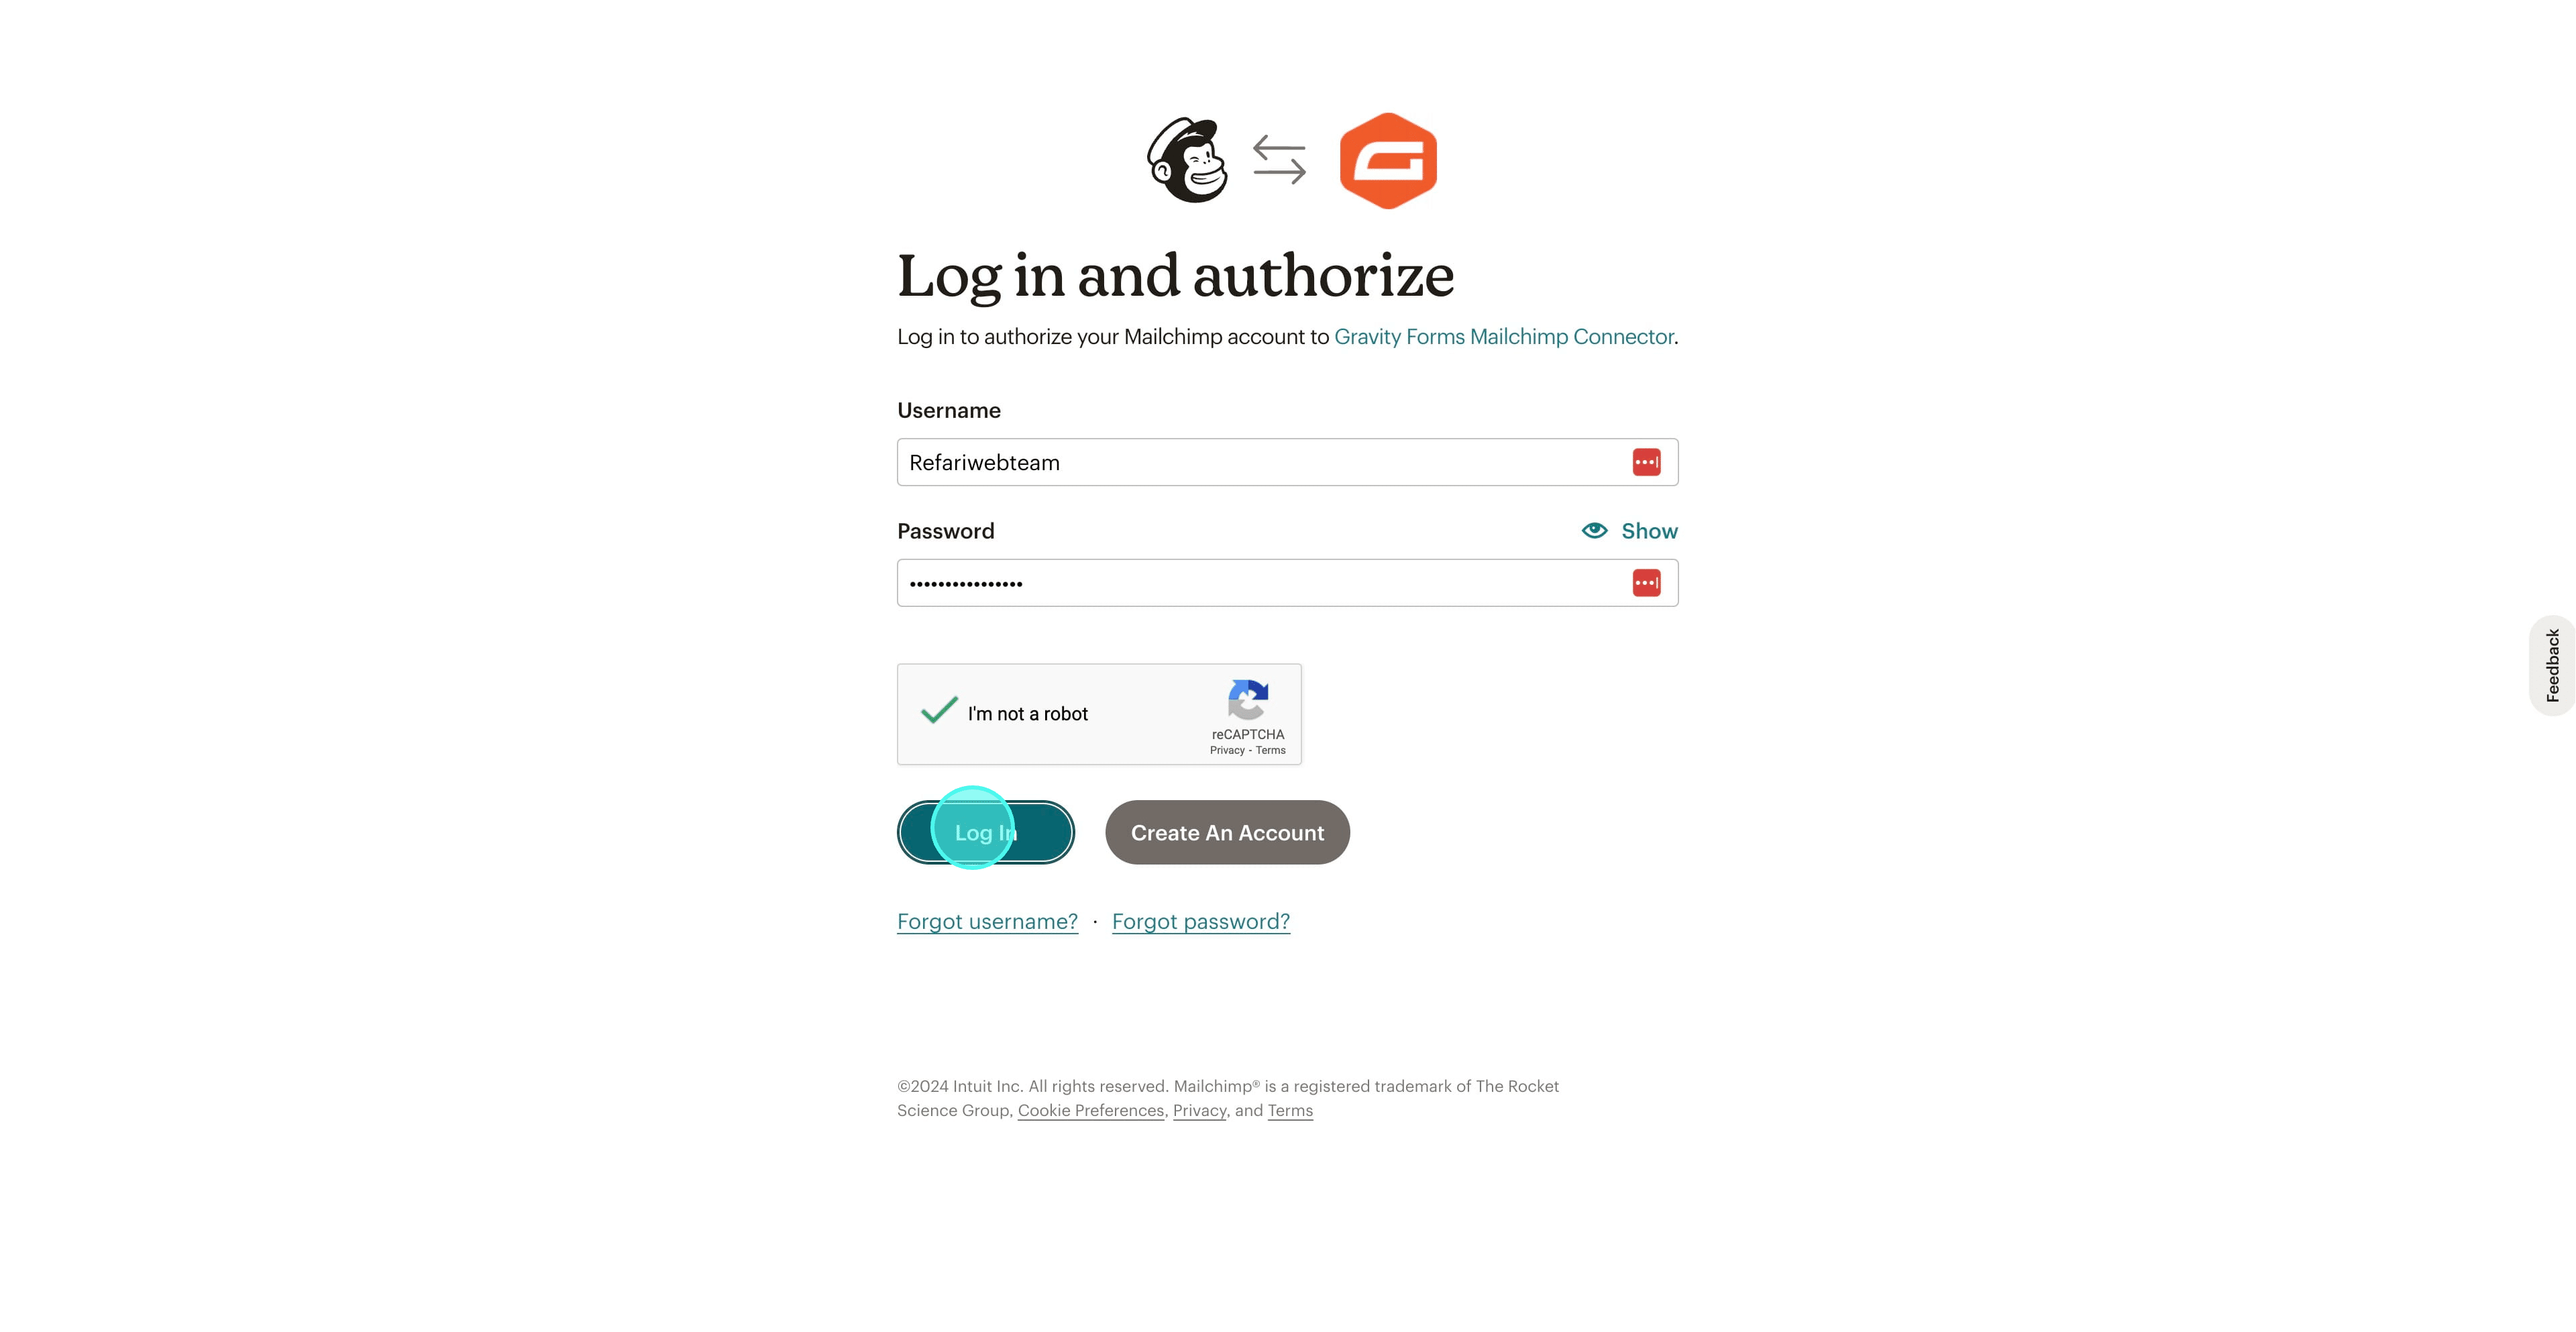
Step 6: Sign in to Mailchimp
You are taken to the Mailchimp authorisation page. Log in to your Mailchimp account.
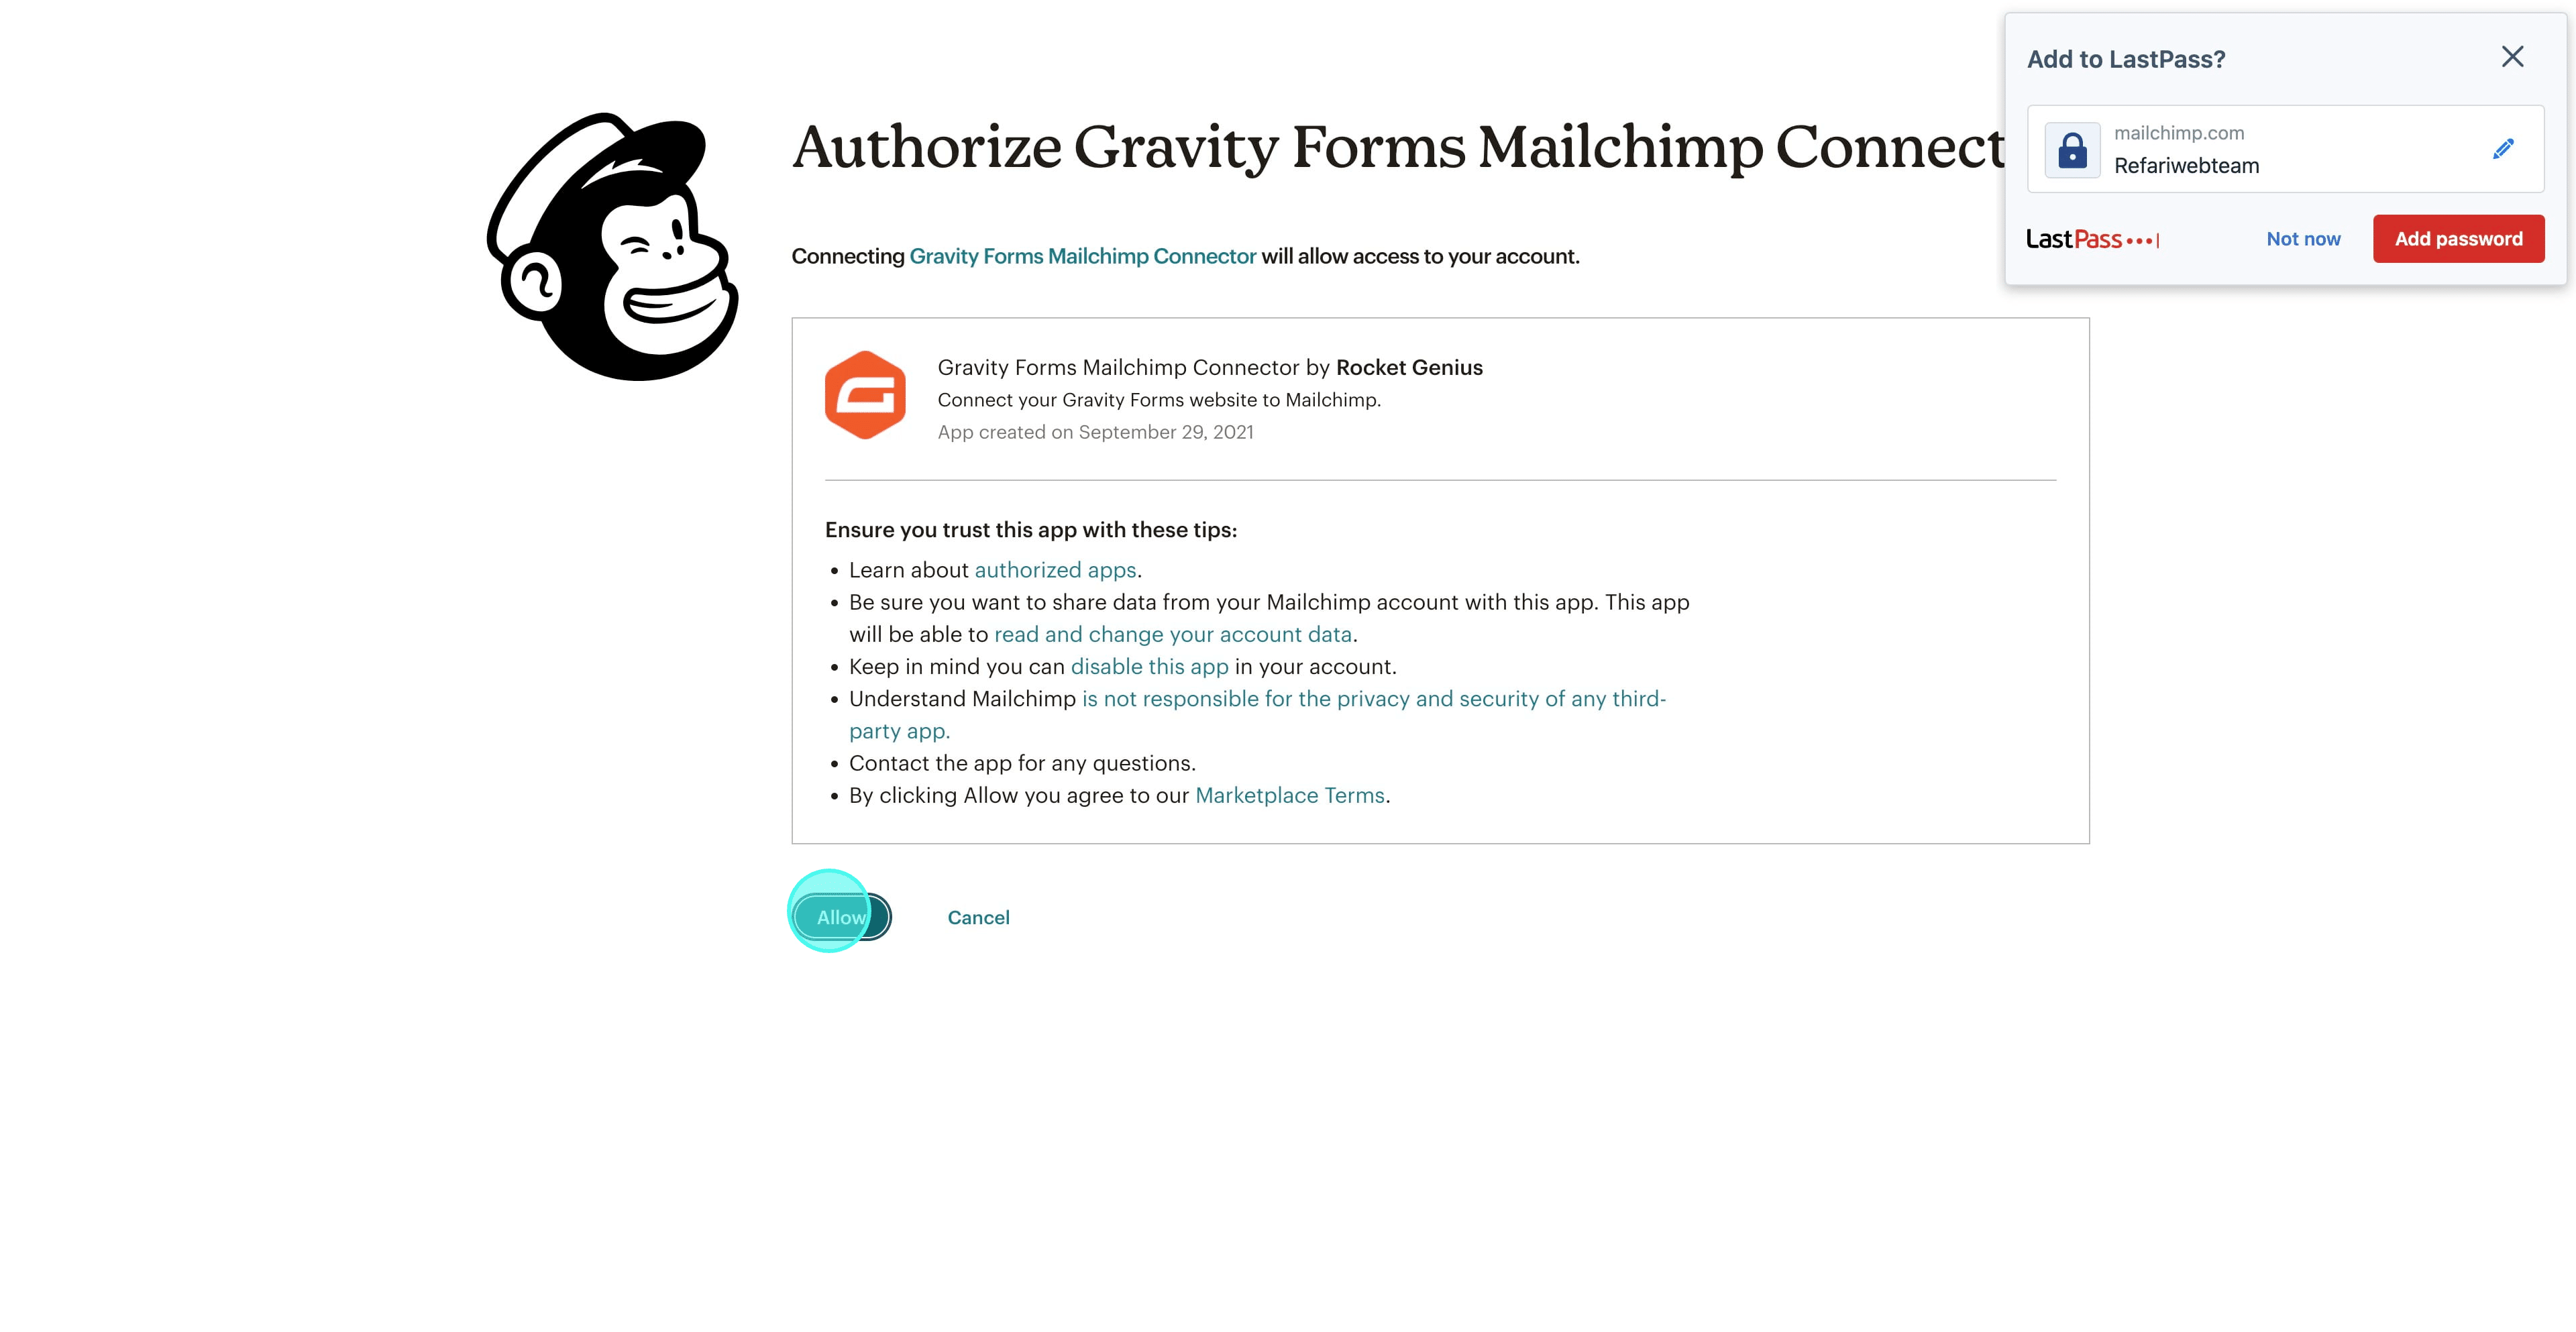
Step 7: Authorise the connection
Click Allow to let Gravity Forms talk to Mailchimp.
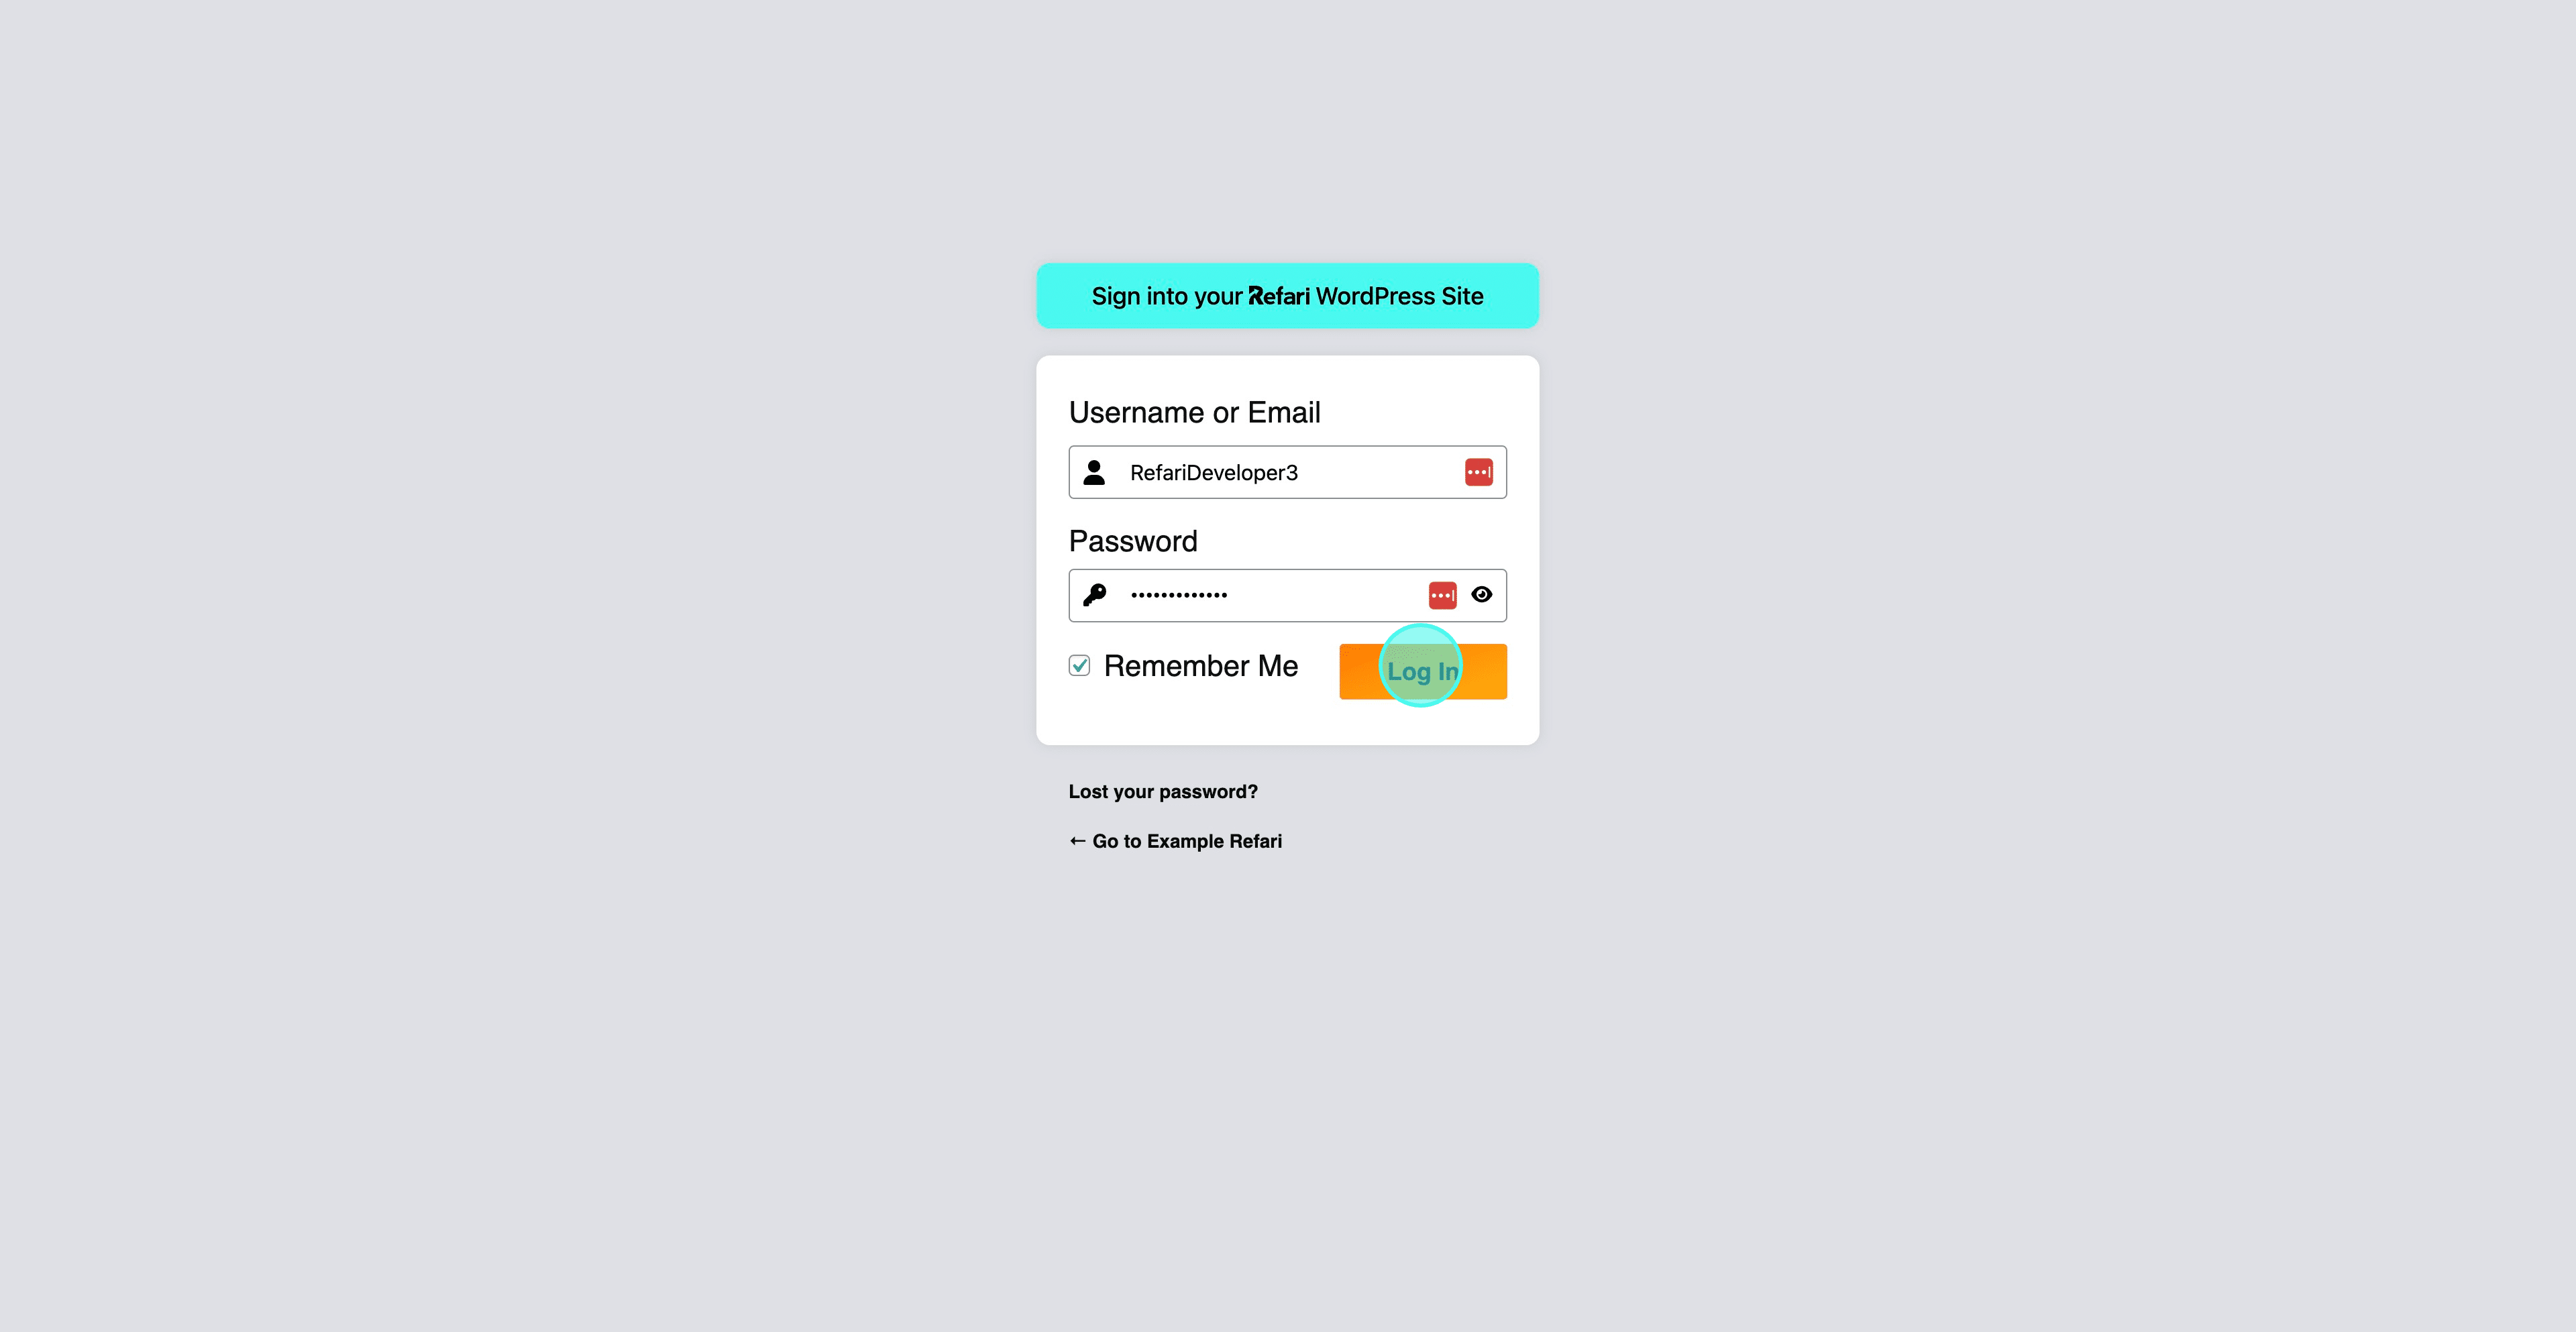
Step 8: Log back in to WordPress
You are returned to your WordPress login. Sign in again to continue.
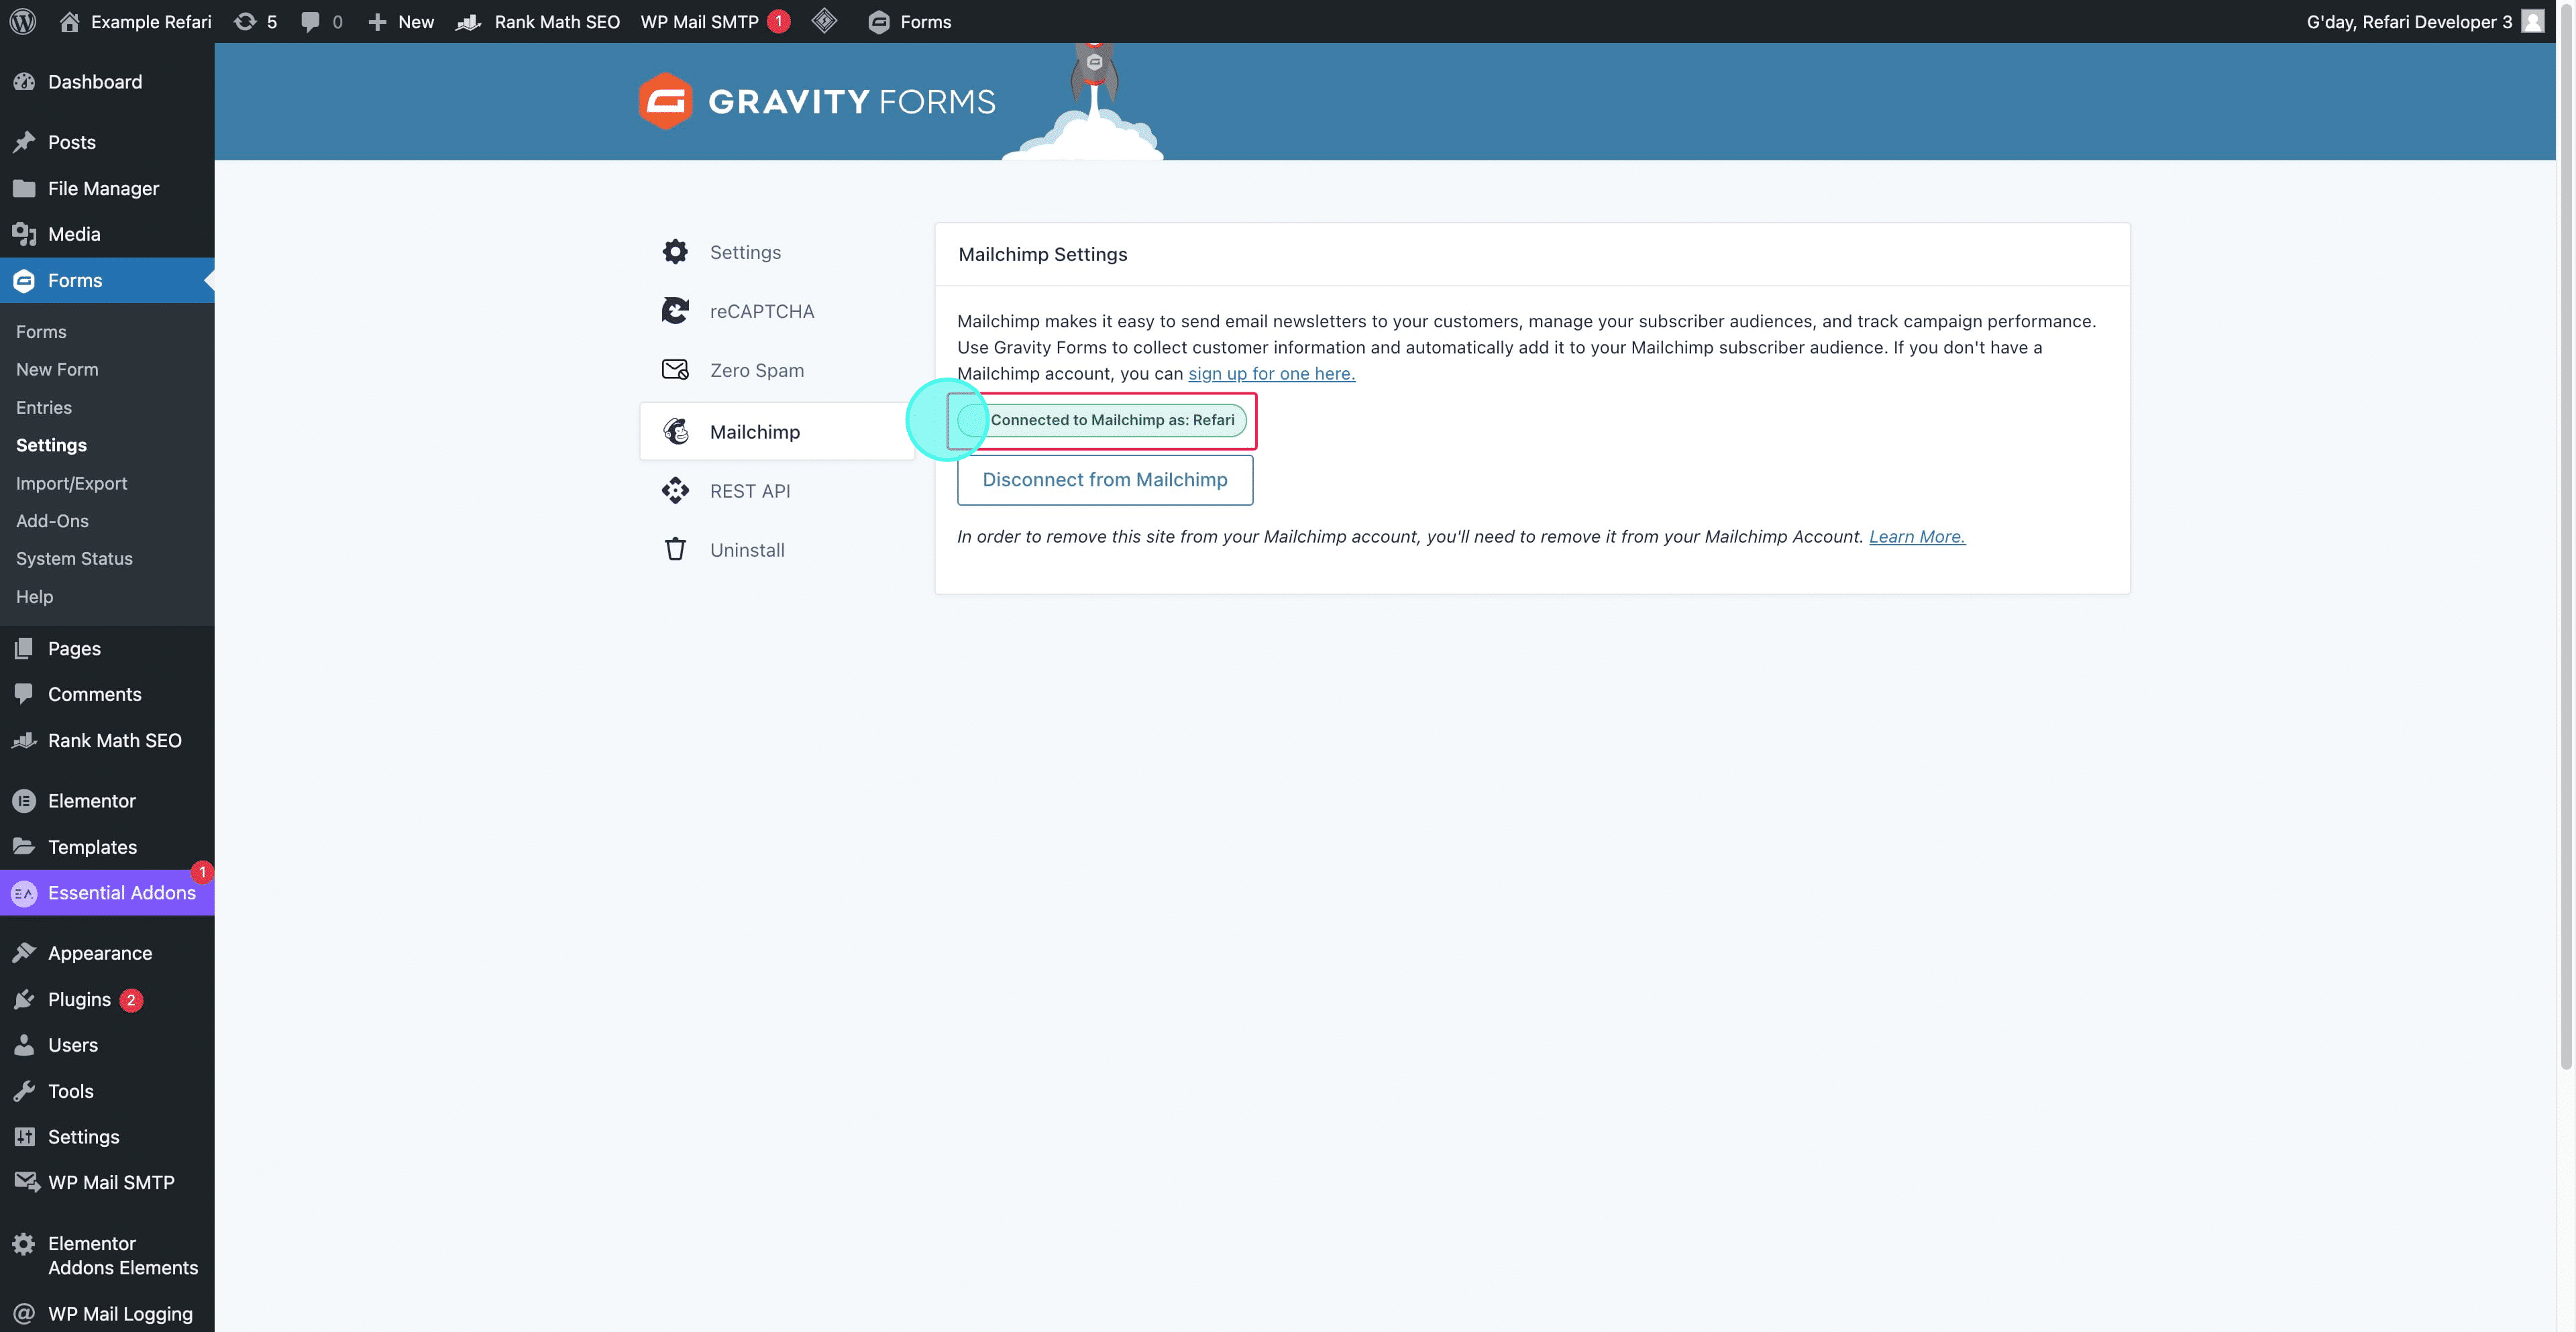
Step 9: Check it connected
You should see Connected to Mailchimp as followed by your account name.
Link a form to a Mailchimp audience
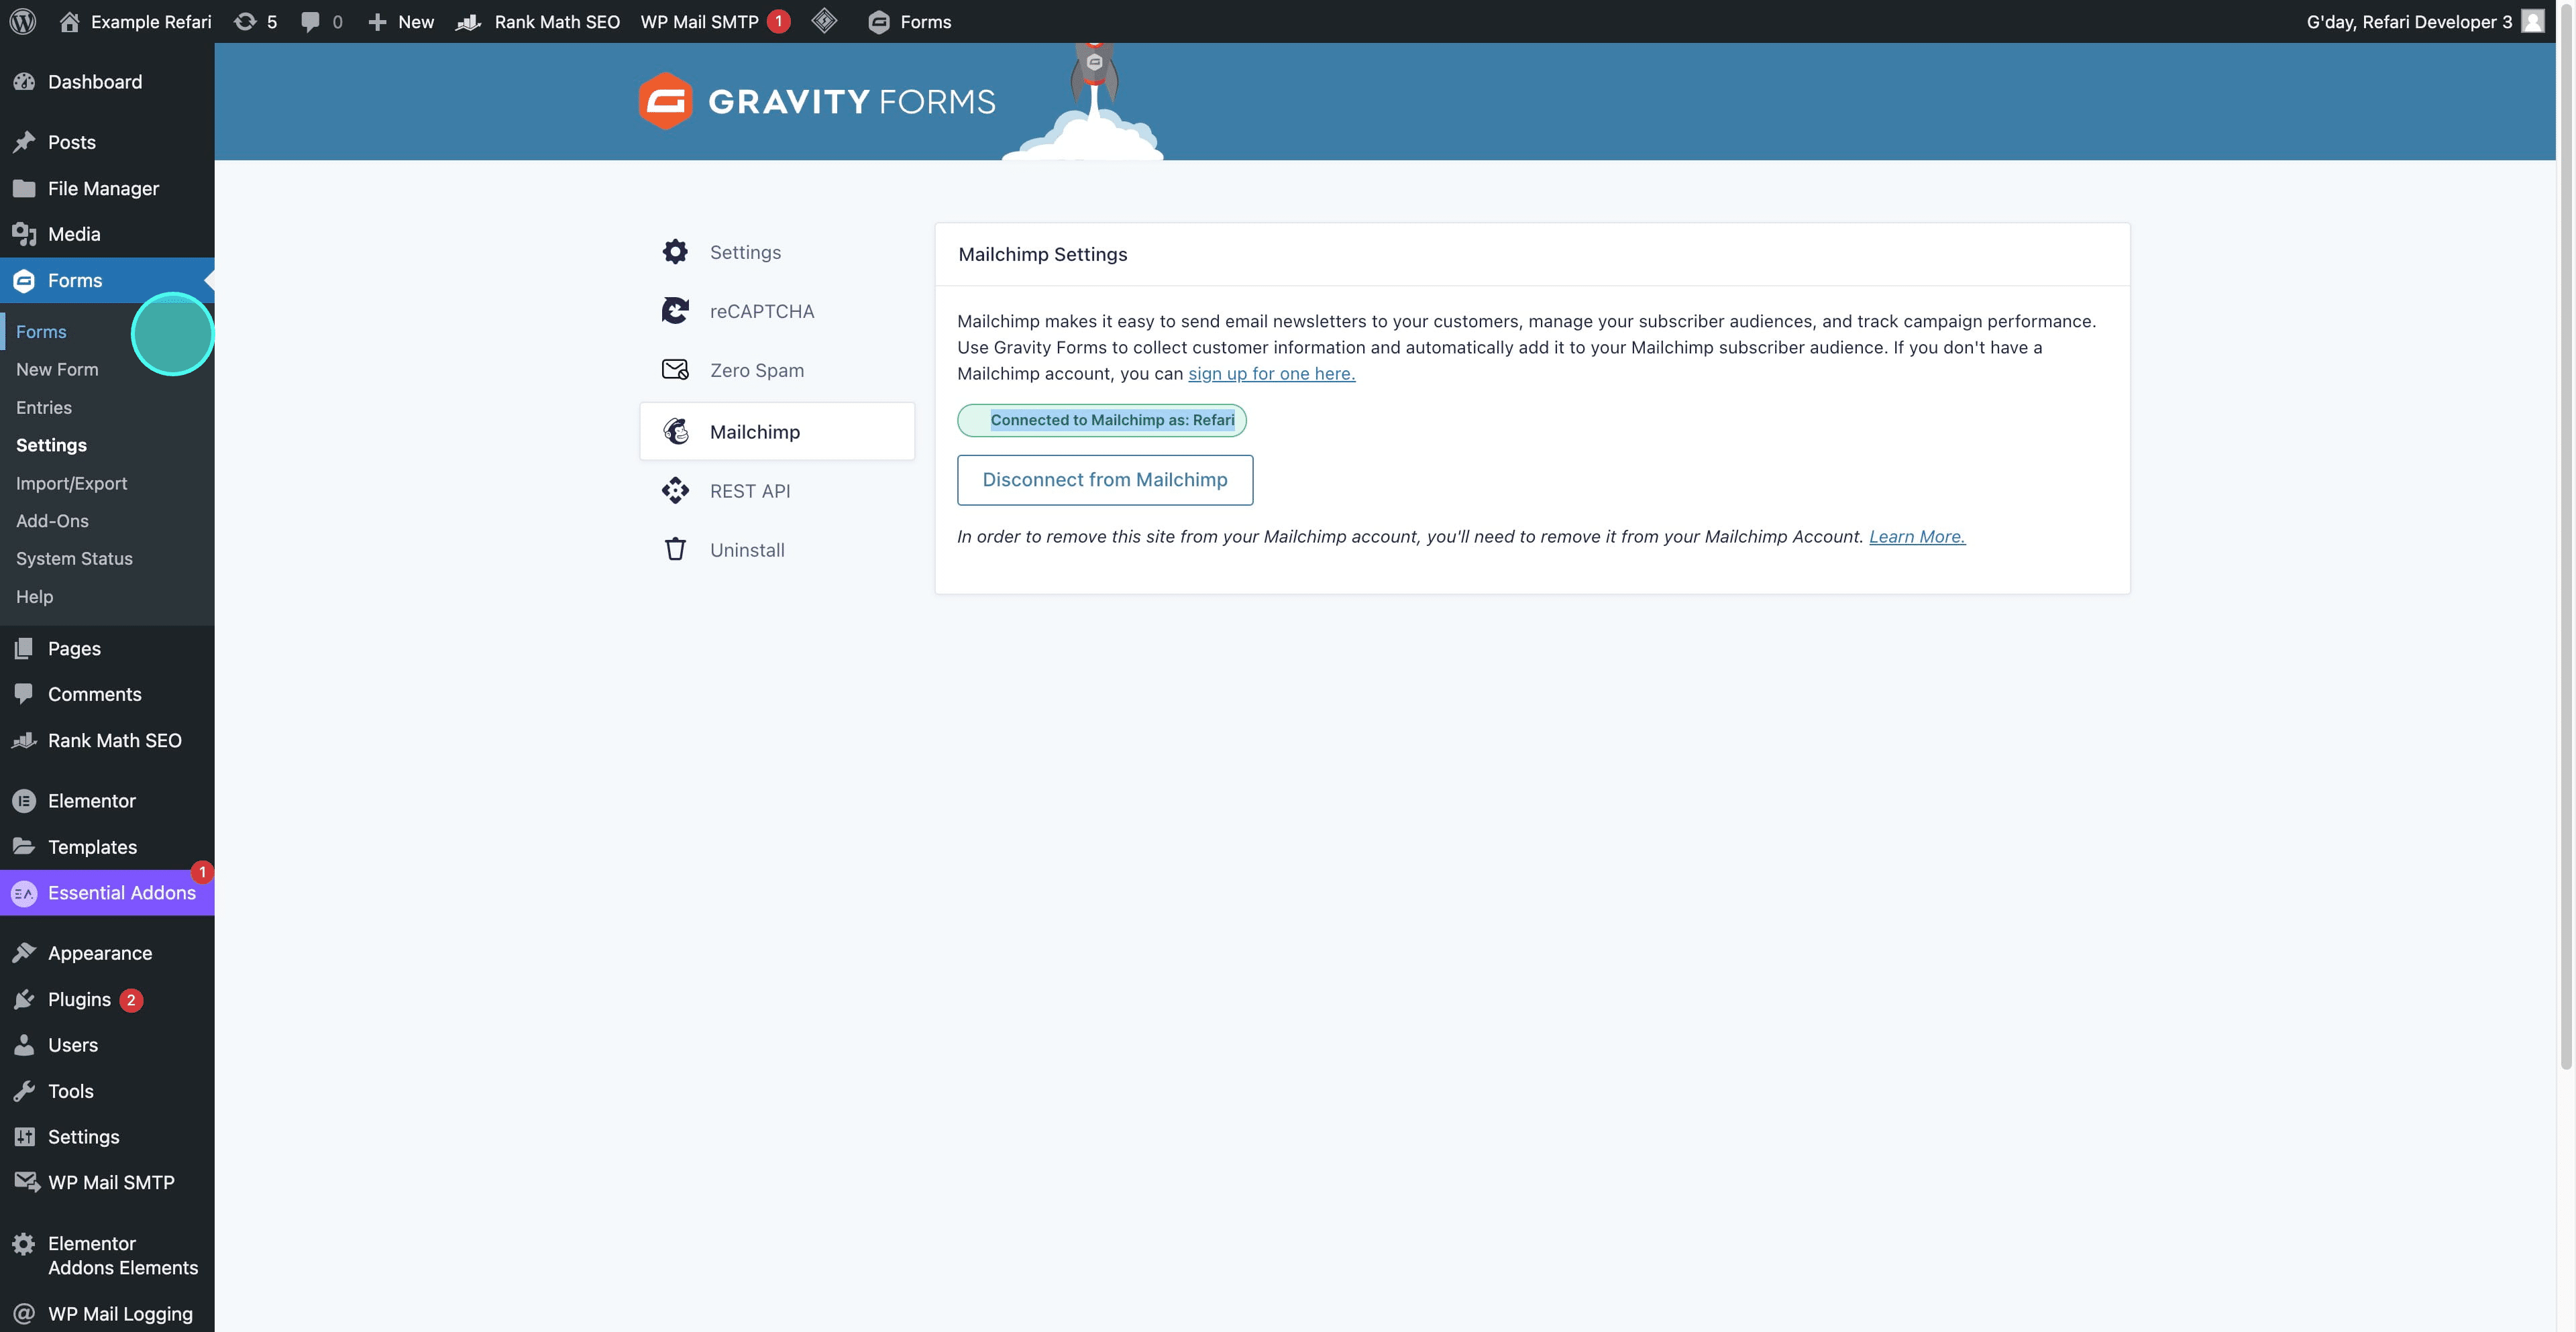
Step 10: Open your forms
Click Forms to see all your forms.
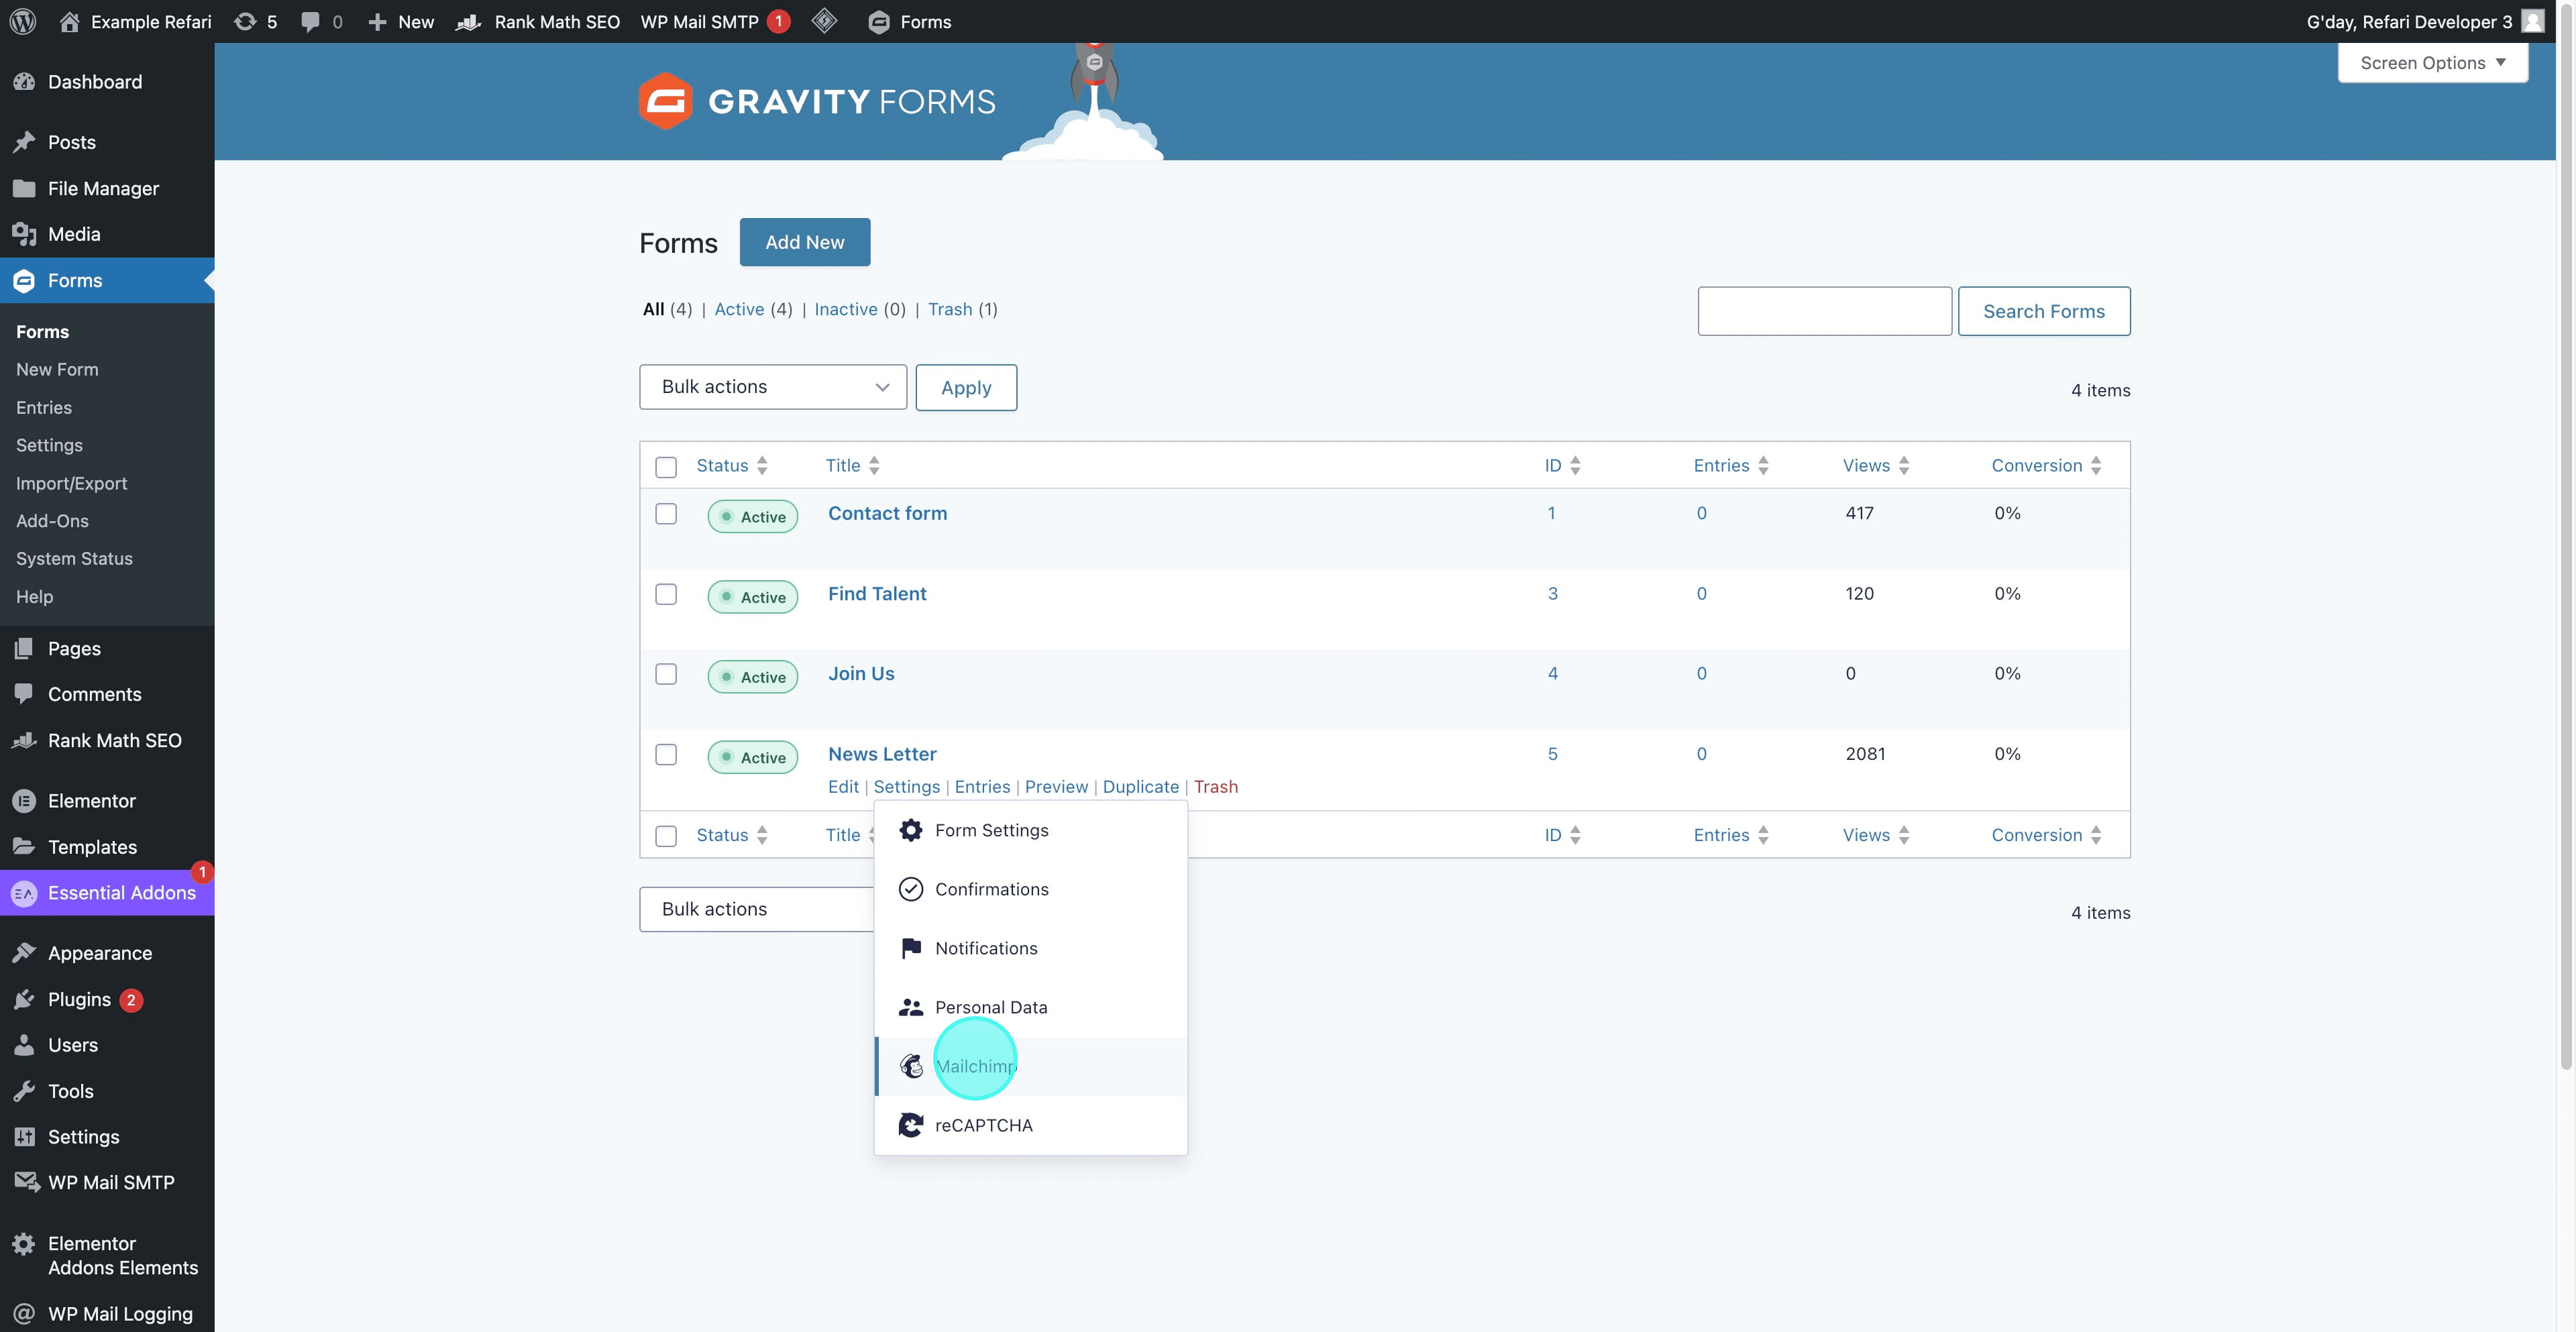
Step 11: Open the form's Mailchimp settings
Hover over the settings of the form you want, then click Mailchimp.
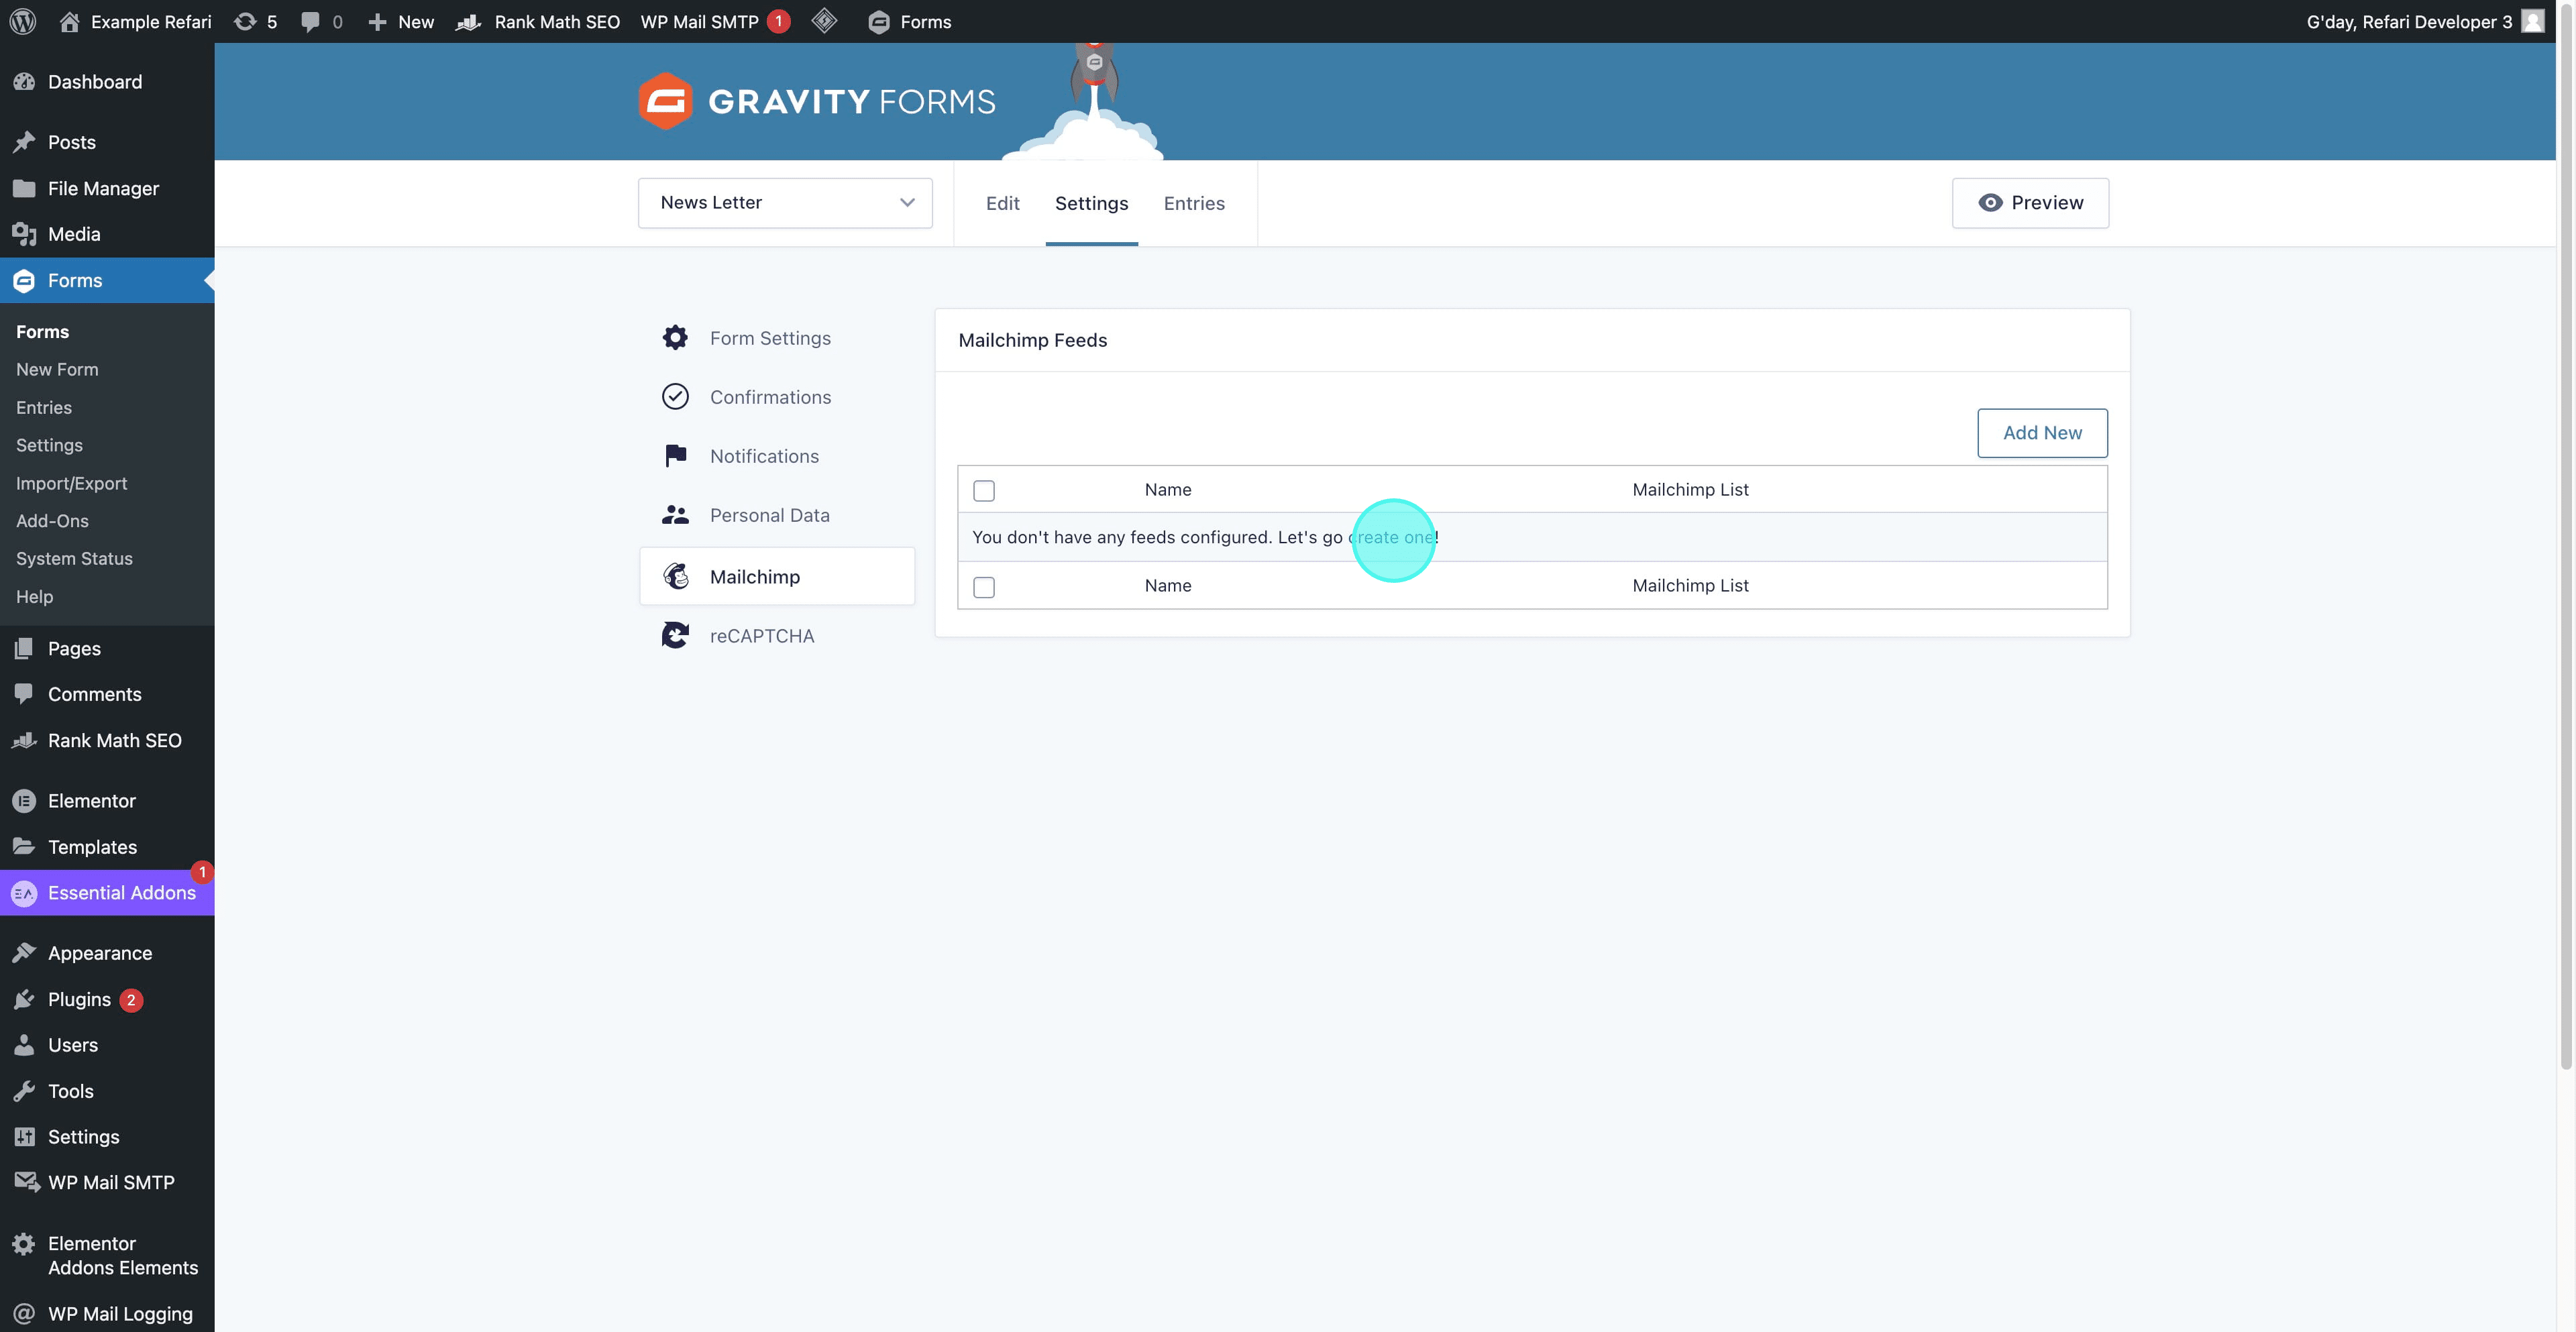
Step 12: Create a feed
Click Add New, or Create one, to start a new feed. A feed is the rule that says which form sends data to which Mailchimp audience.
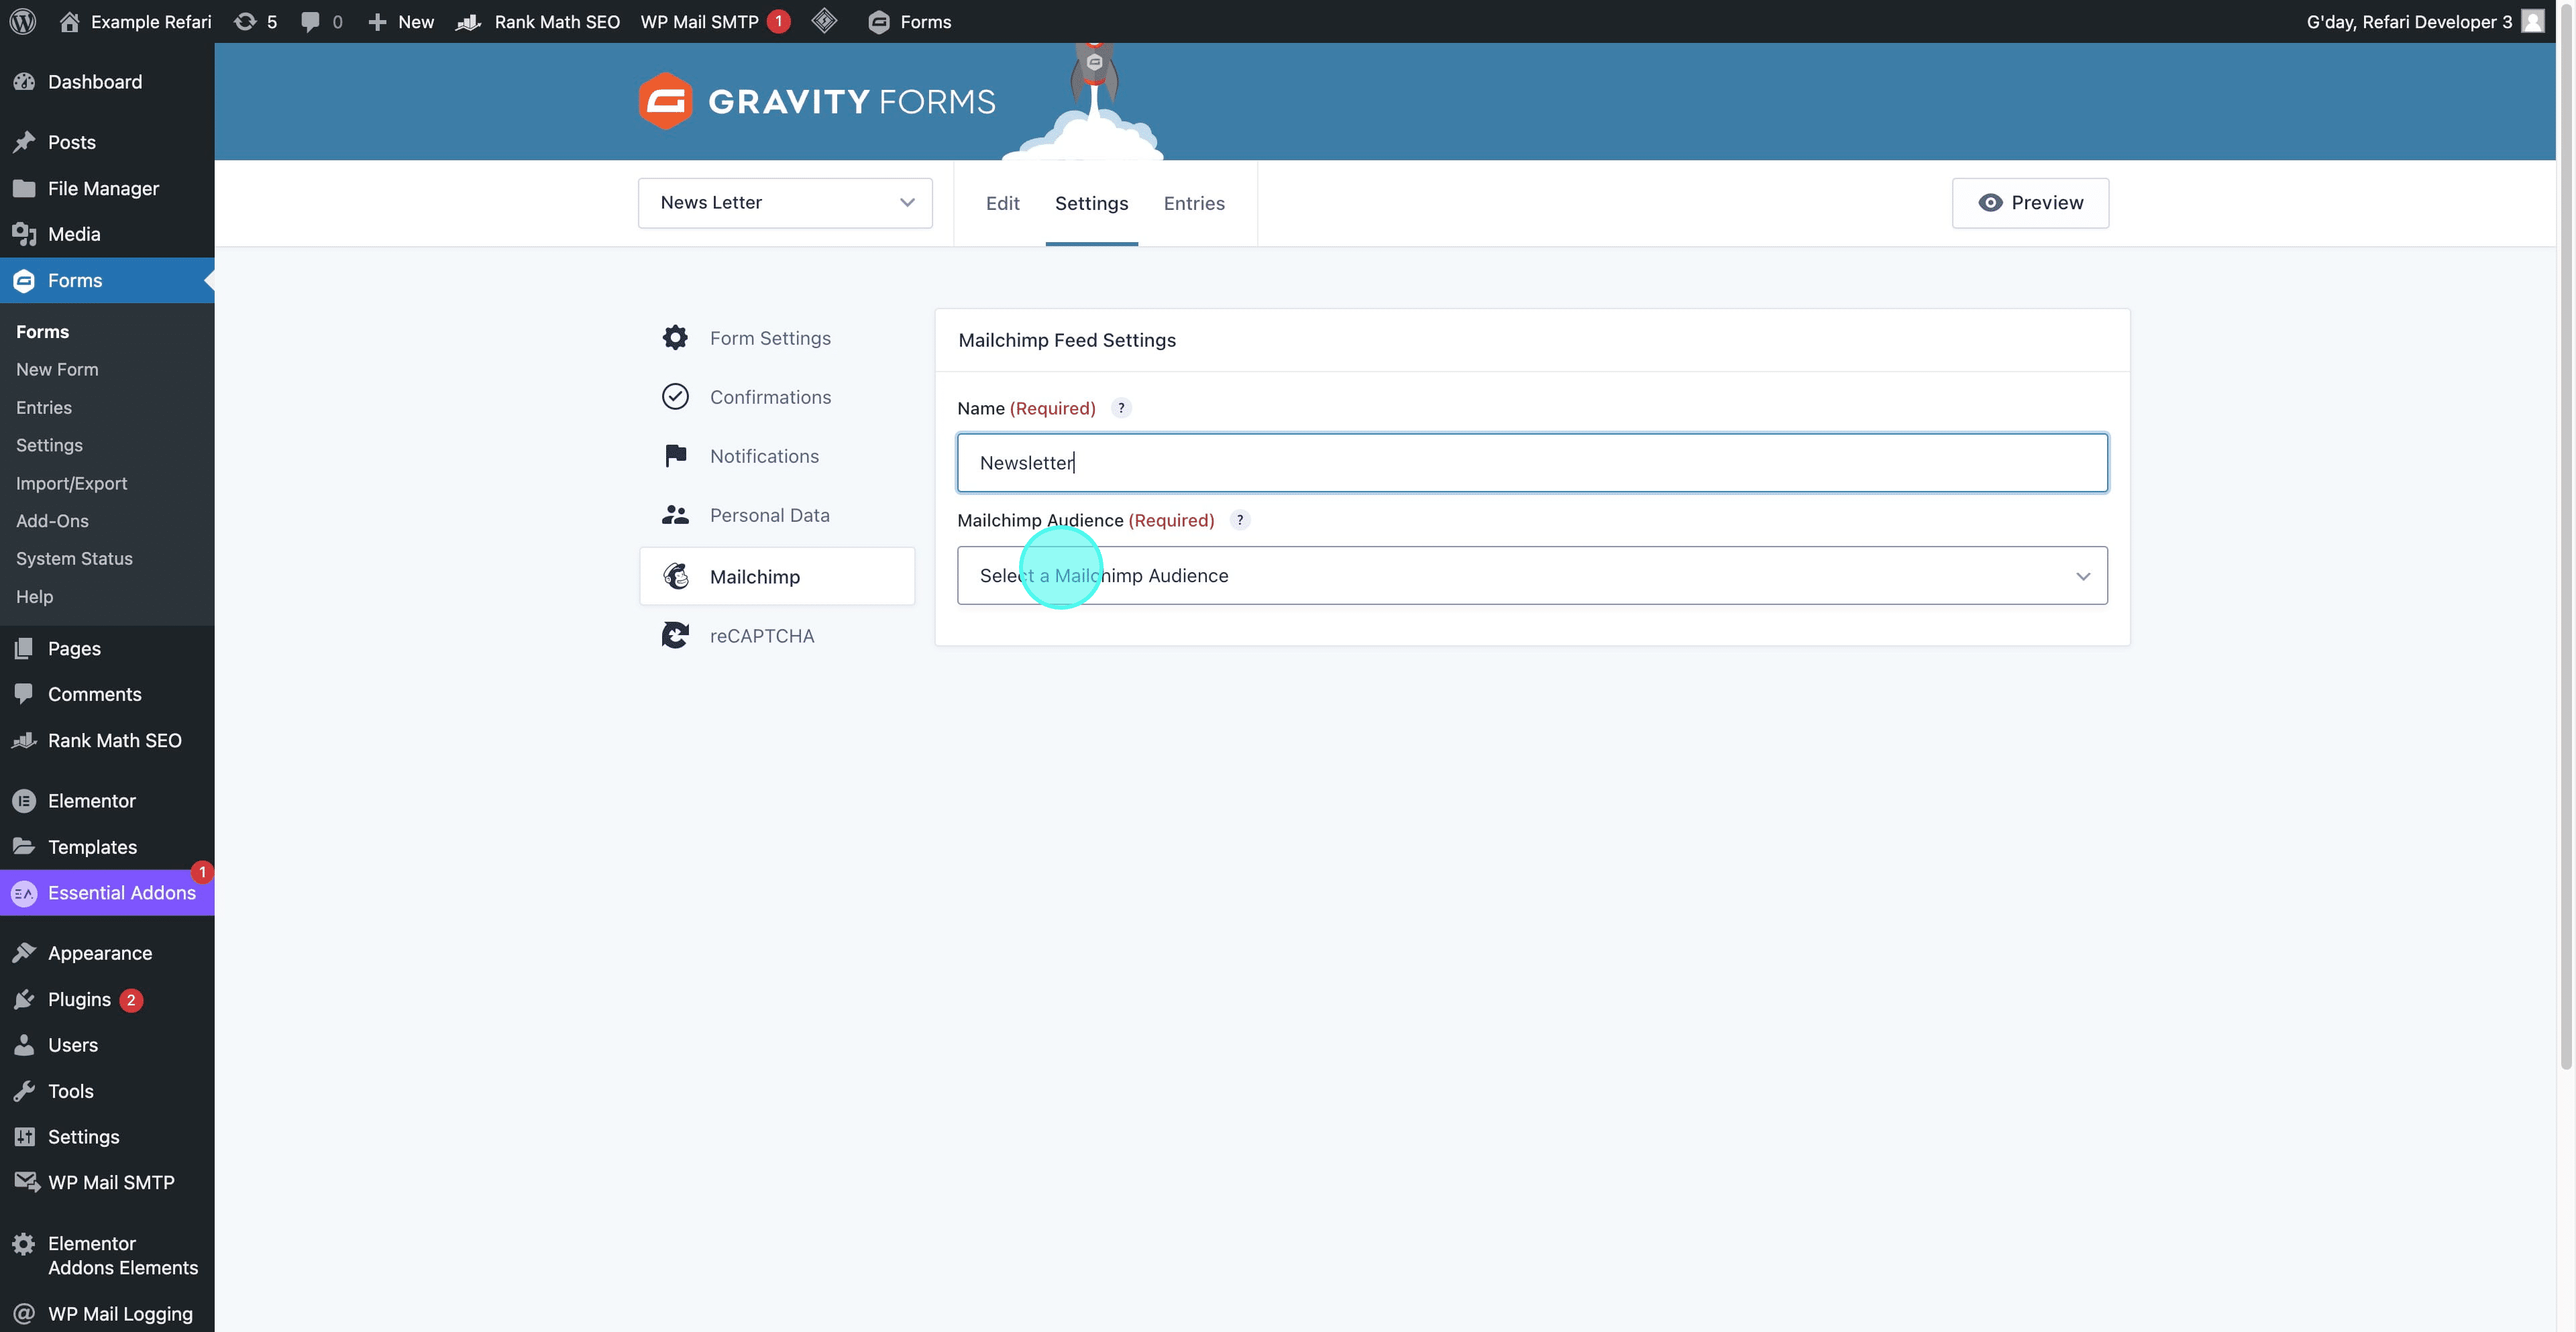
Step 13: Name it and pick the audience
Give the feed a name and choose the Mailchimp audience it should add people to.
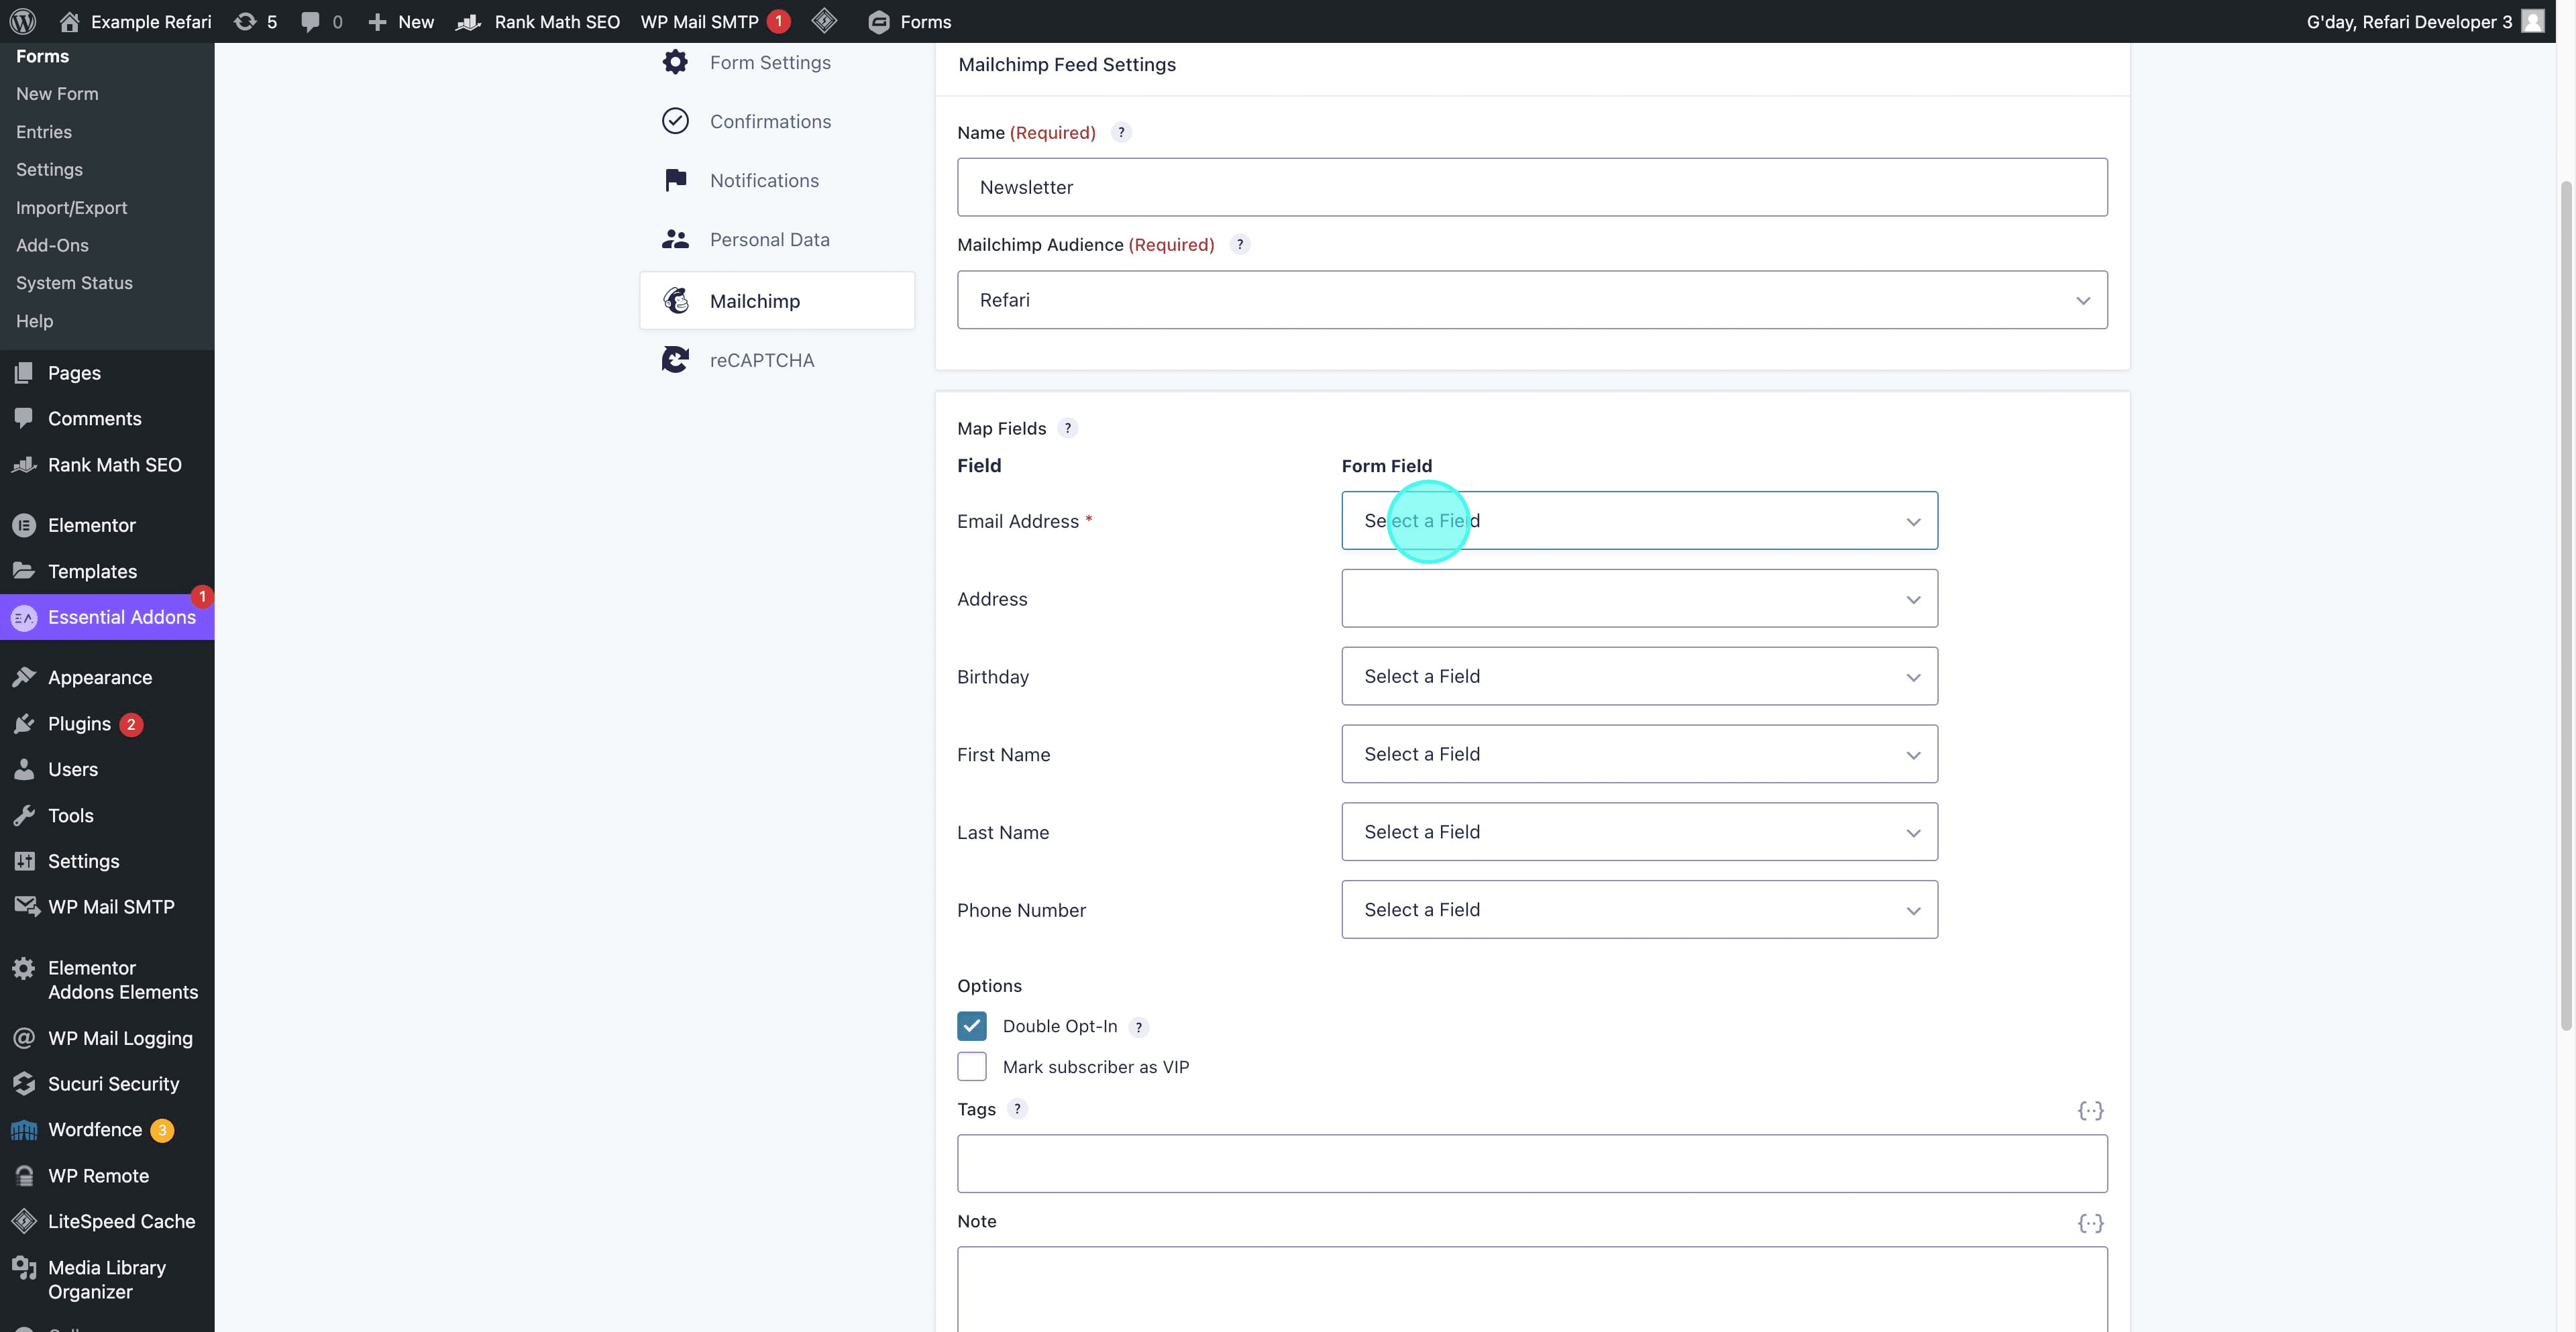
Step 14: Map the fields
You now see the fields from your Mailchimp audience alongside the fields on your form. Match them up so each answer lands in the right place.
Step 15: Set your options
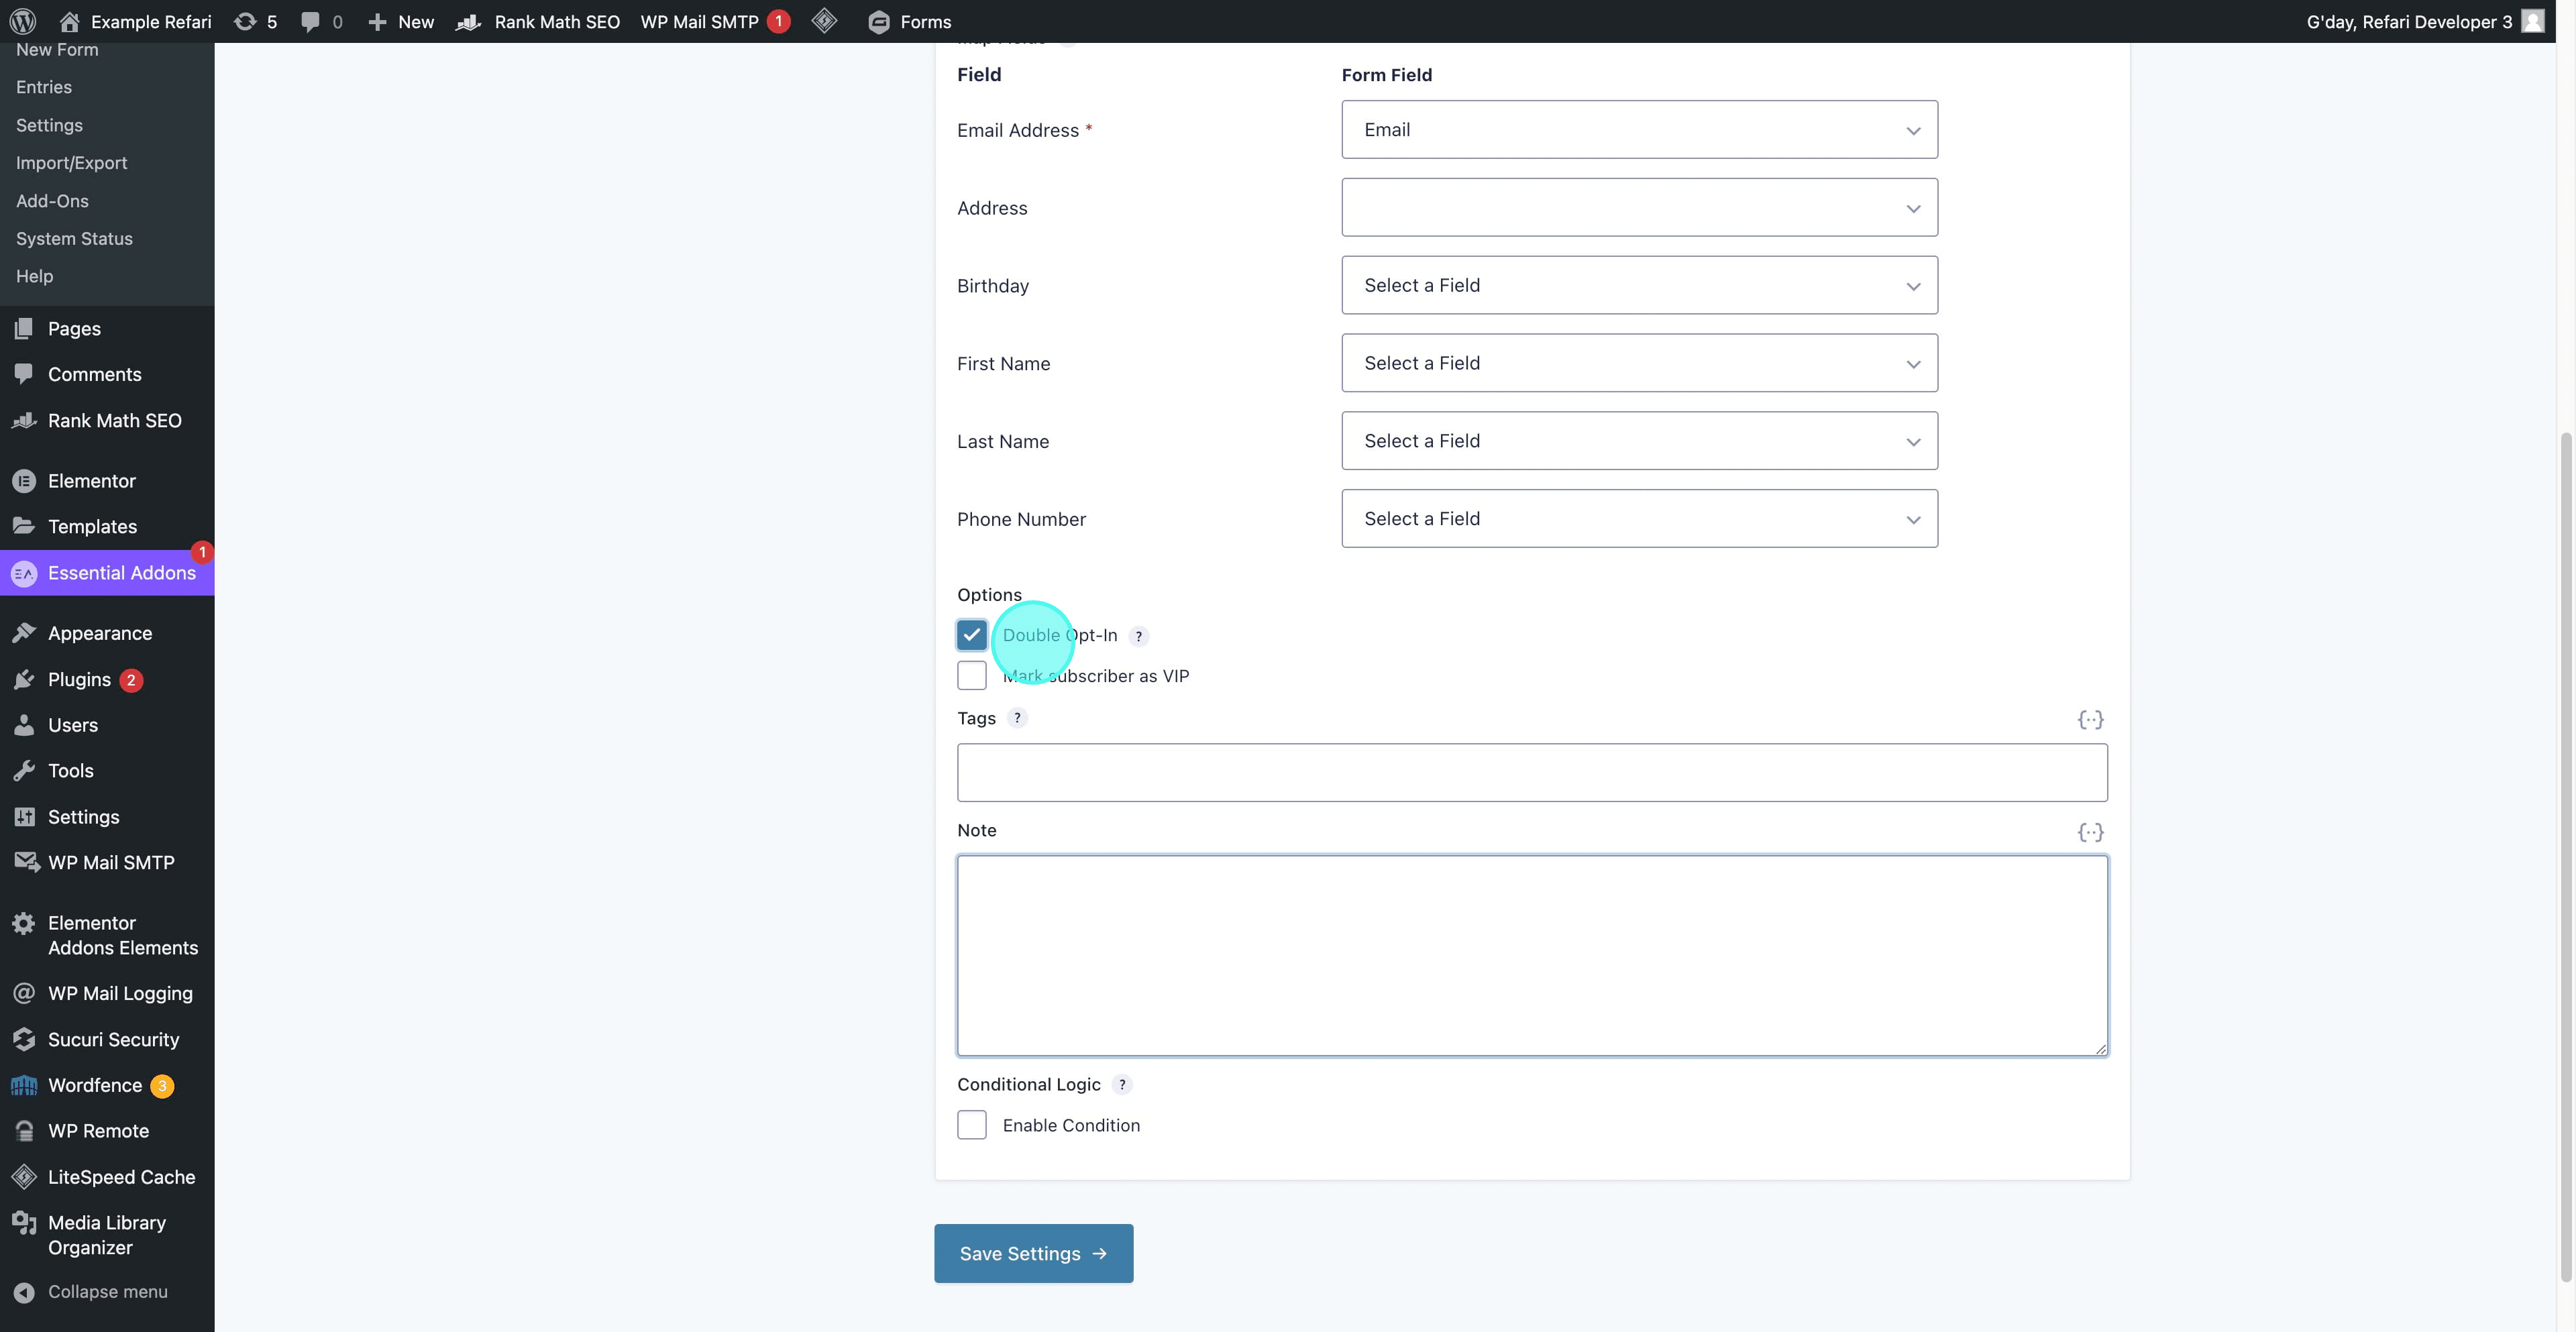
Enable Double Opt-In if you want it, and add tags or notes to customise what Mailchimp records.
Step 16: Save
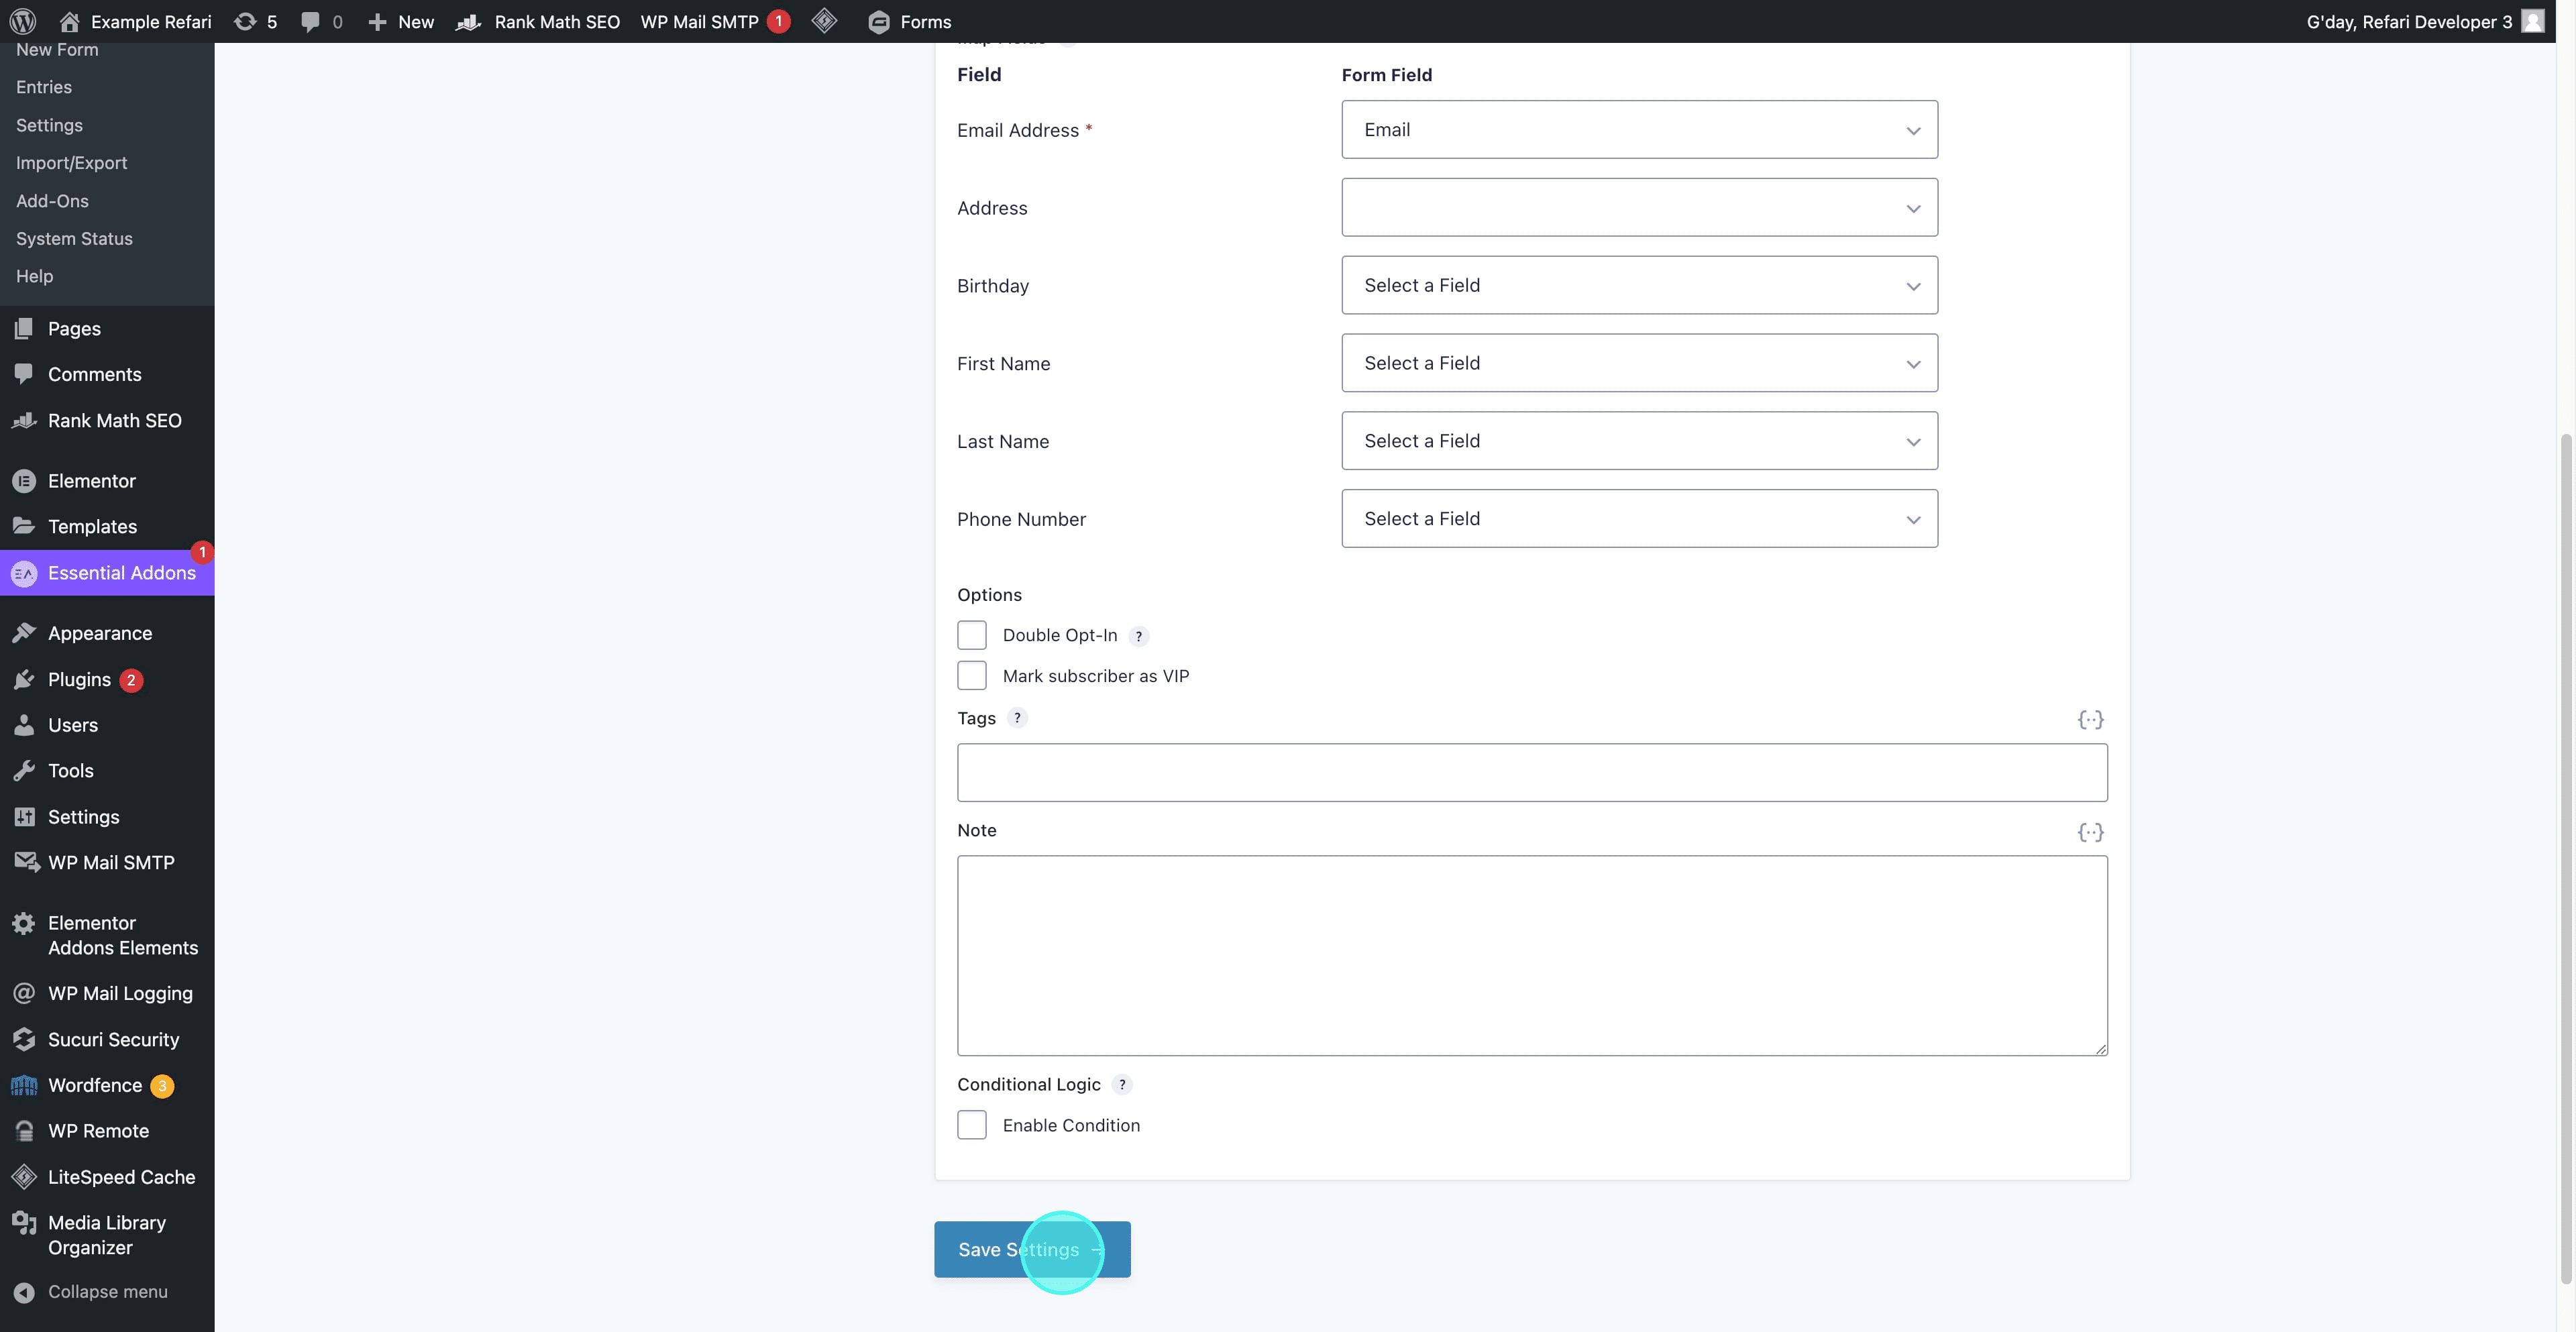
Click Save Settings.
Test that it works
Step 17: Open the live form
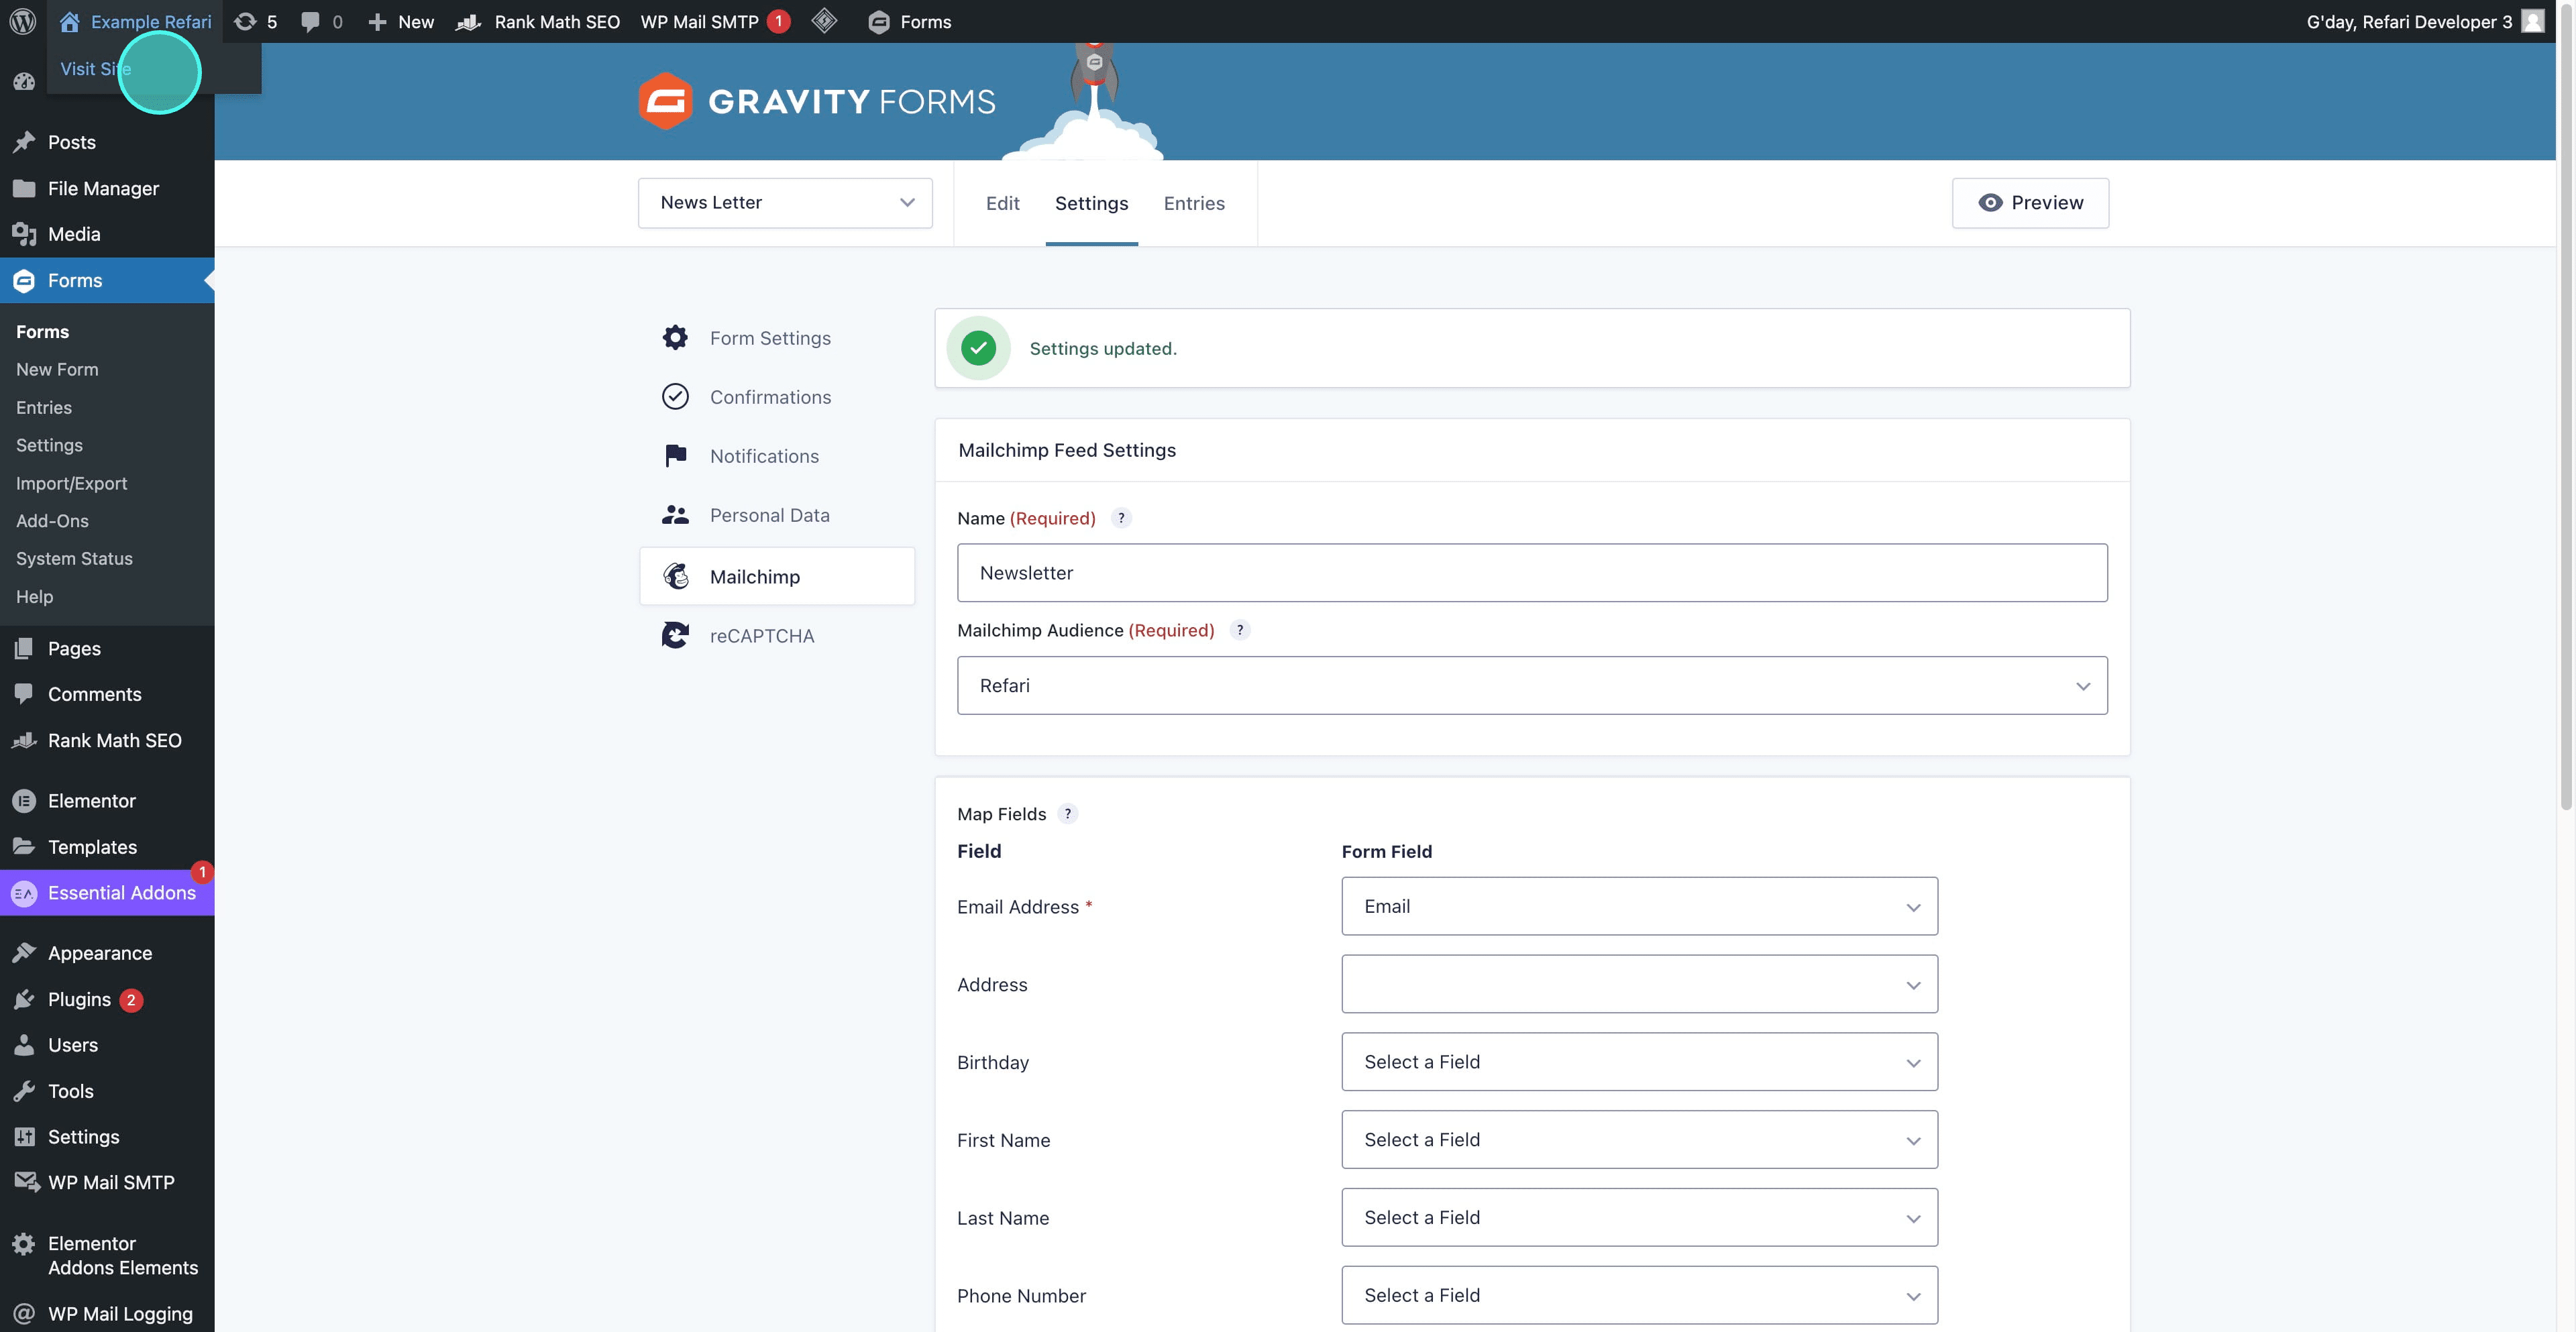
Go to the page where the form is embedded.
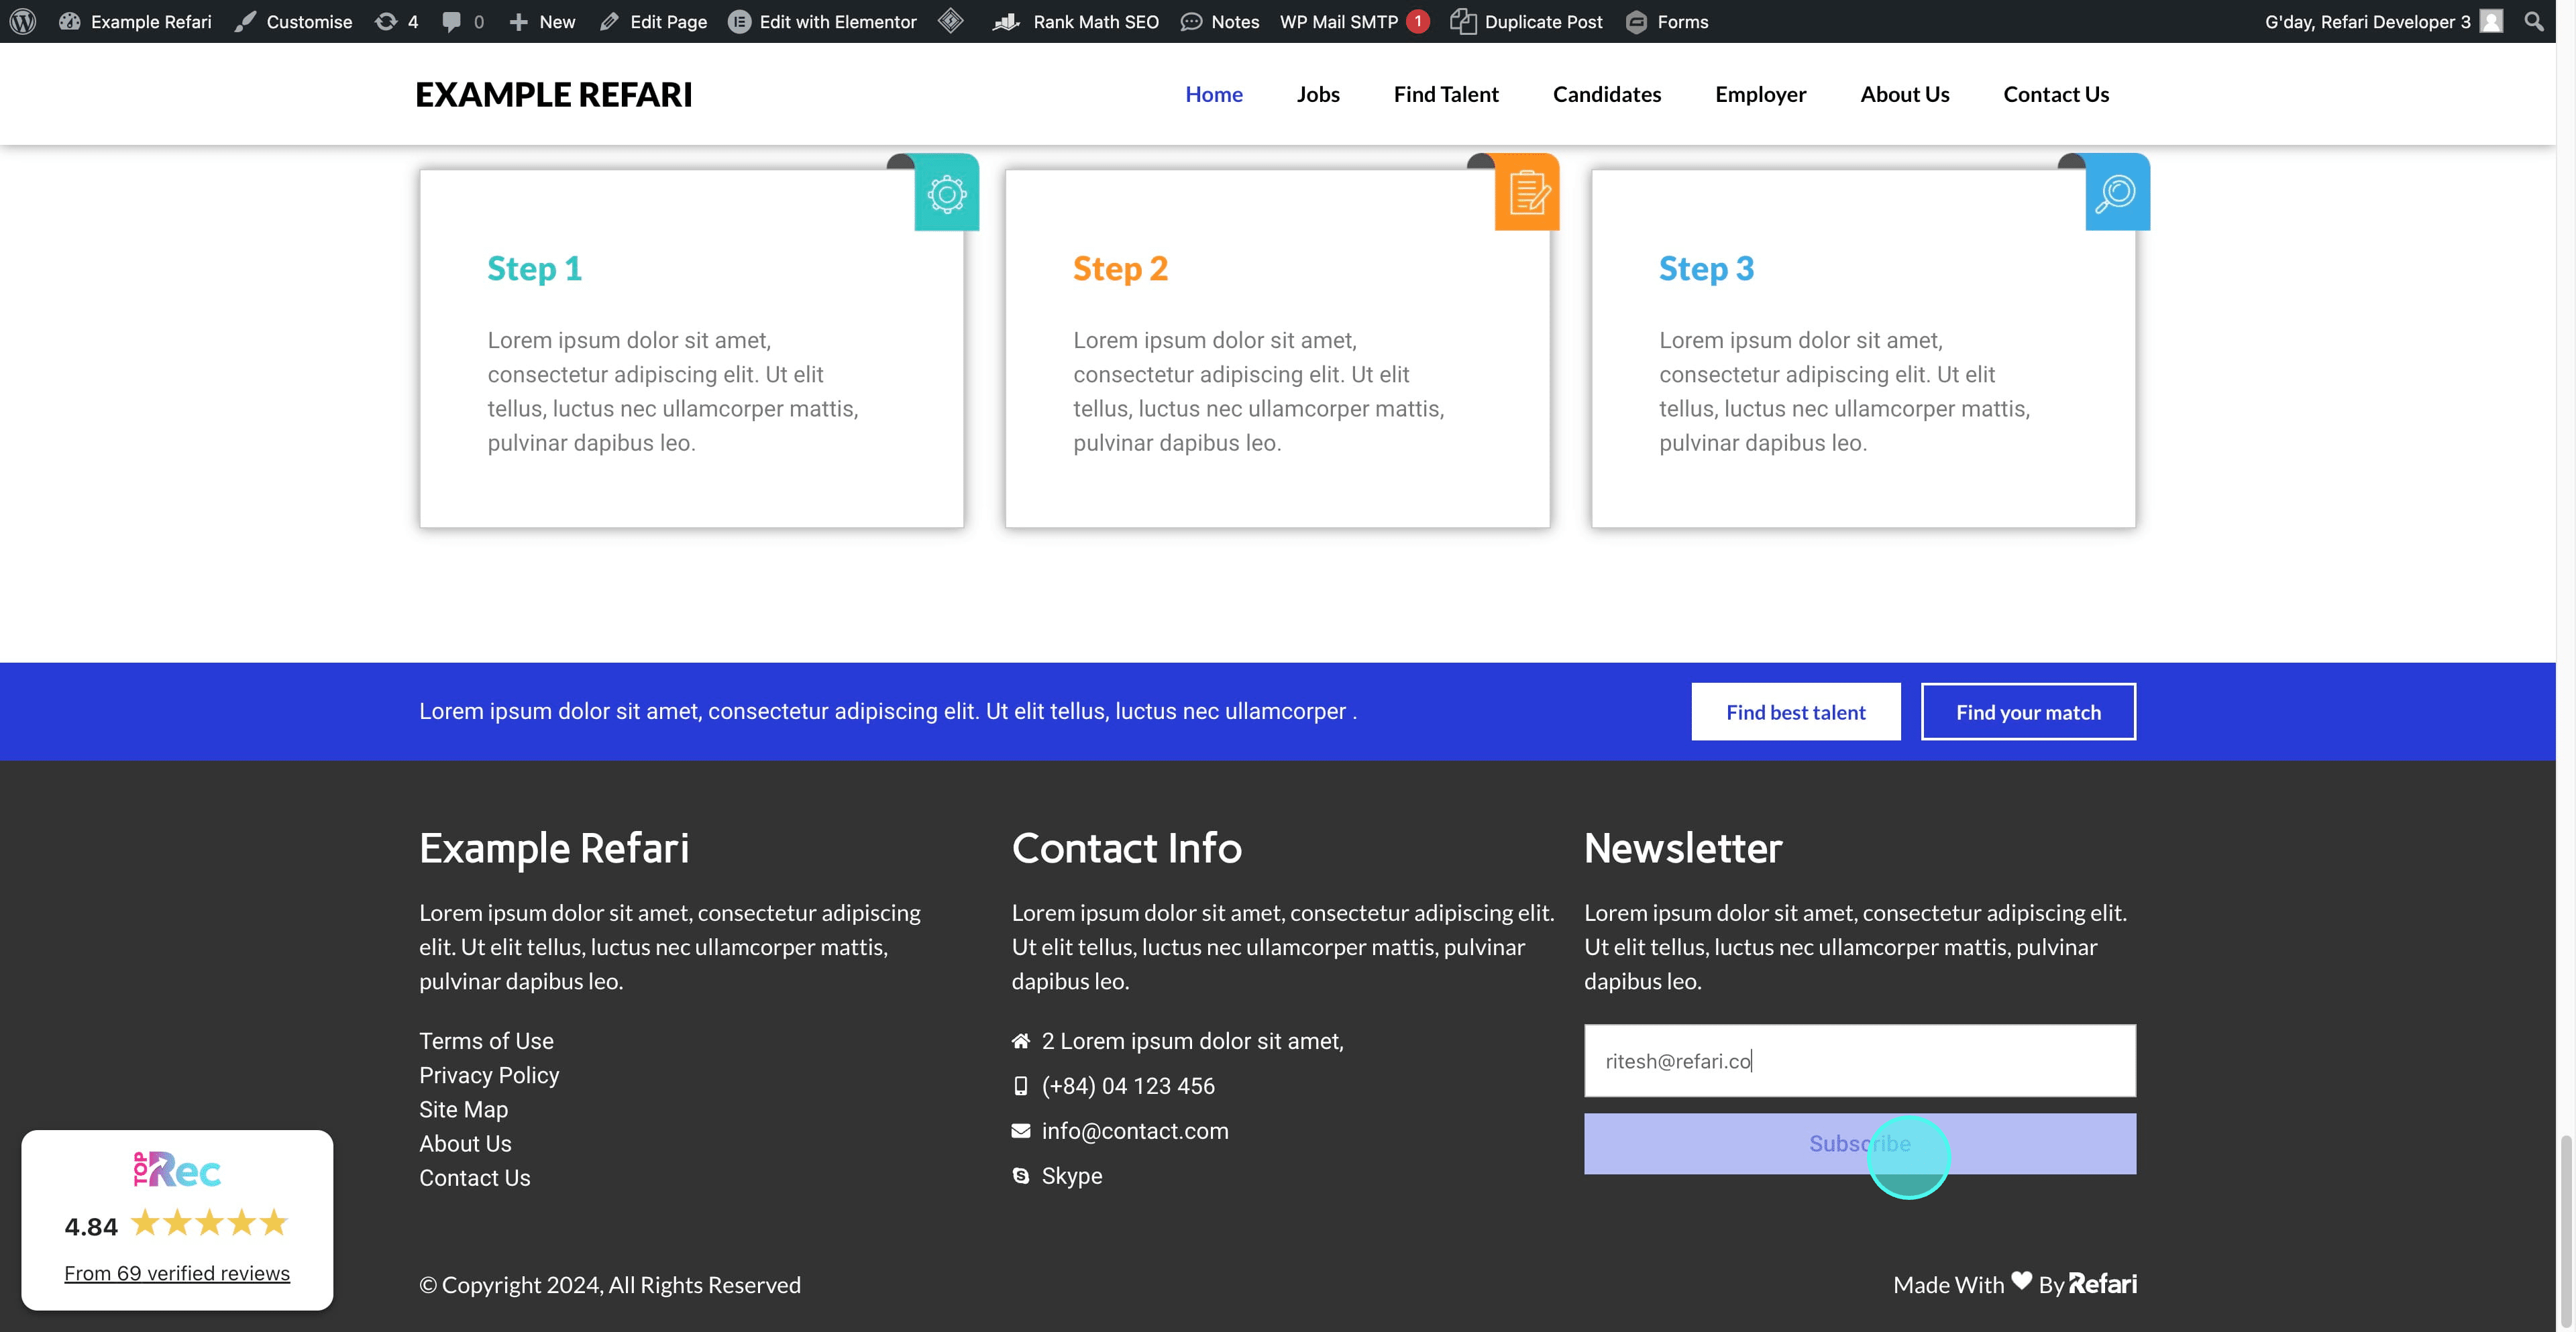
Step 18: Submit a test entry
Fill the form in and click Subscribe.
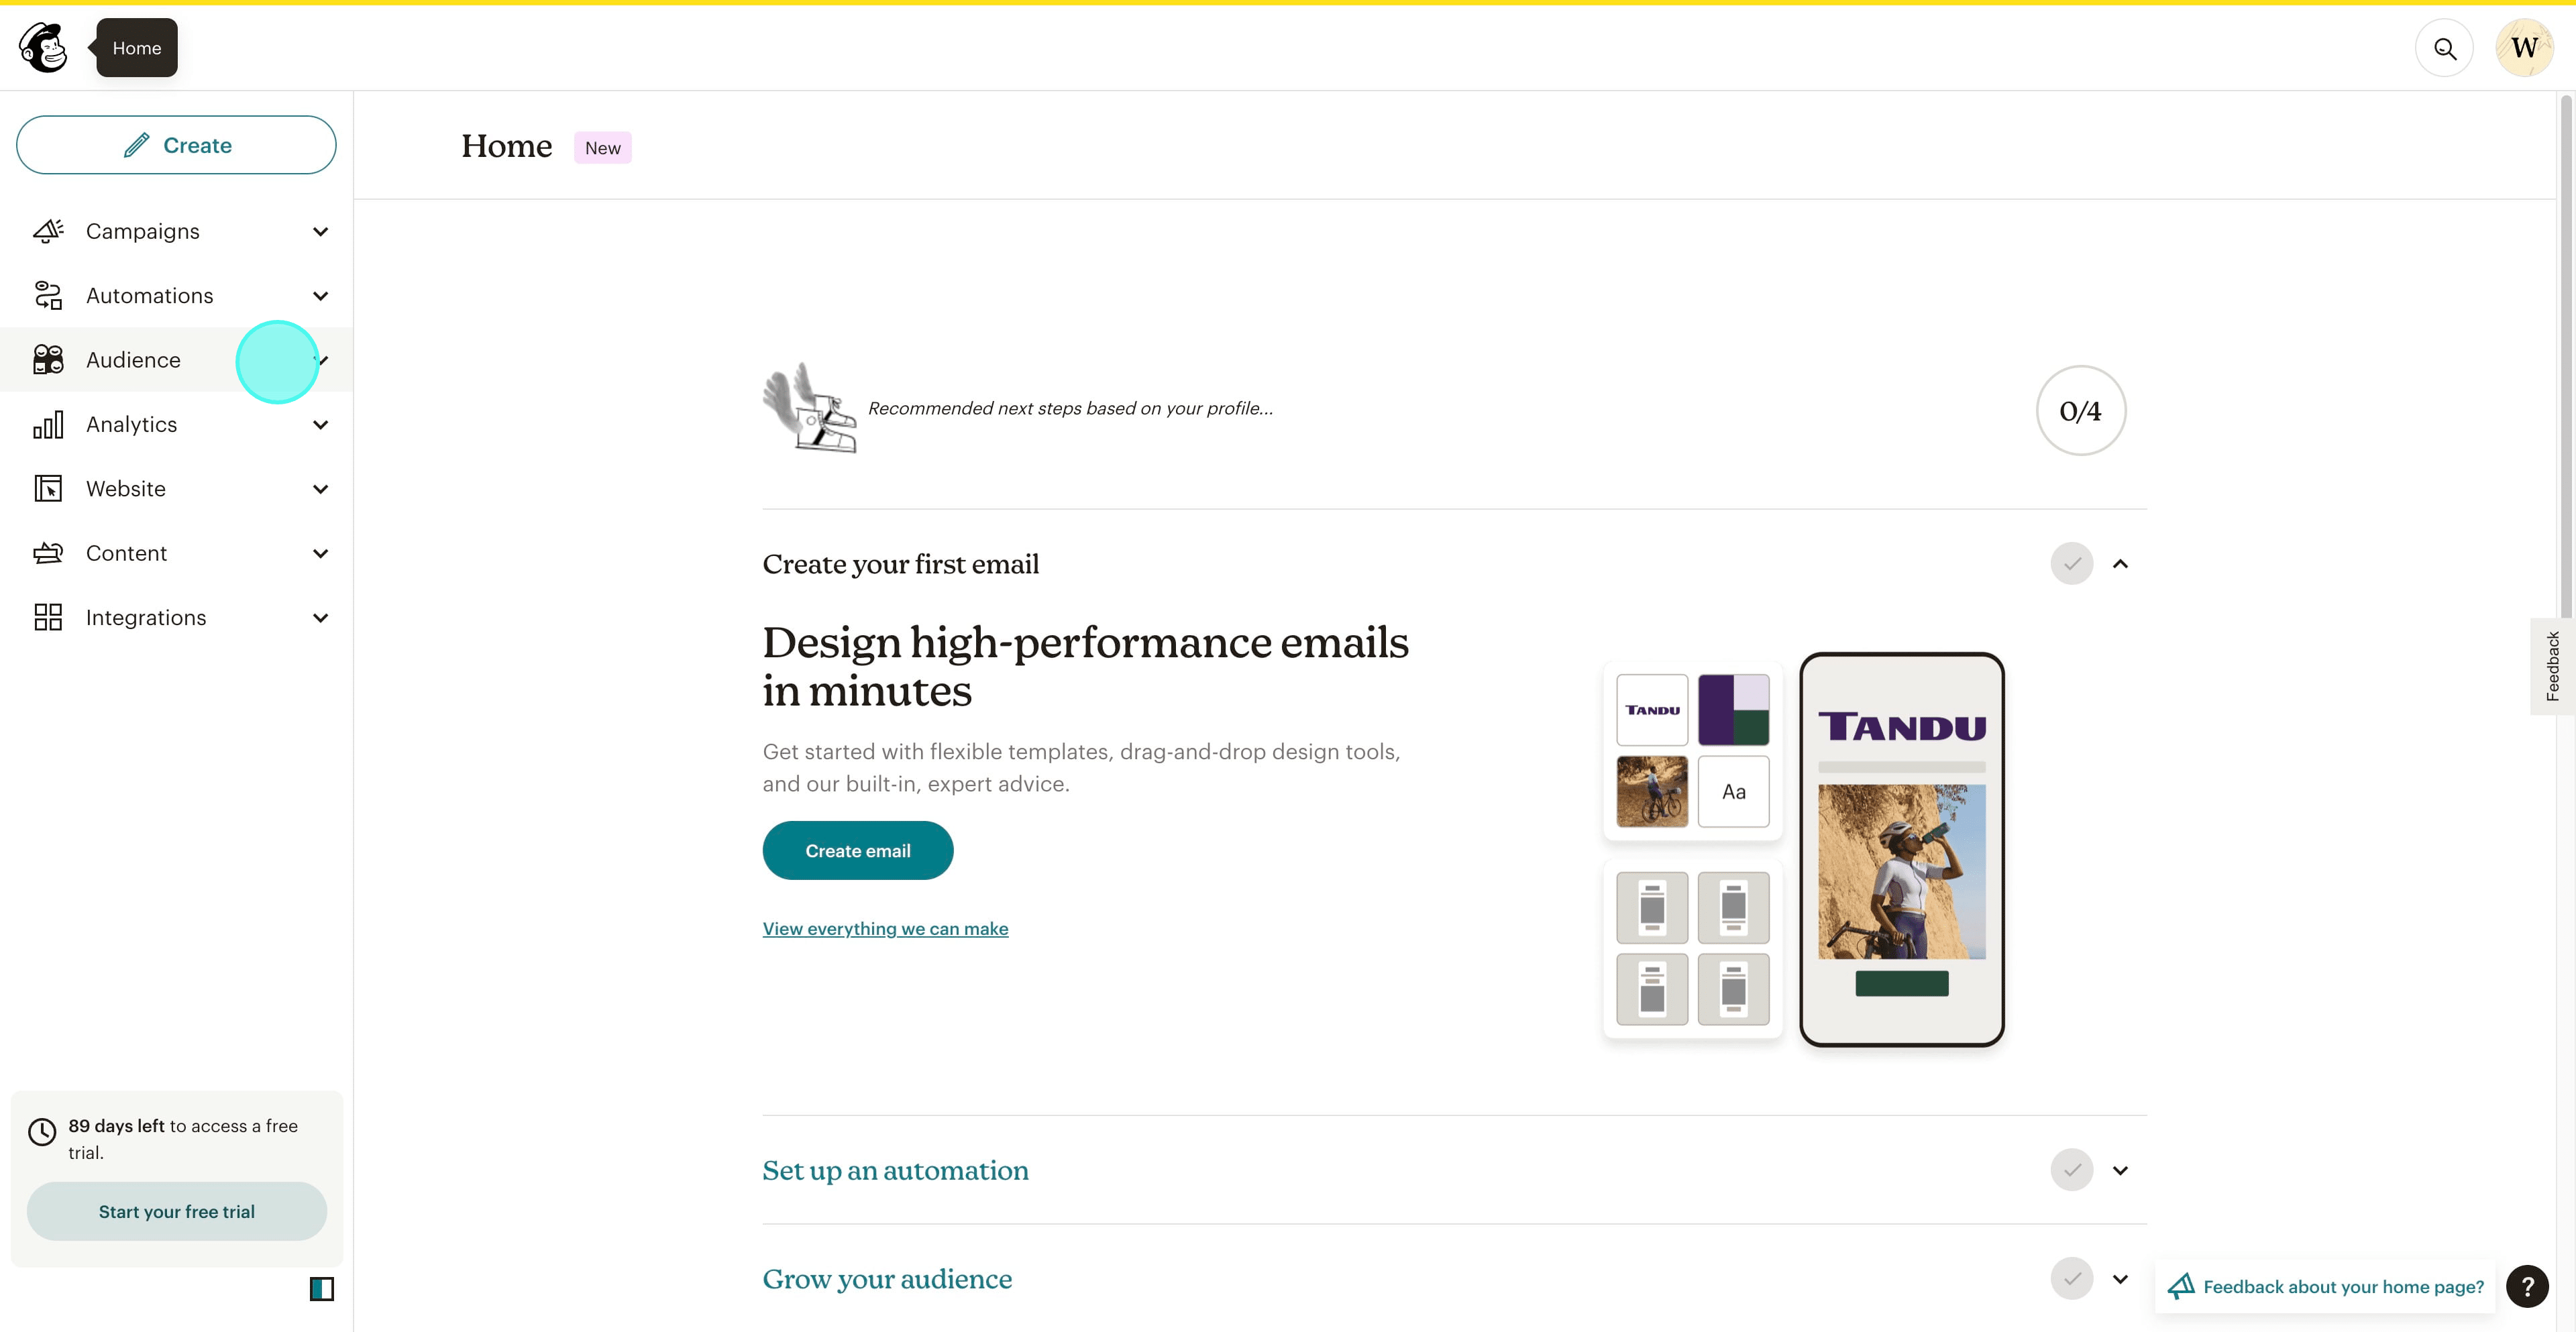
Step 19: Open your Mailchimp audience
In Mailchimp, click the Audience tab.
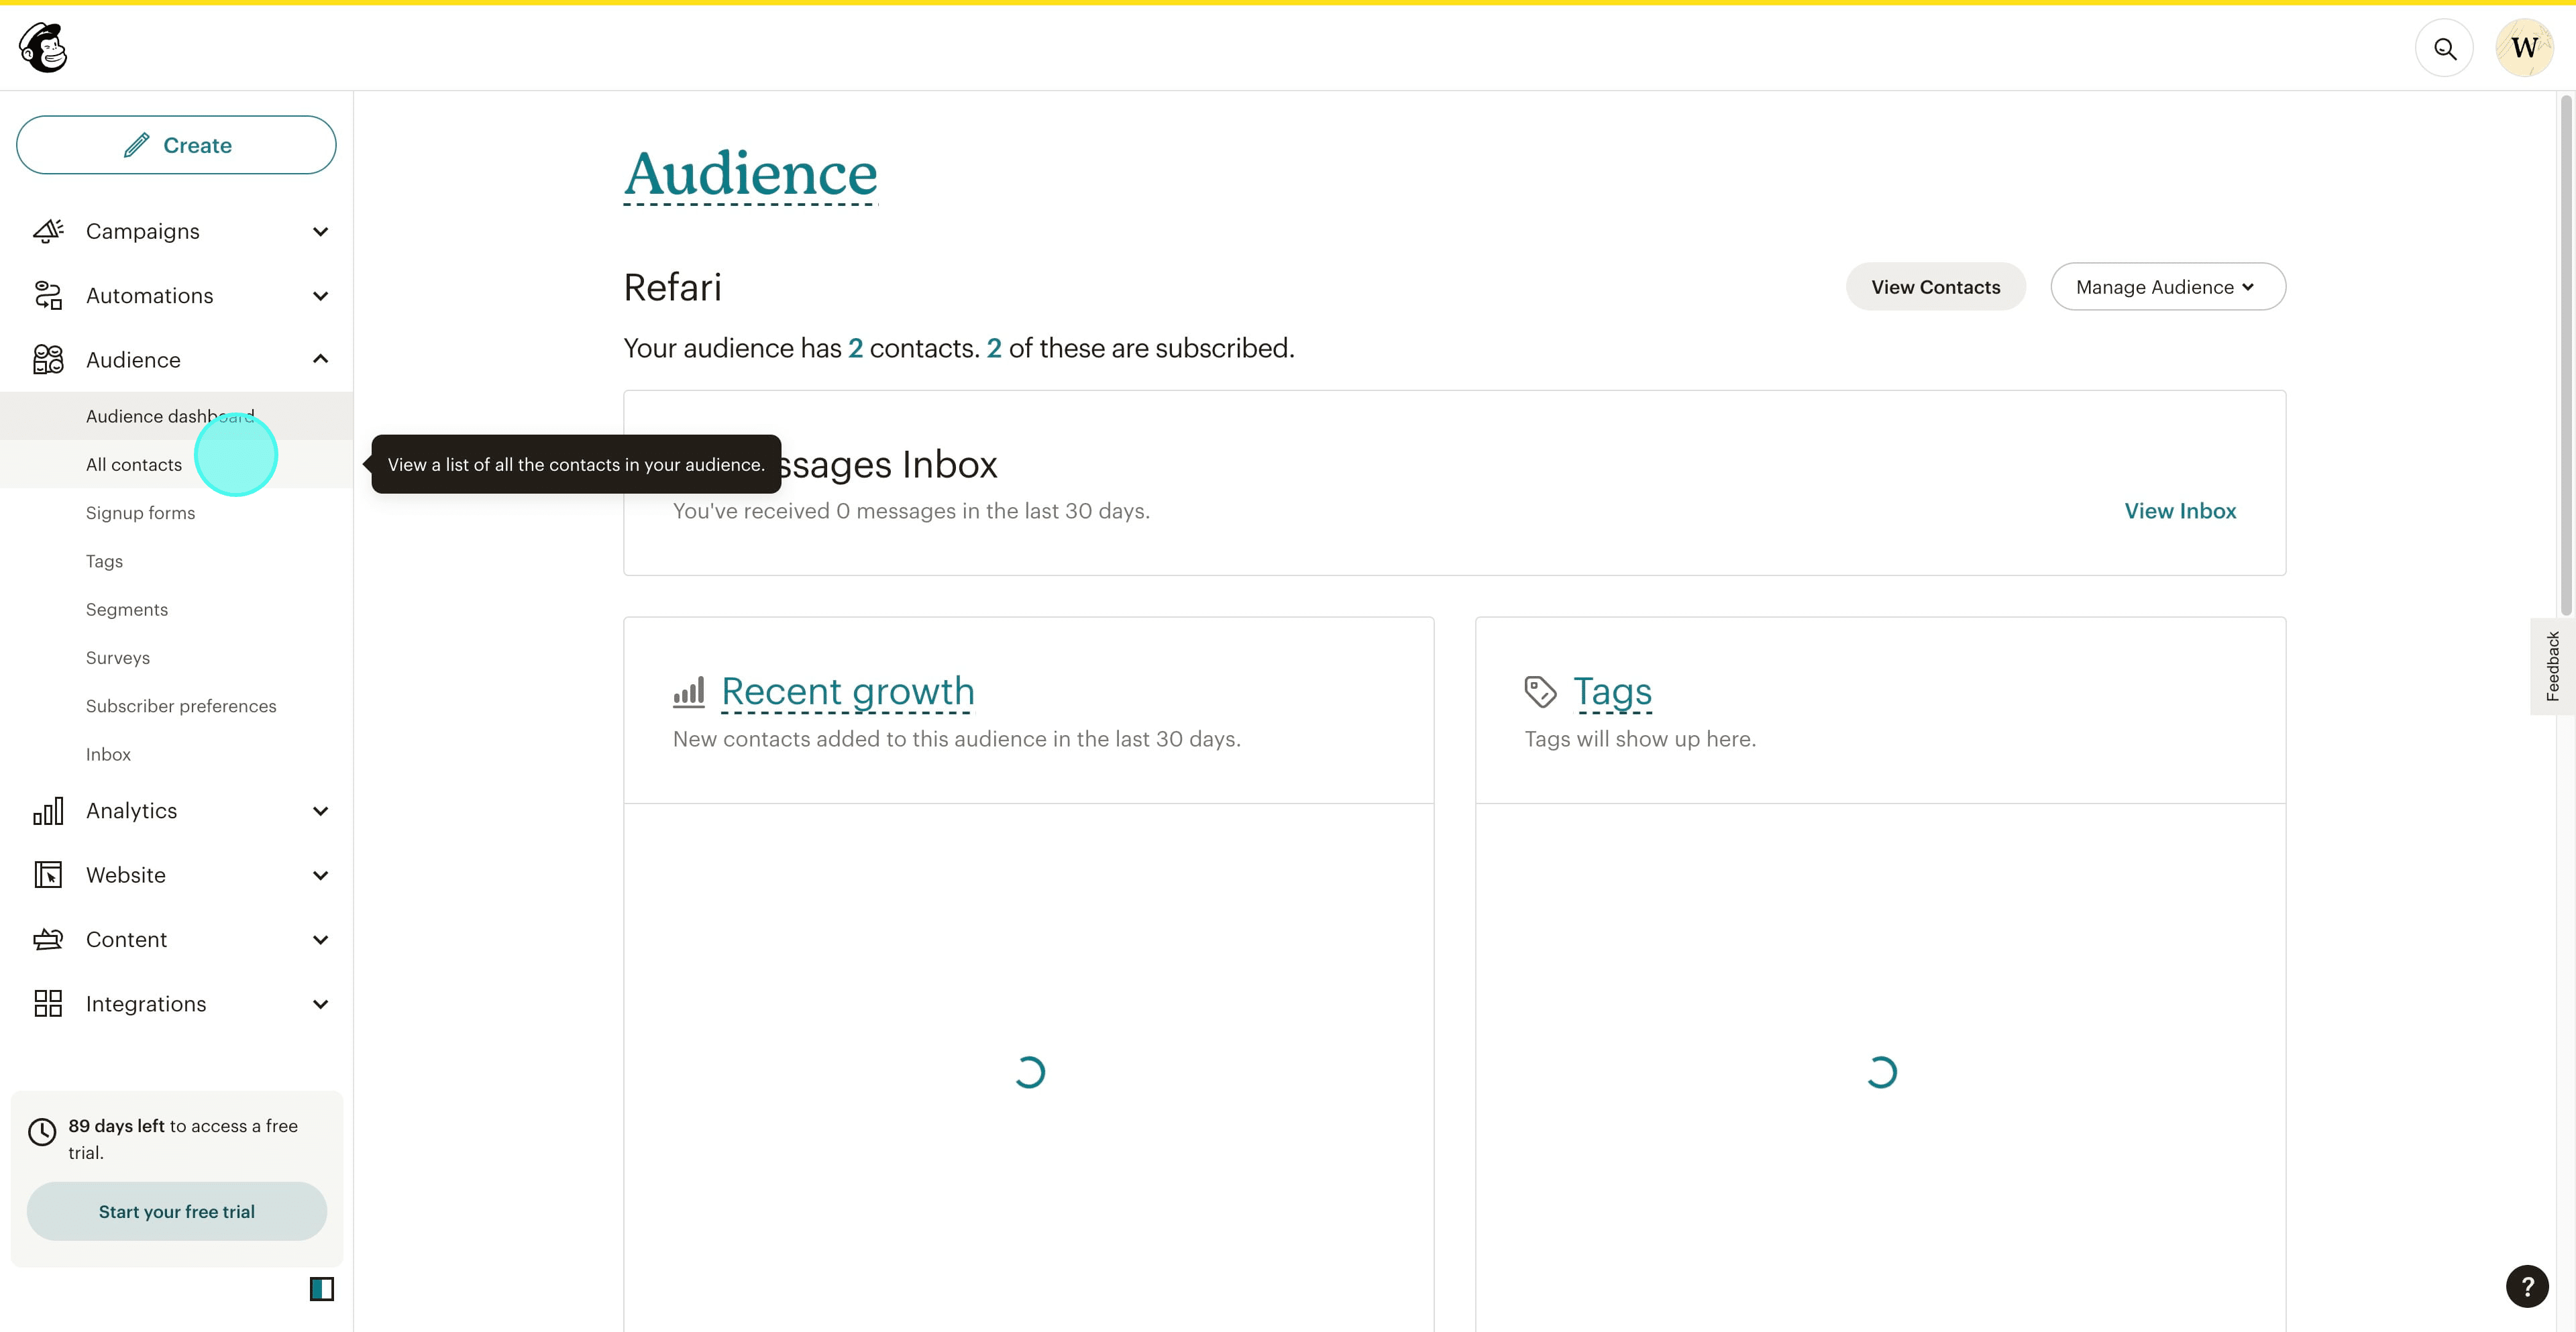
Step 20: View all contacts
Click All Contacts.
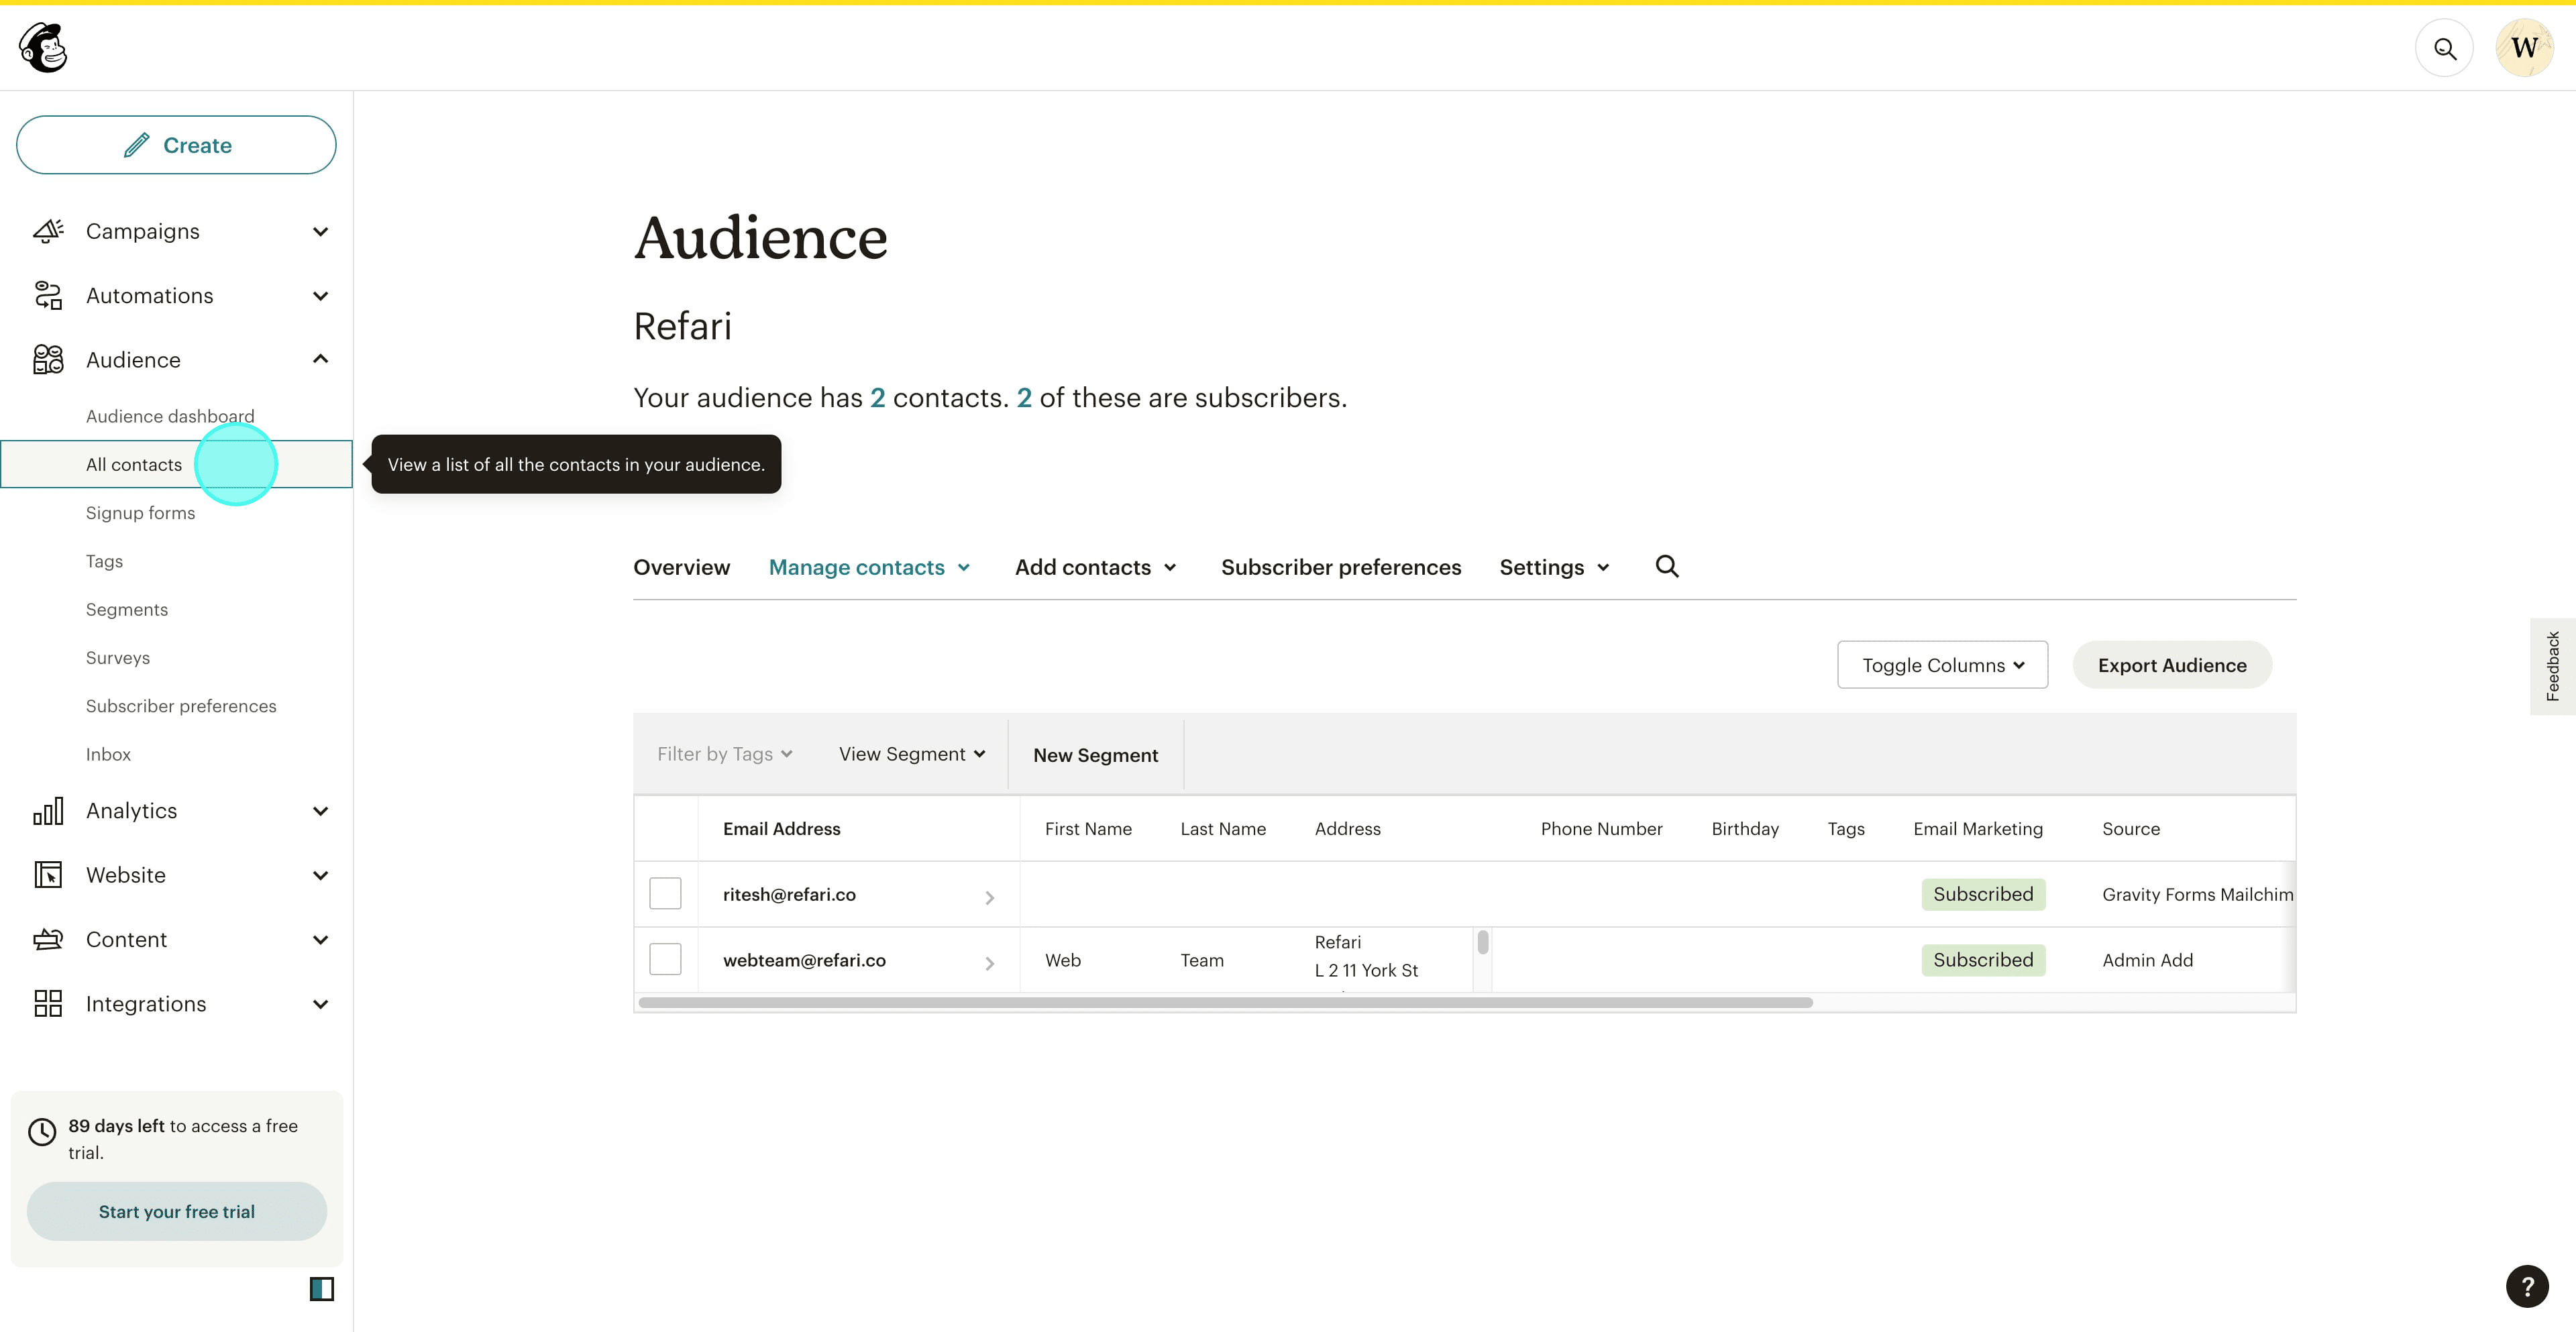
Step 21: Confirm the entry arrived
Your test email address should be in the list. That confirms the integration is working end to end.
Done: every submission of that form now flows straight into your Mailchimp audience. Repeat the last stage for any other form you want to connect.Other articles you might be interested in:
Was this article helpful?
That’s Great!
Thank you for your feedback
Sorry! We couldn't be helpful
Thank you for your feedback
Feedback sent
We appreciate your effort and will try to fix the article