Introduction
Integrating tracking codes is essential for unlocking the full potential of your Refari website, allowing you to monitor user behavior, optimize marketing strategies, and enhance site performance. This detailed guide focuses on adding any tracking code to your website using Elementor's Custom Code feature, a straightforward method that avoids the complexities of manual coding.
Adding Tracking Code with Elementor
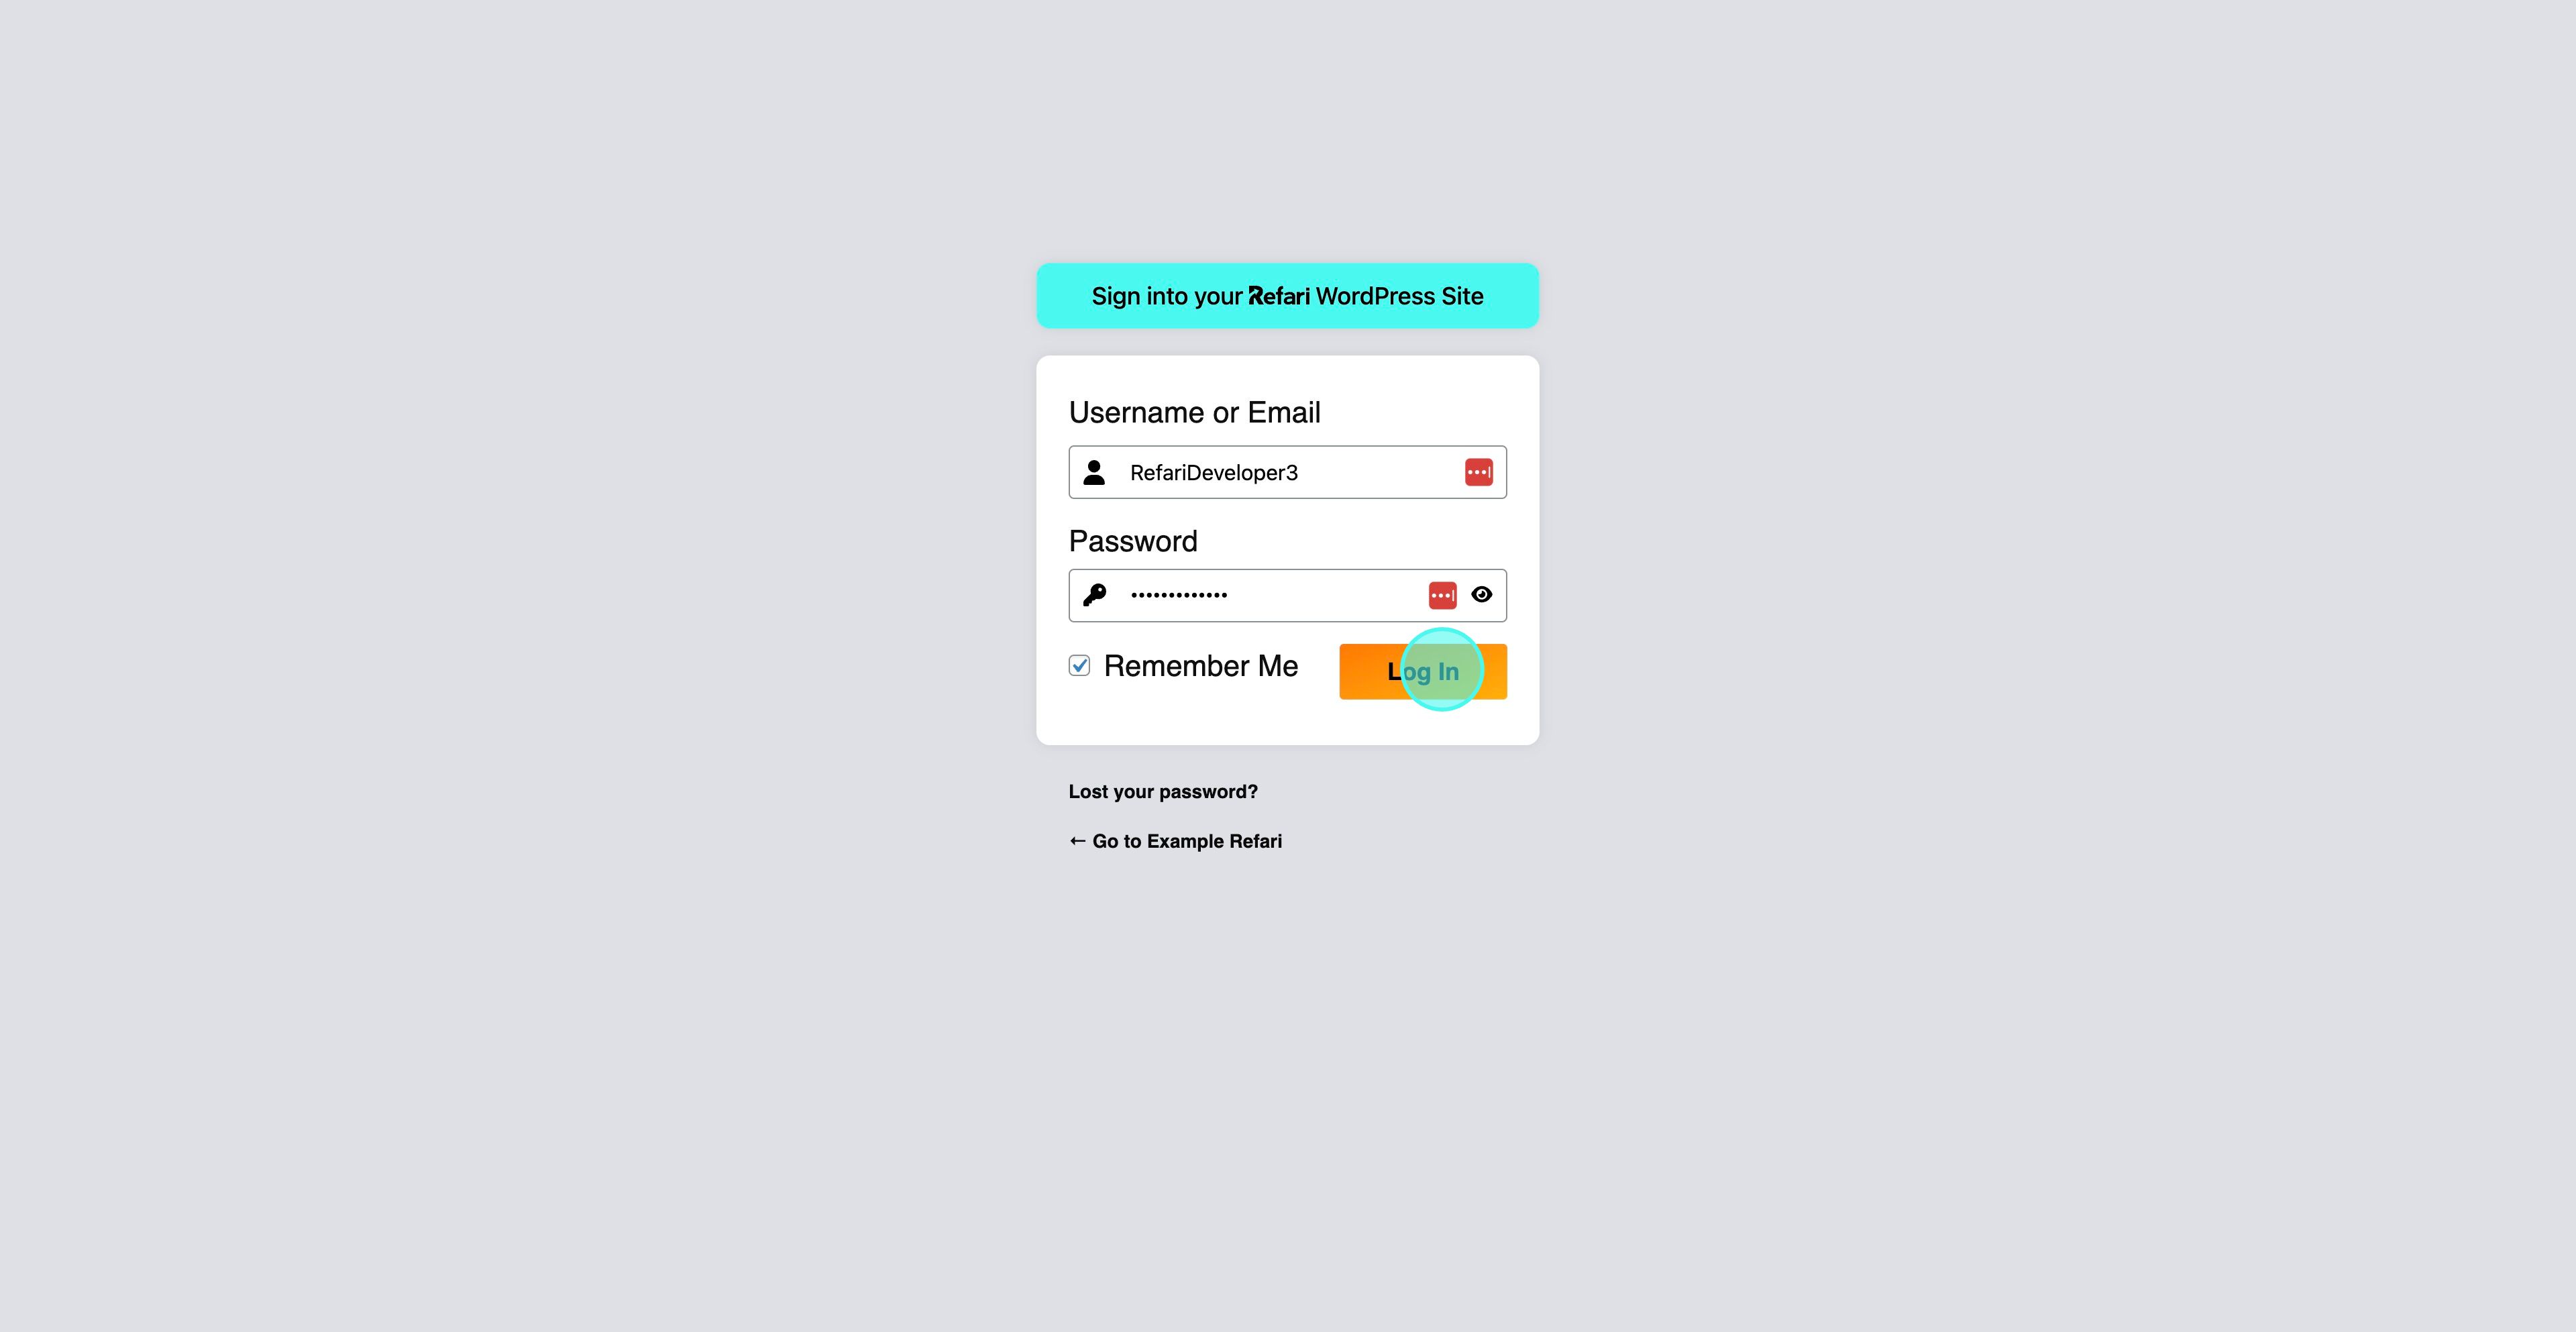
1. Log Into WordPress Dashboard
Access the dashboard of your Refari website to start the integration process.
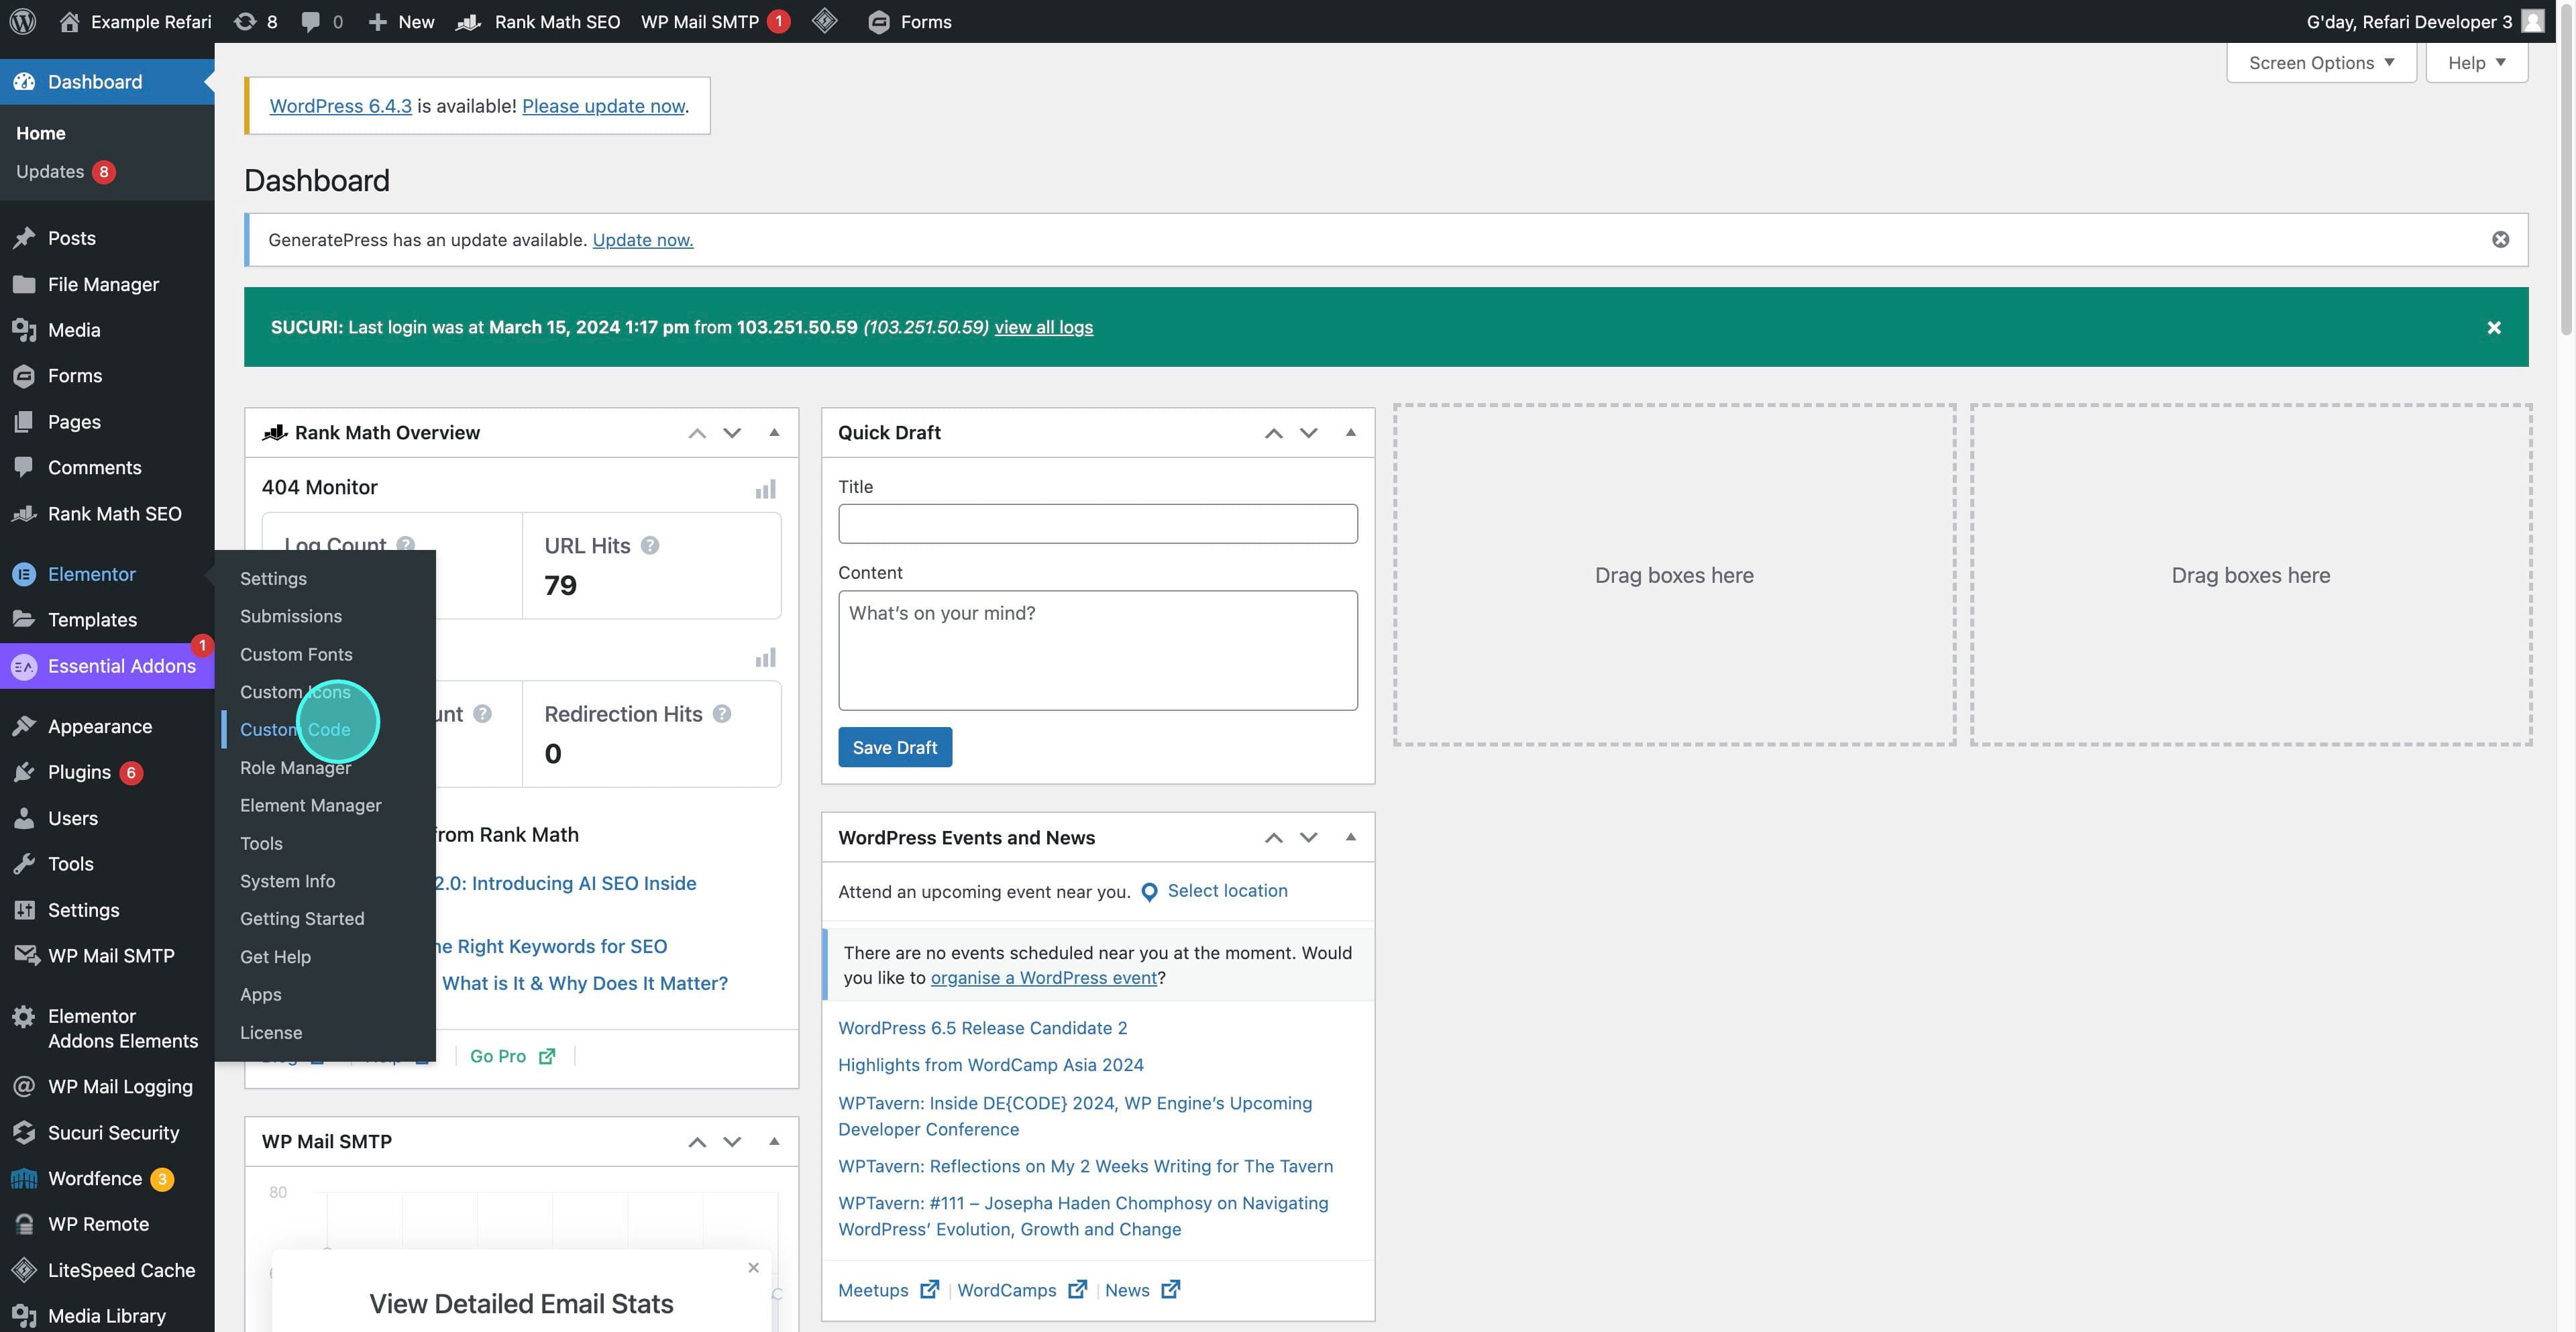
2. Navigate to Elementor and Custom Code
Select "Elementor" from the dashboard, then find the "Custom Code" feature for adding scripts globally or to specific pages.
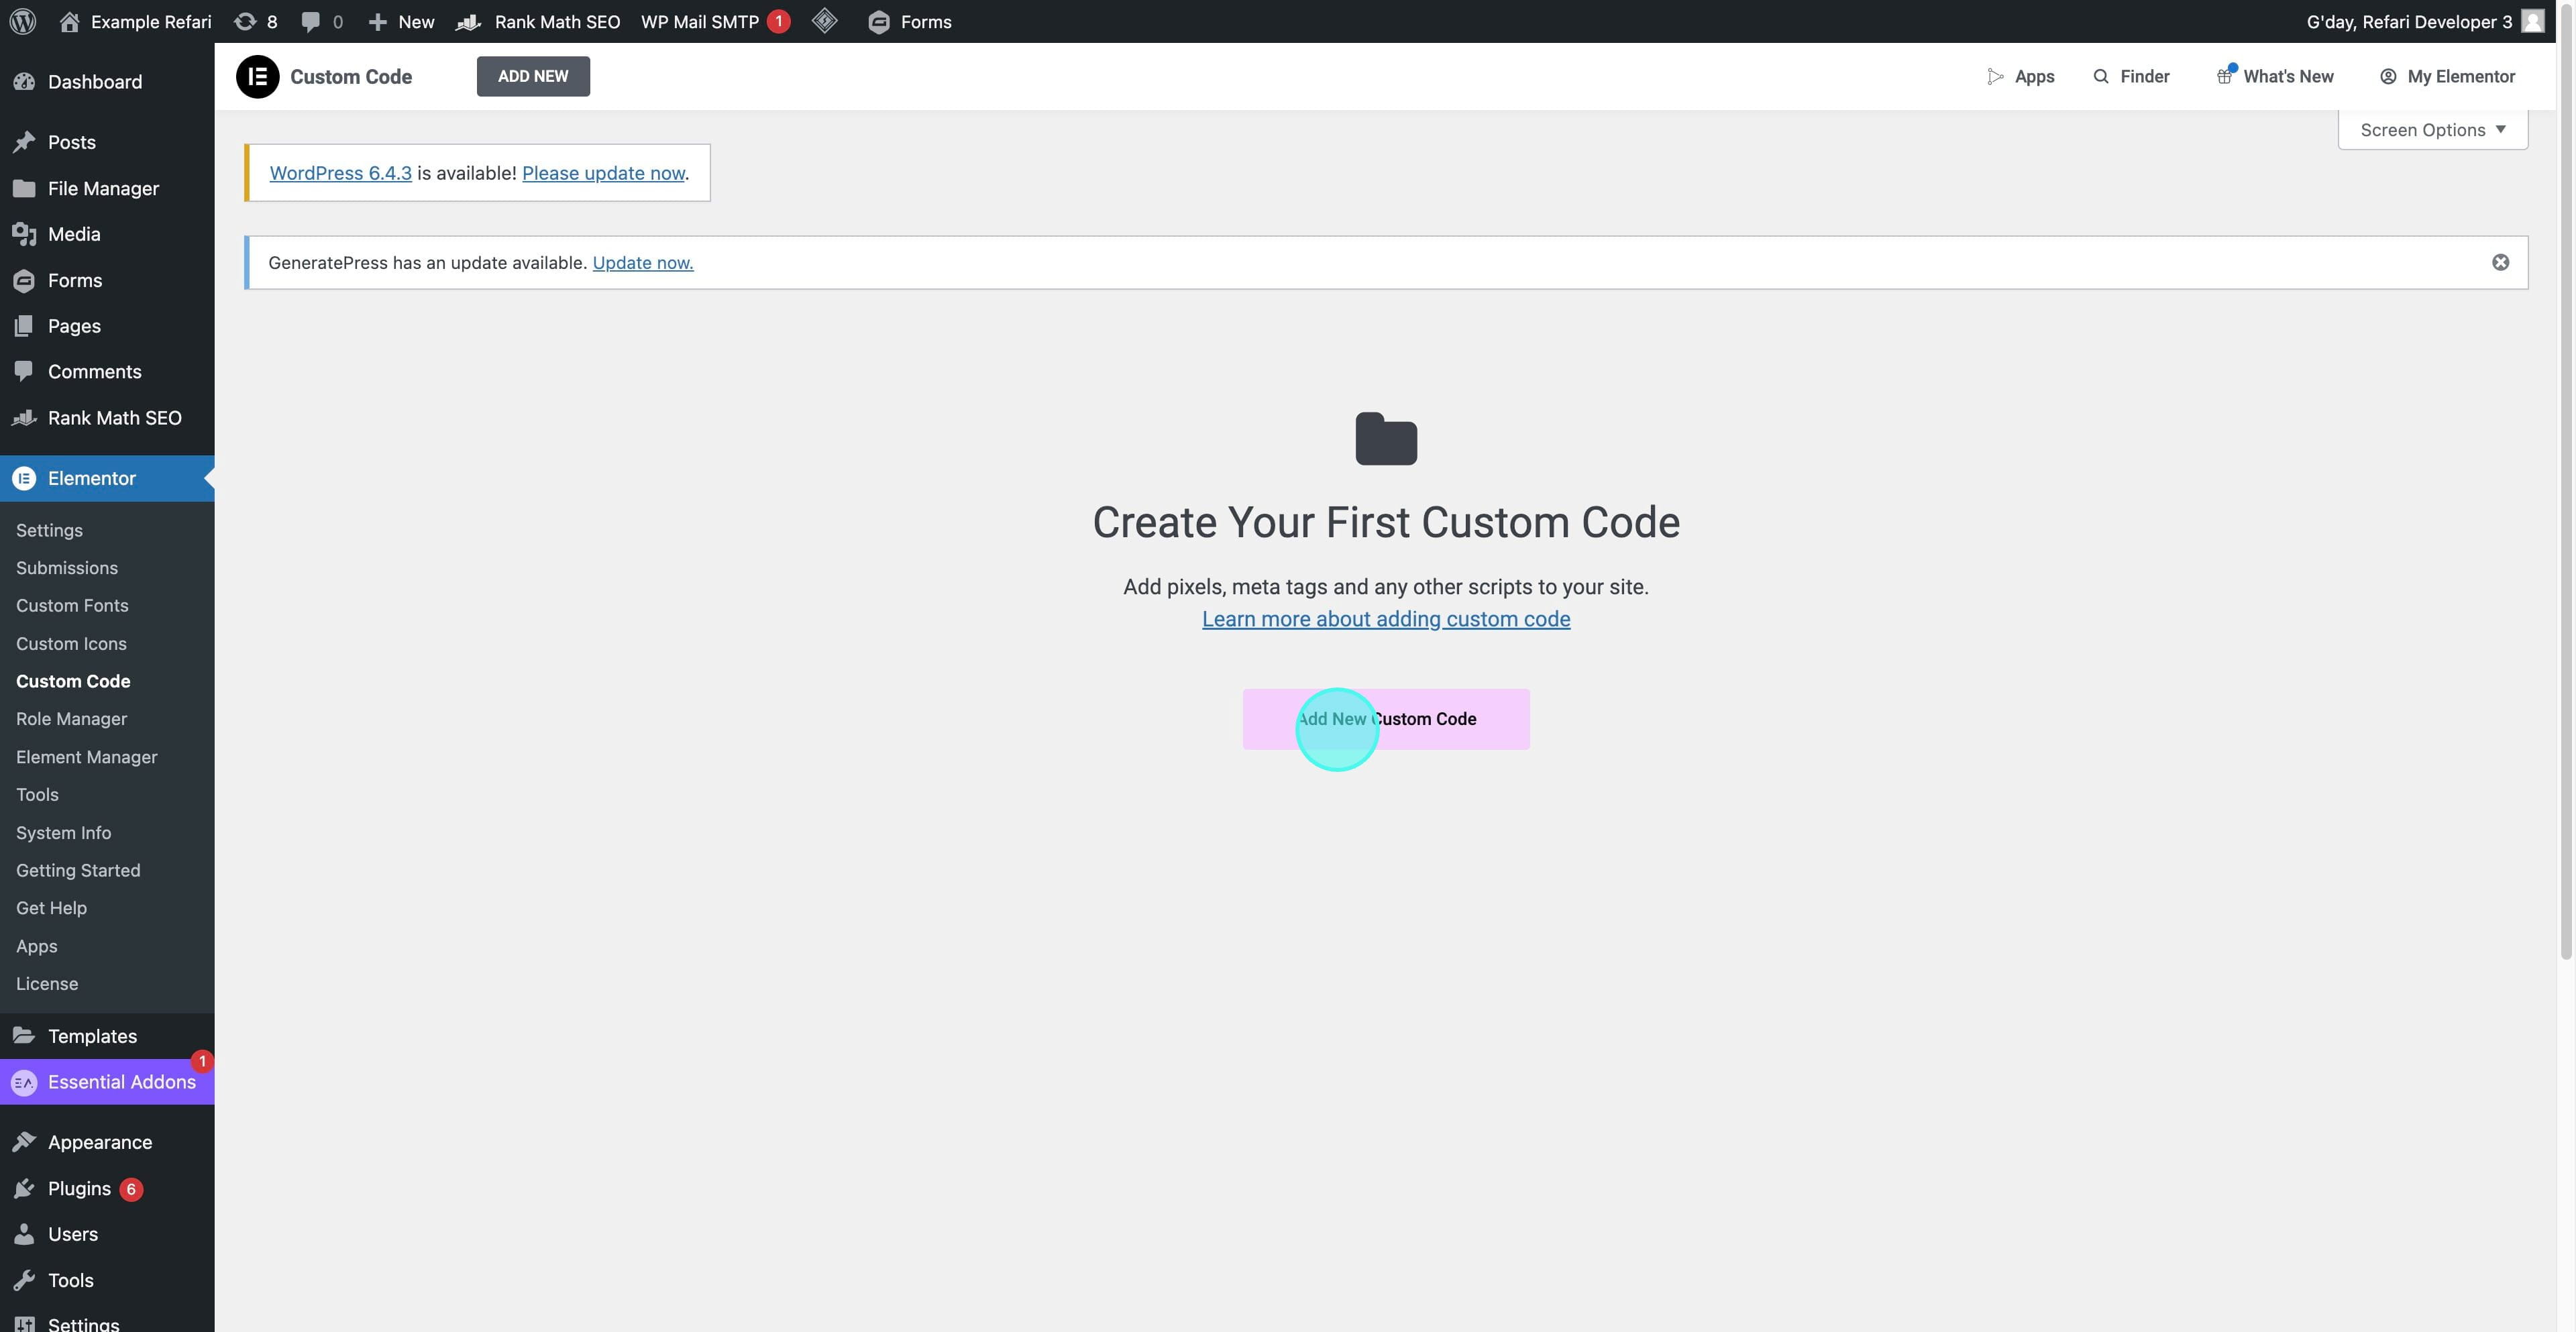
3. Click "Add New"
4. Name Your Custom Code
Name your snippet (e.g., "ExampleSnippet"), and paste the provided tracking code in the text area.
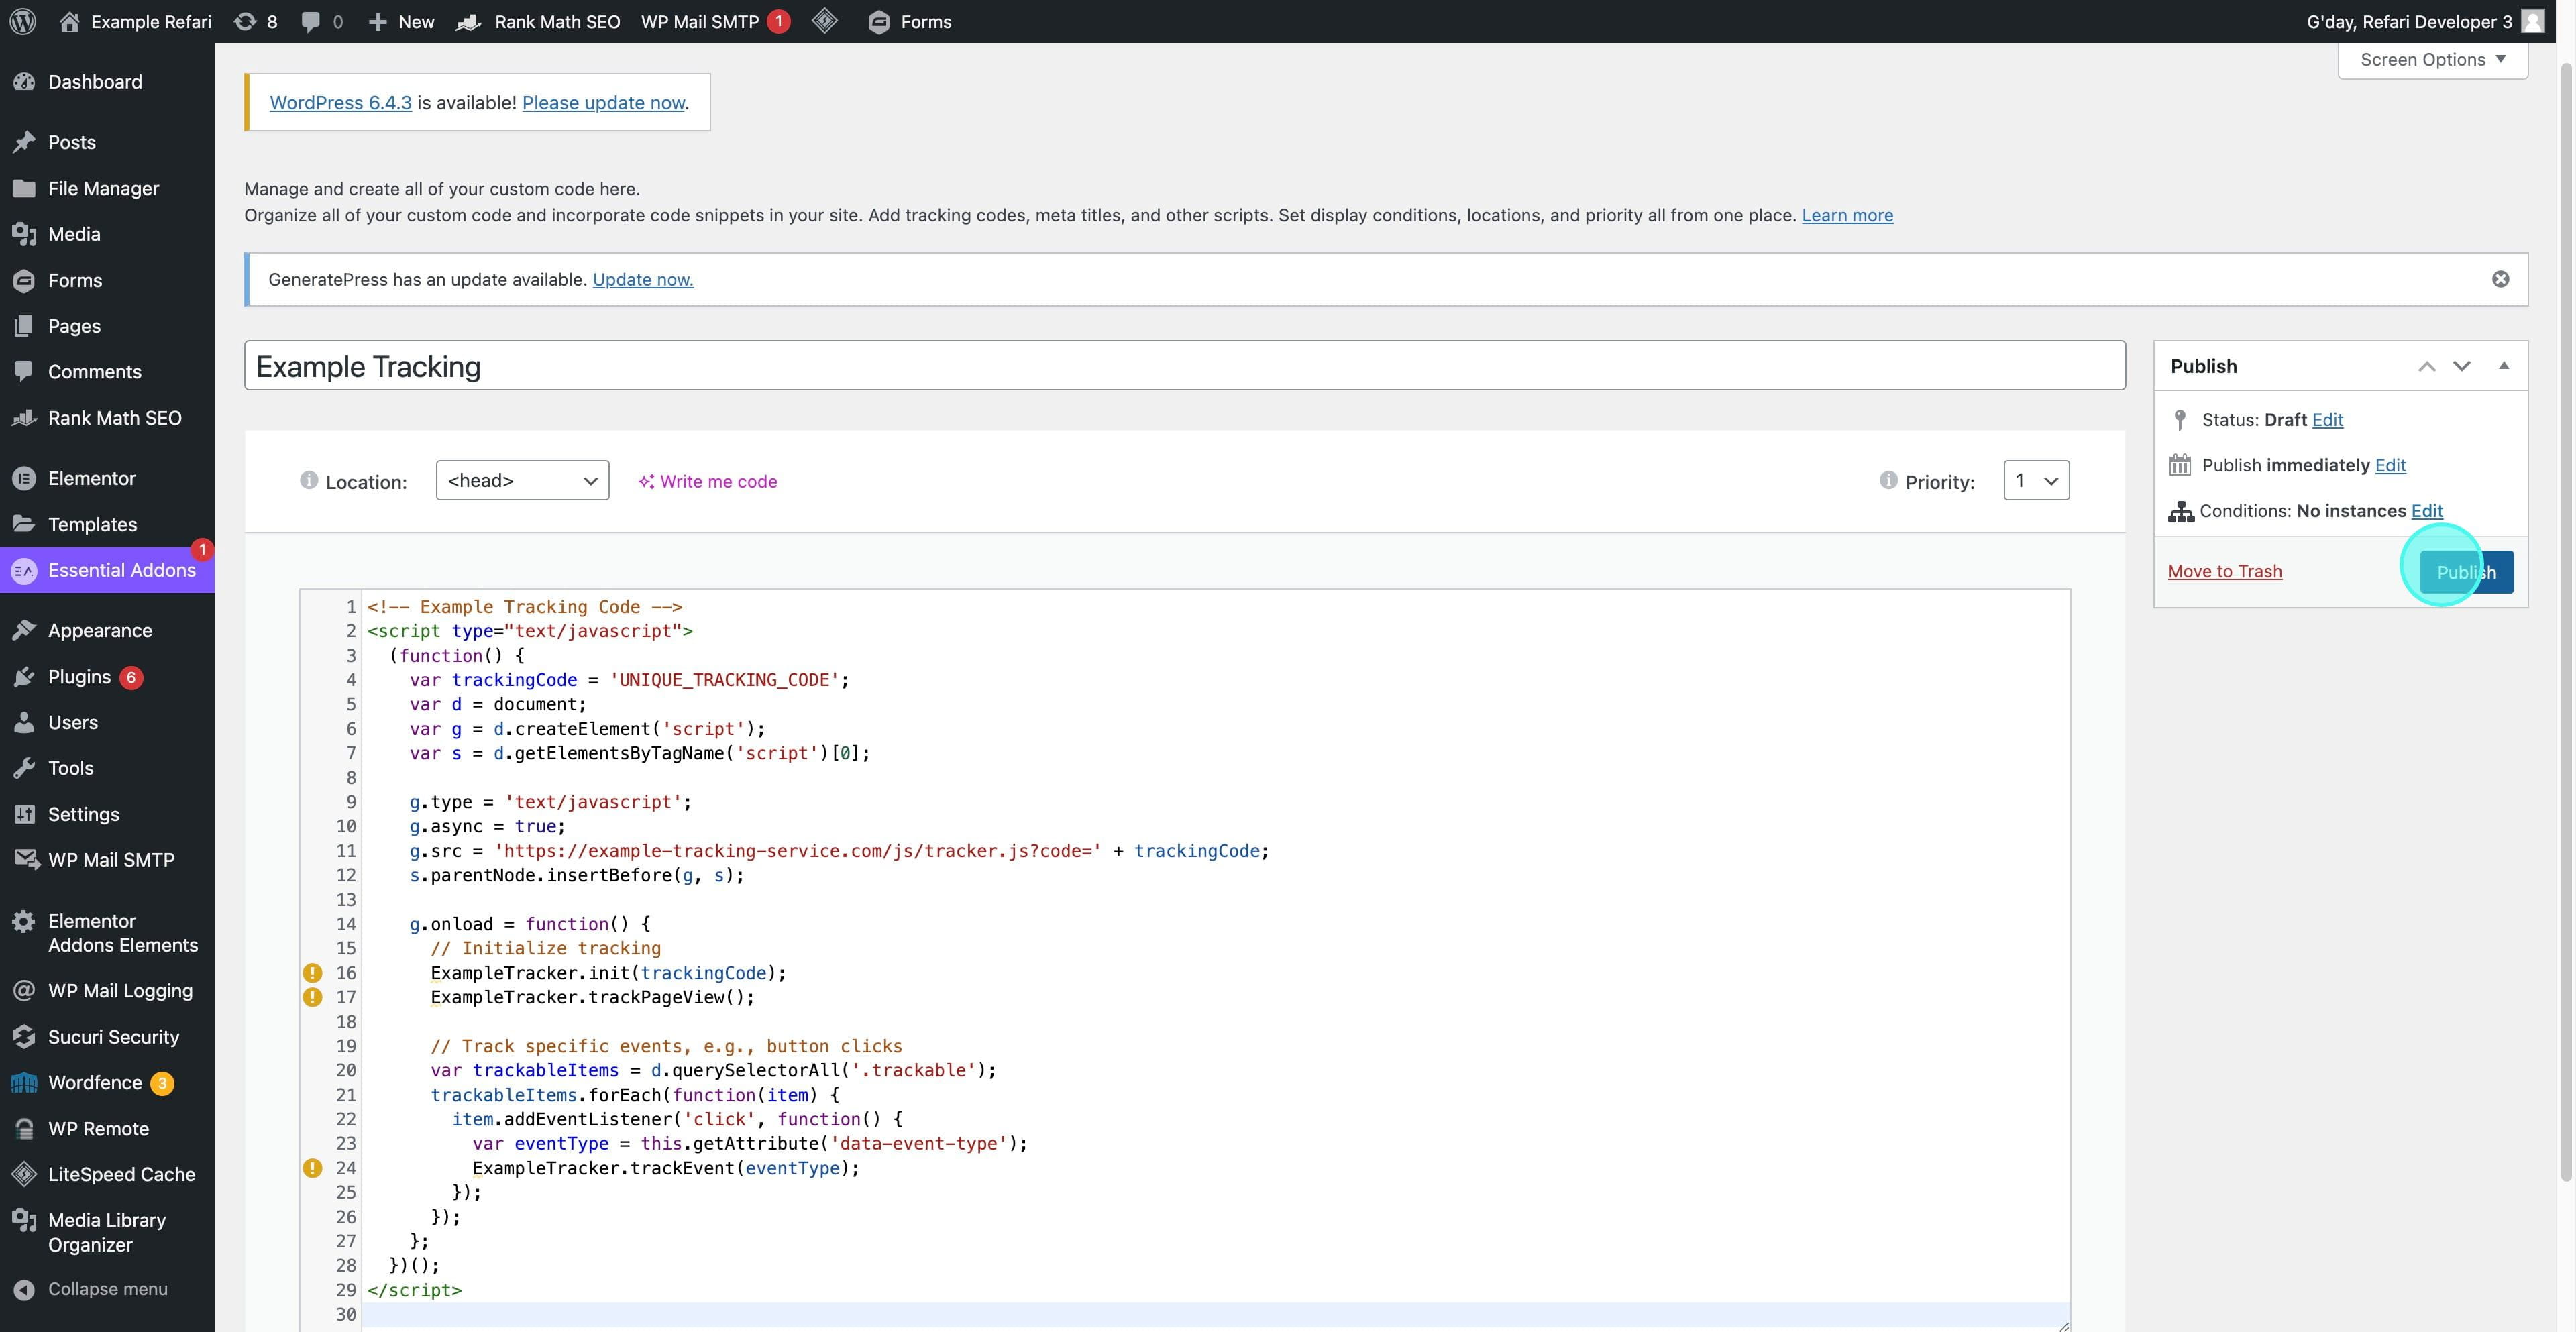
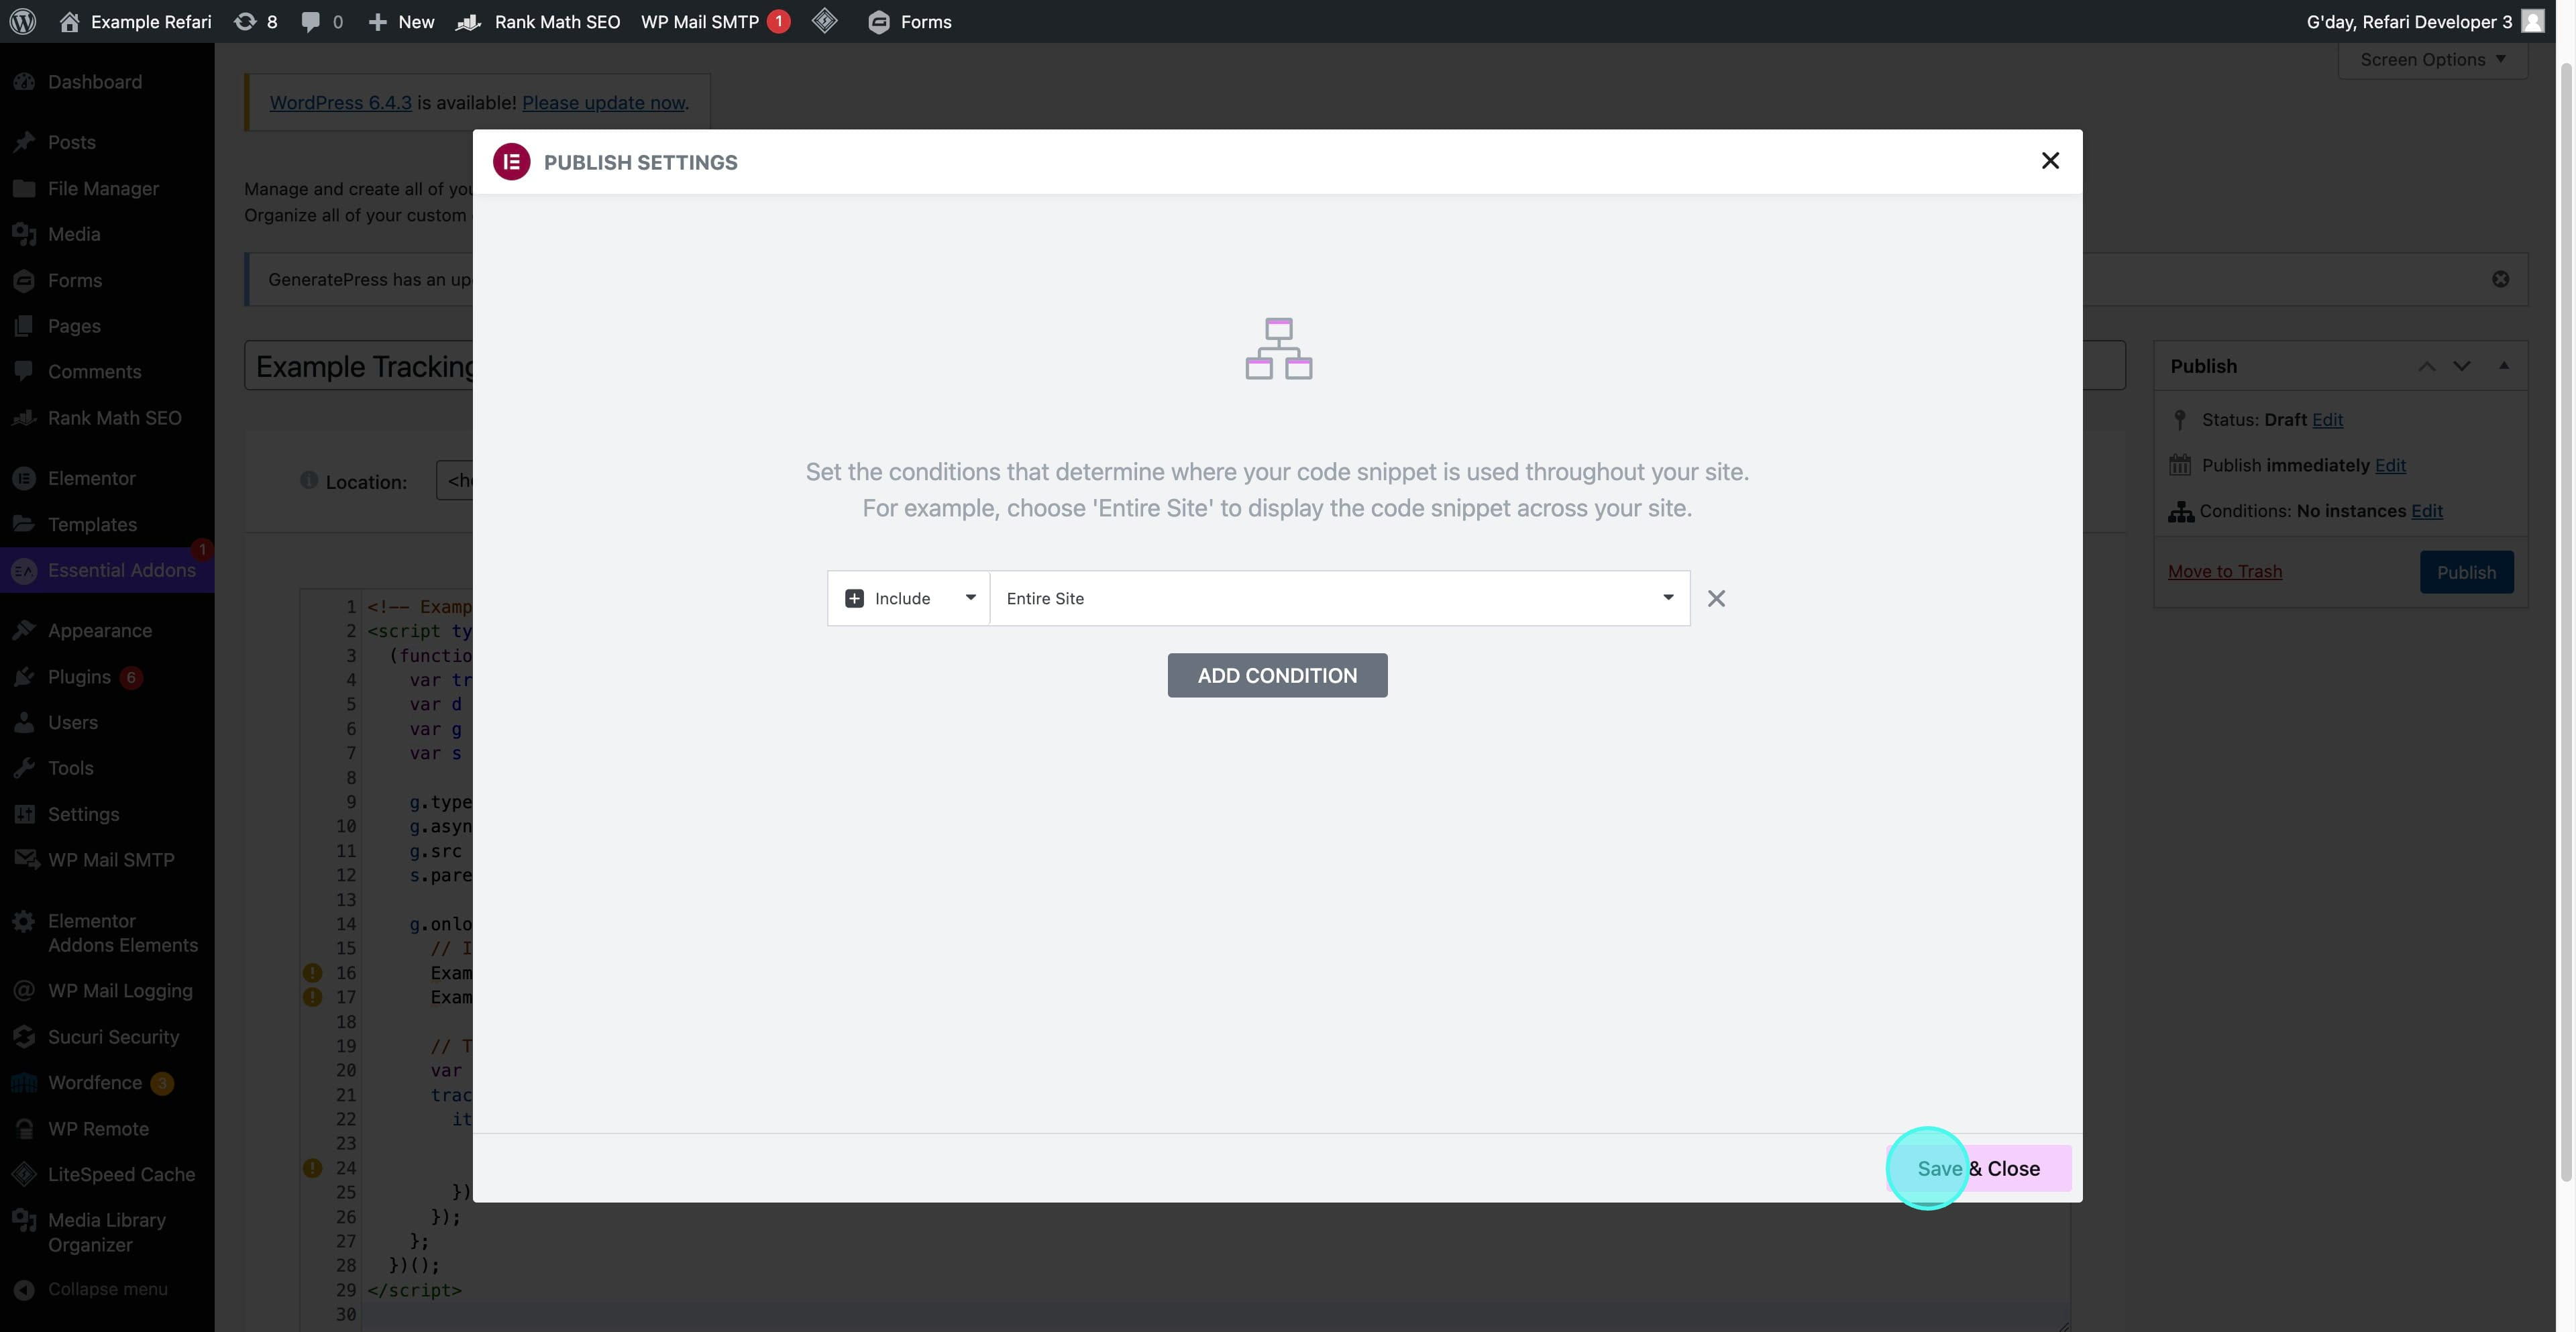
5. Set Scope and Publish
Decide whether the code should apply site-wide or to selected pages, then click "Publish" to activate the tracking code on your site.
Adding tracking codes through Elementor simplifies the process of integrating essential analytics and marketing tools into your Refari website. By following these steps, you ensure that your site is equipped to collect valuable insights, paving the way for data-driven decisions and optimized digital marketing efforts.
Was this article helpful?
That’s Great!
Thank you for your feedback
Sorry! We couldn't be helpful
Thank you for your feedback
Feedback sent
We appreciate your effort and will try to fix the article