Introduction
In the realm of digital marketing, the ability to track and analyze your website's traffic is invaluable. The Facebook Meta Pixel is a potent tool for Refari clients, enabling precise measurement, optimisation, and audience building for your advertising efforts. This streamlined guide will demonstrate how to seamlessly integrate the Facebook Meta Pixel into your WordPress site managed by Refari, utilising the pre-installed Elementor and Elementor Pro plugins.
Implementing Facebook Meta Pixel Using Elementor
For Refari clients, the process of adding Facebook Meta Pixel to your website is made straightforward with Elementor. There's no need to manually edit site code or delve into complex configurations. Here's how to do it:
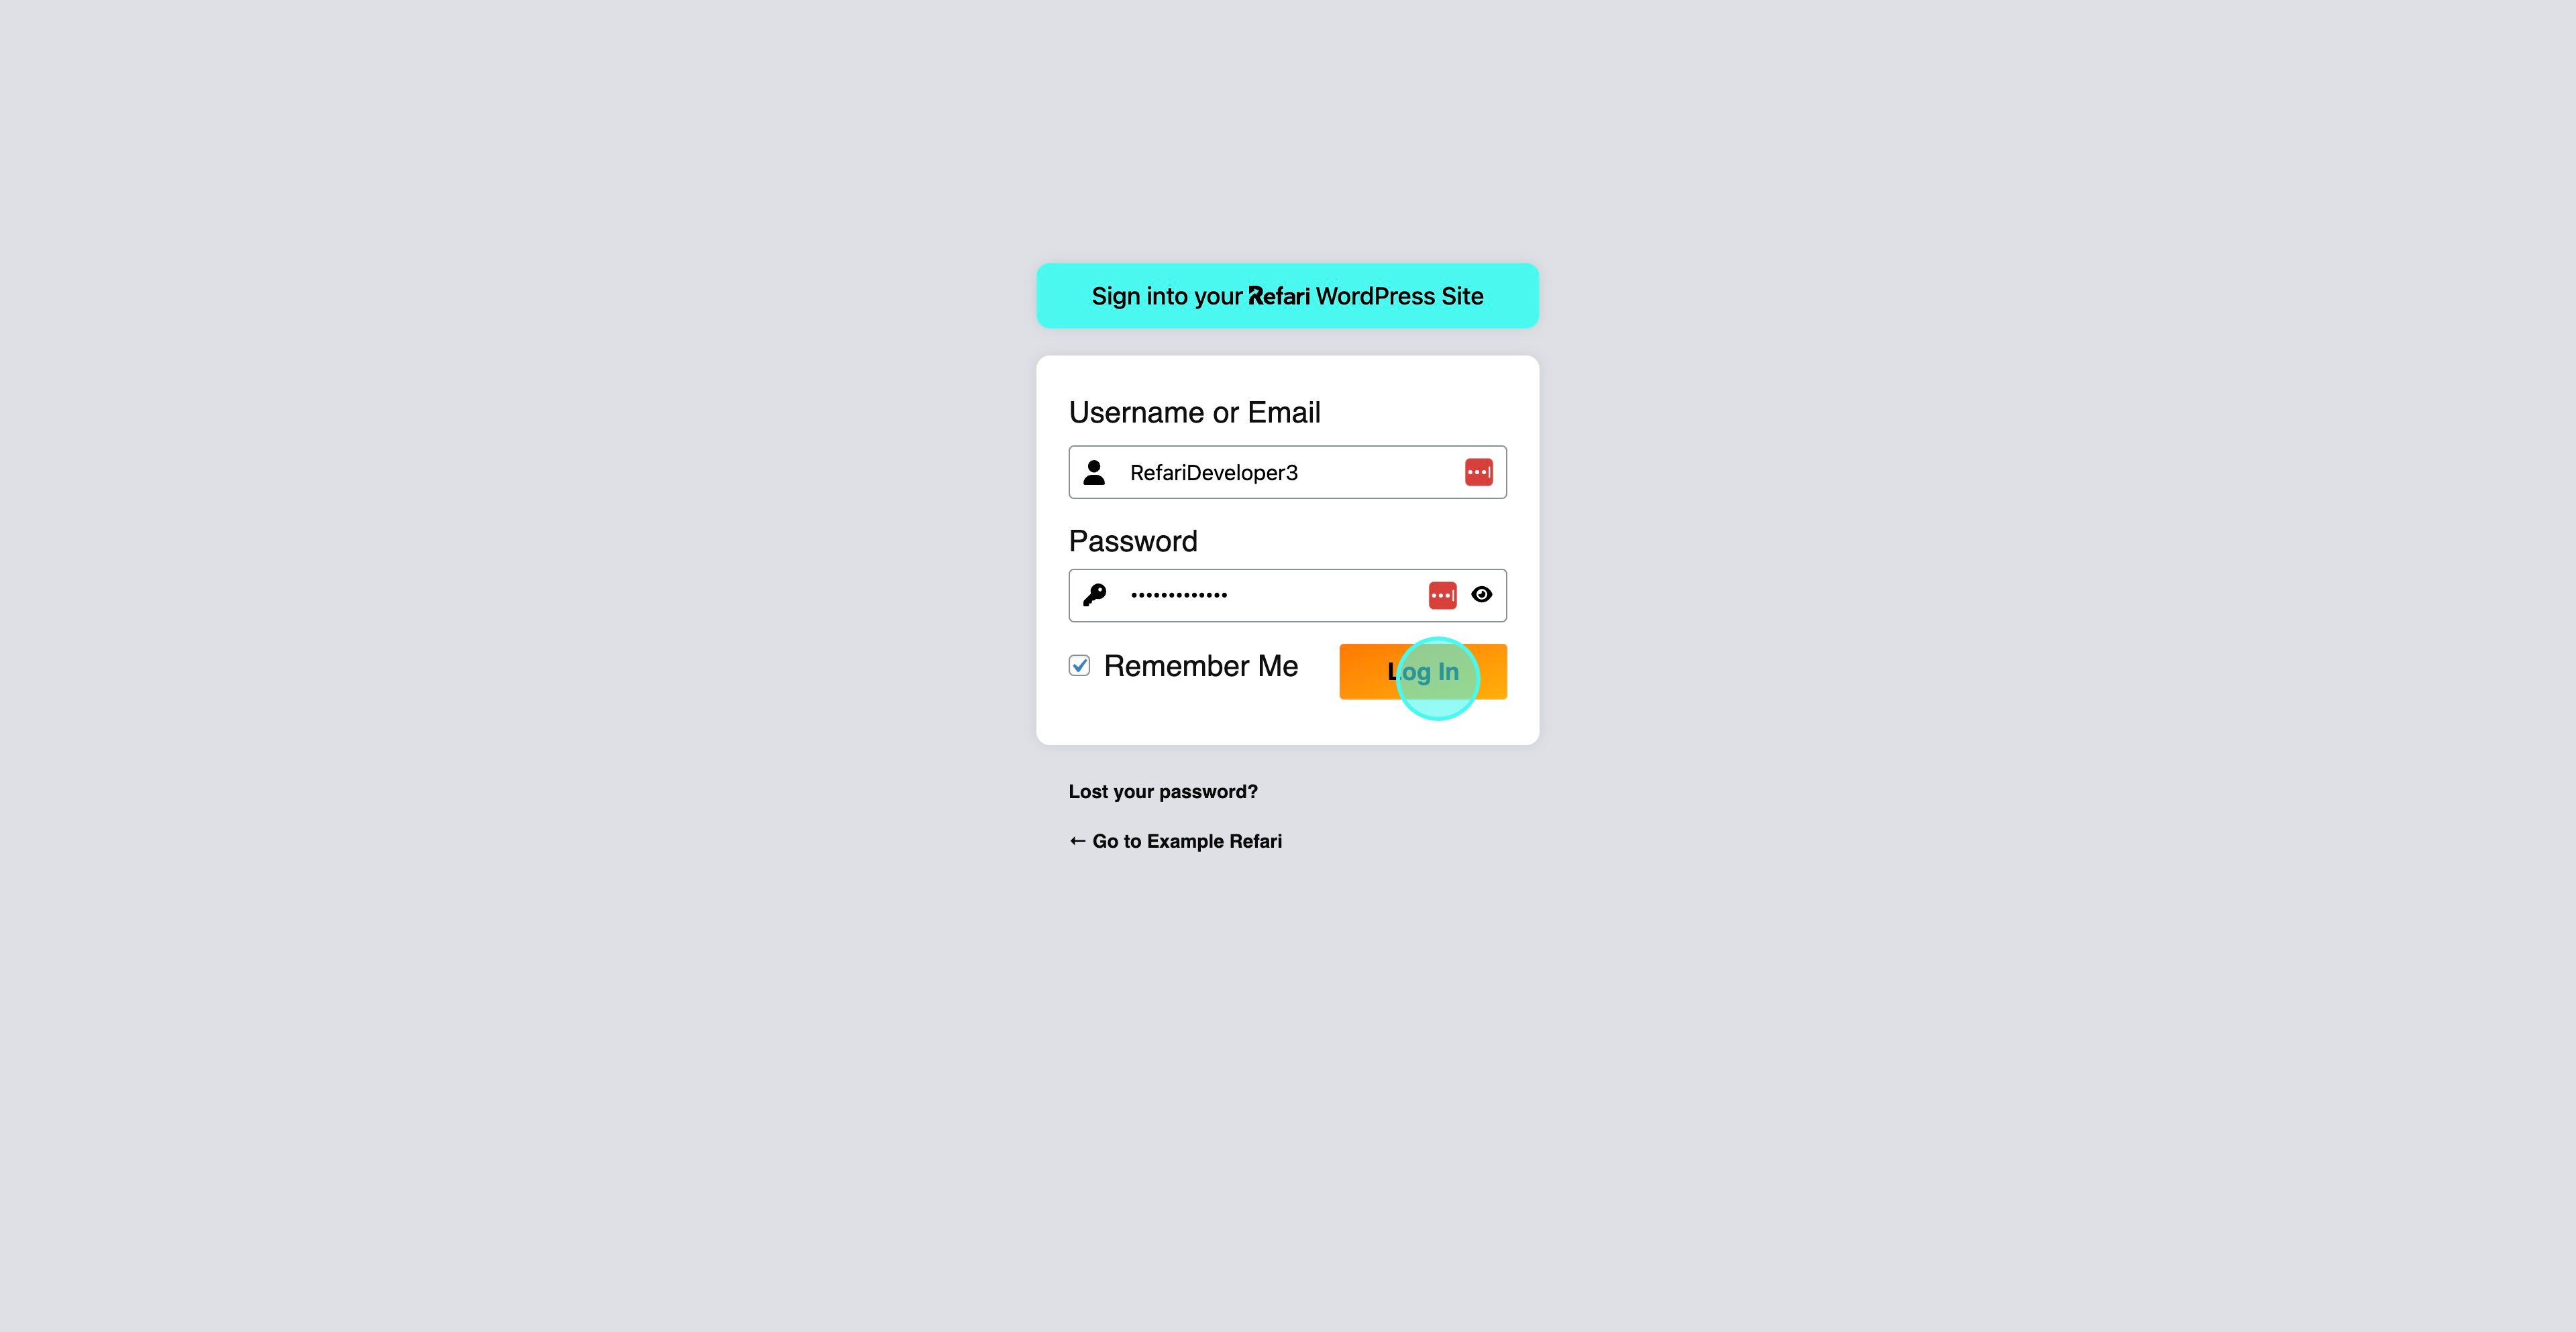
1. Log Into Your WordPress Dashboard
Begin by accessing the dashboard of your WordPress site. This is your control center for all website modifications.
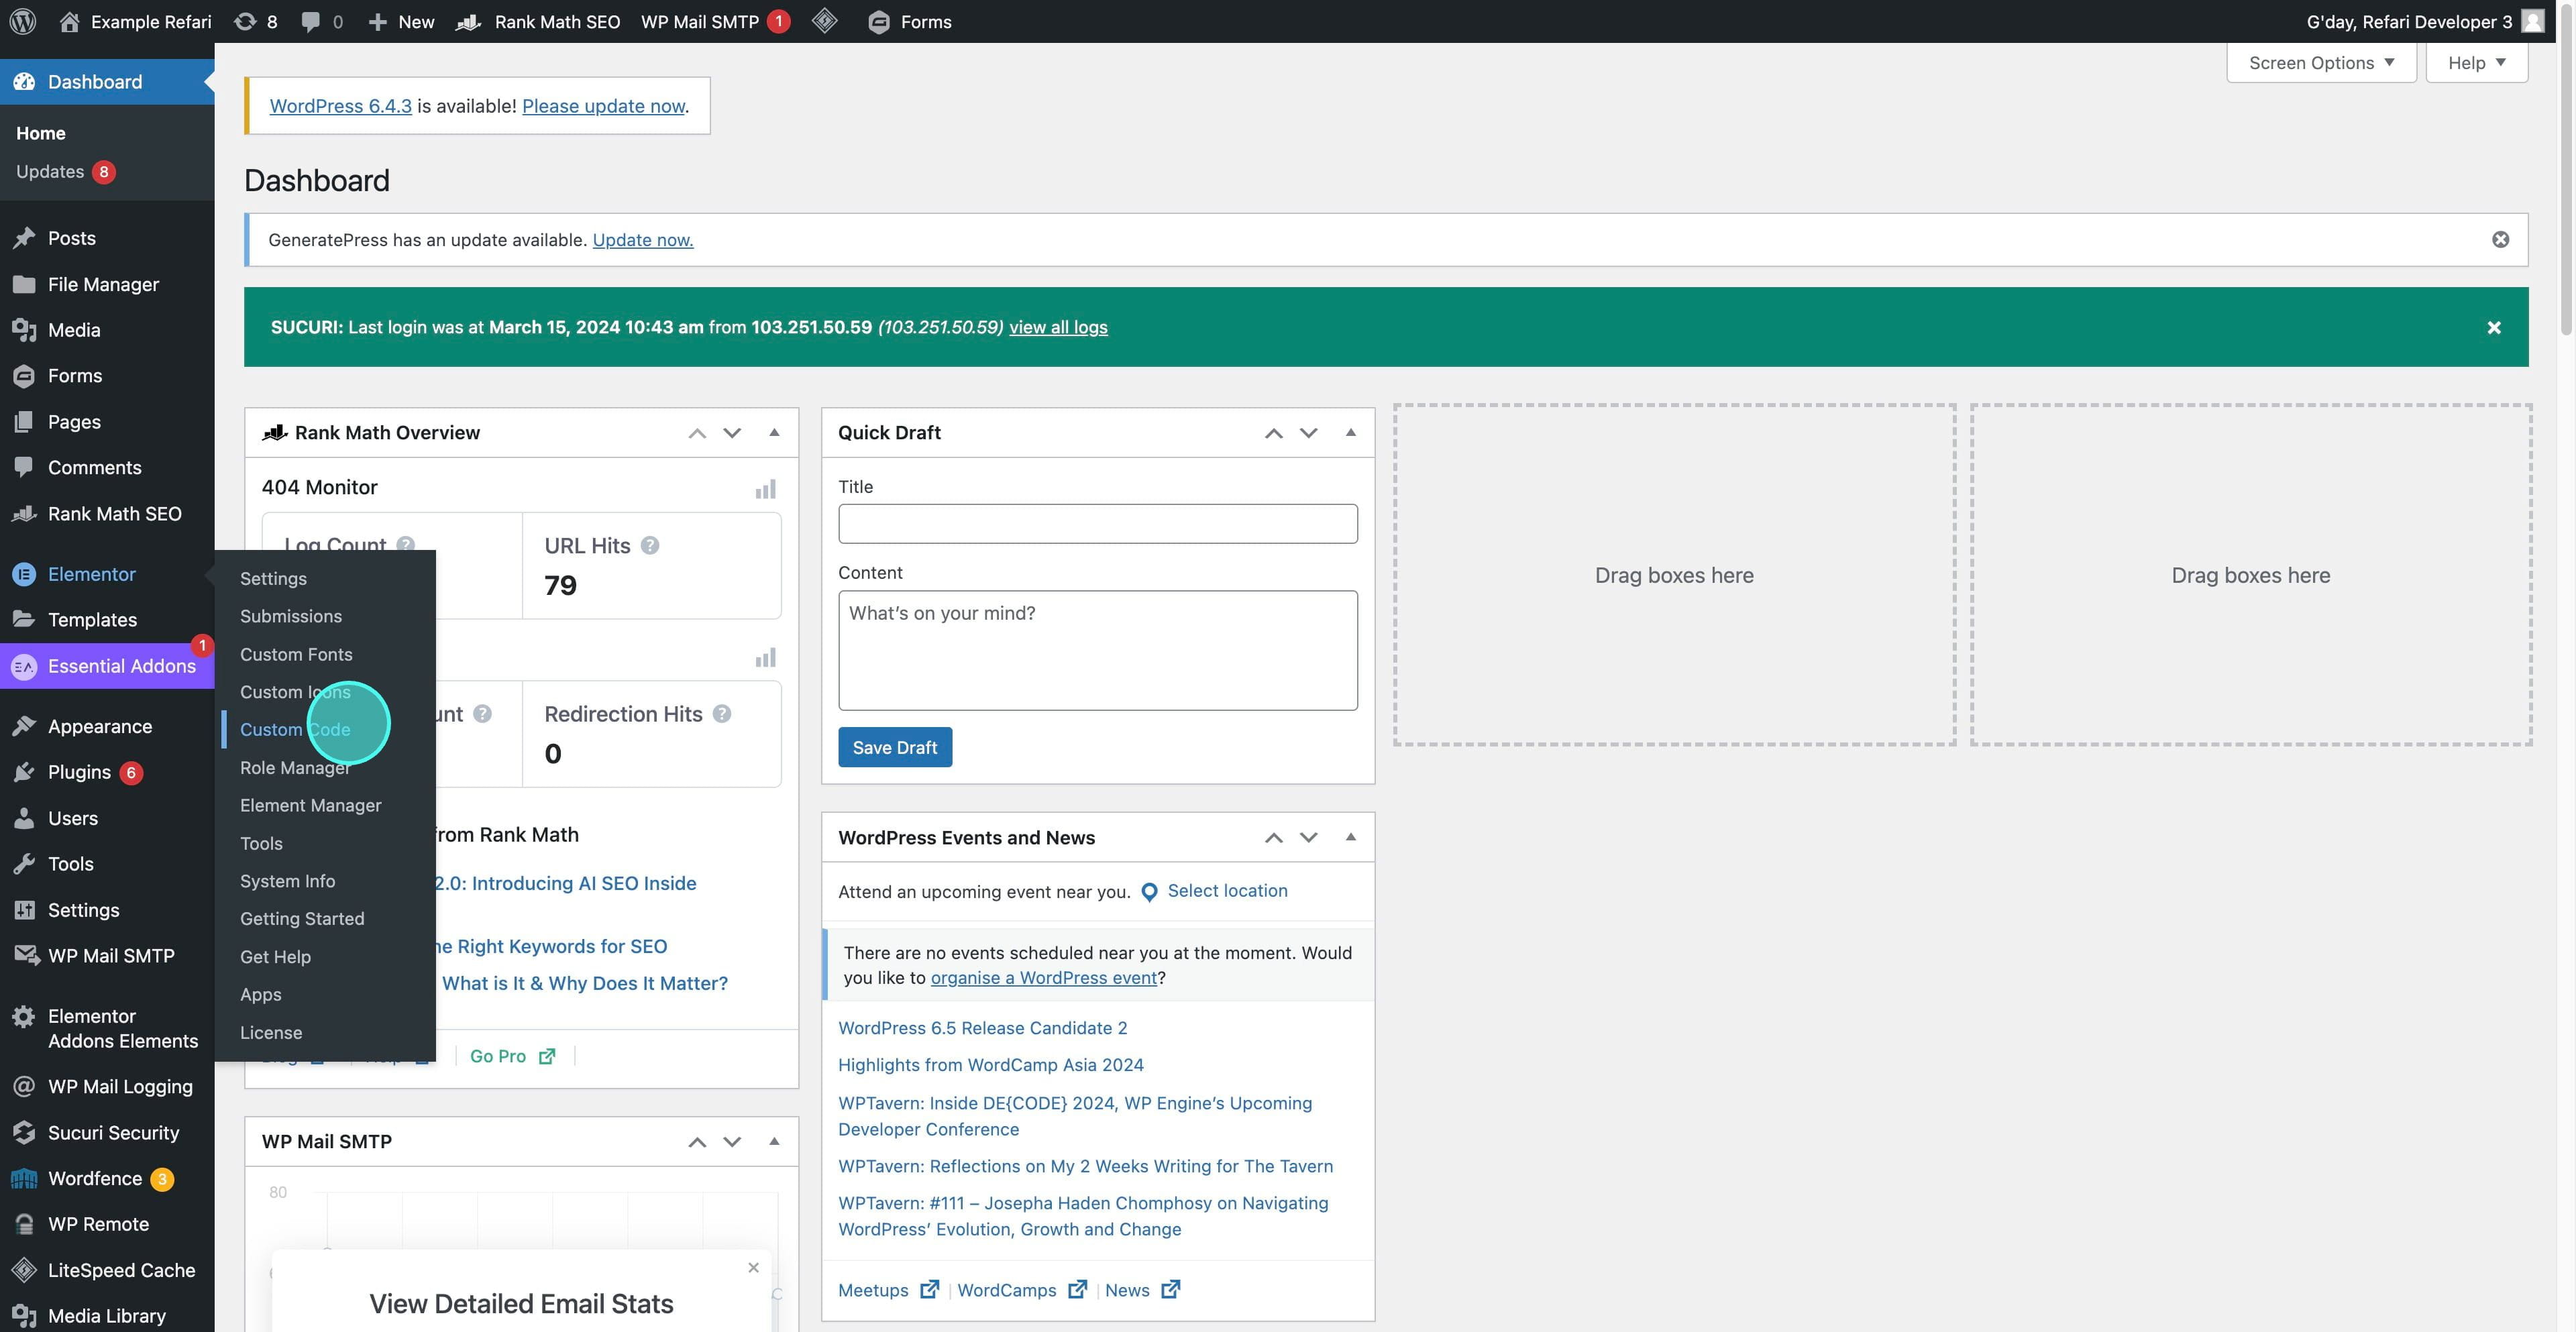
2. Access Elementor's Custom Code Feature
Since Elementor and Elementor Pro are already installed on all Refari websites, navigate directly to the "Custom Code" area within the Elementor settings. This feature is designed to let you add site-wide code effortlessly.
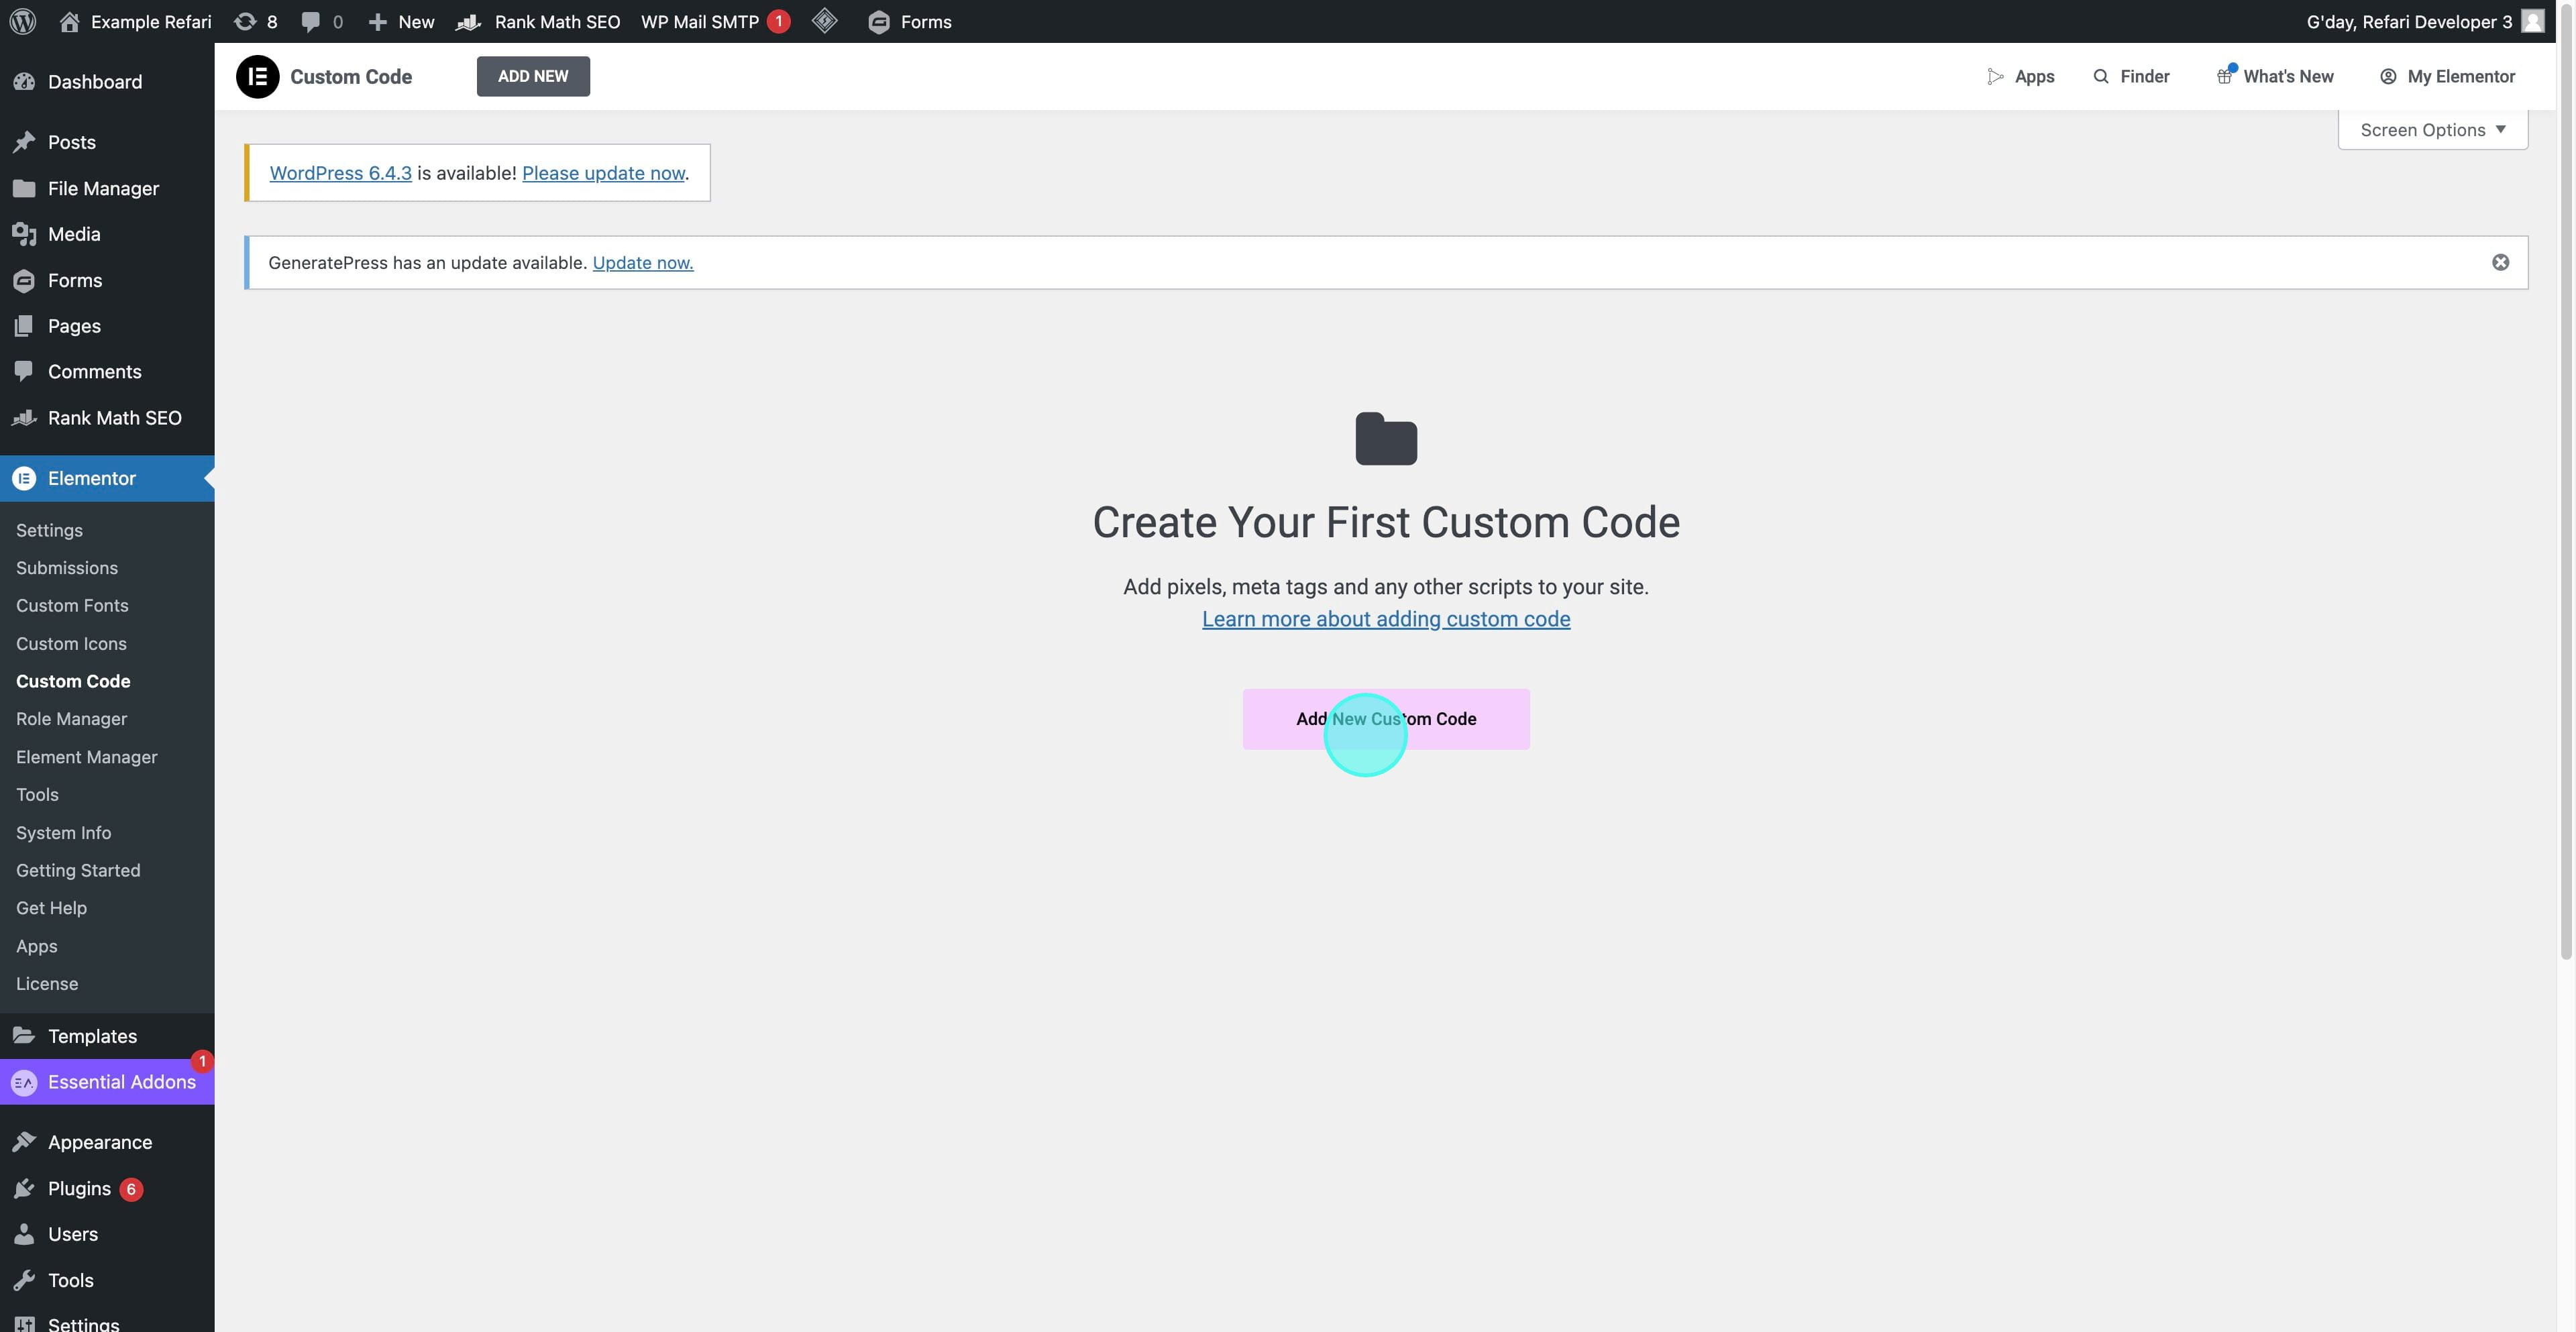
3. Create and Name Your Custom Code
Click to "Add New Custom Code." In this section, you'll input the Facebook Meta Pixel code name this new custom code entry something recognisable, like "Facebook Meta Pixel," to easily identify it for future reference.
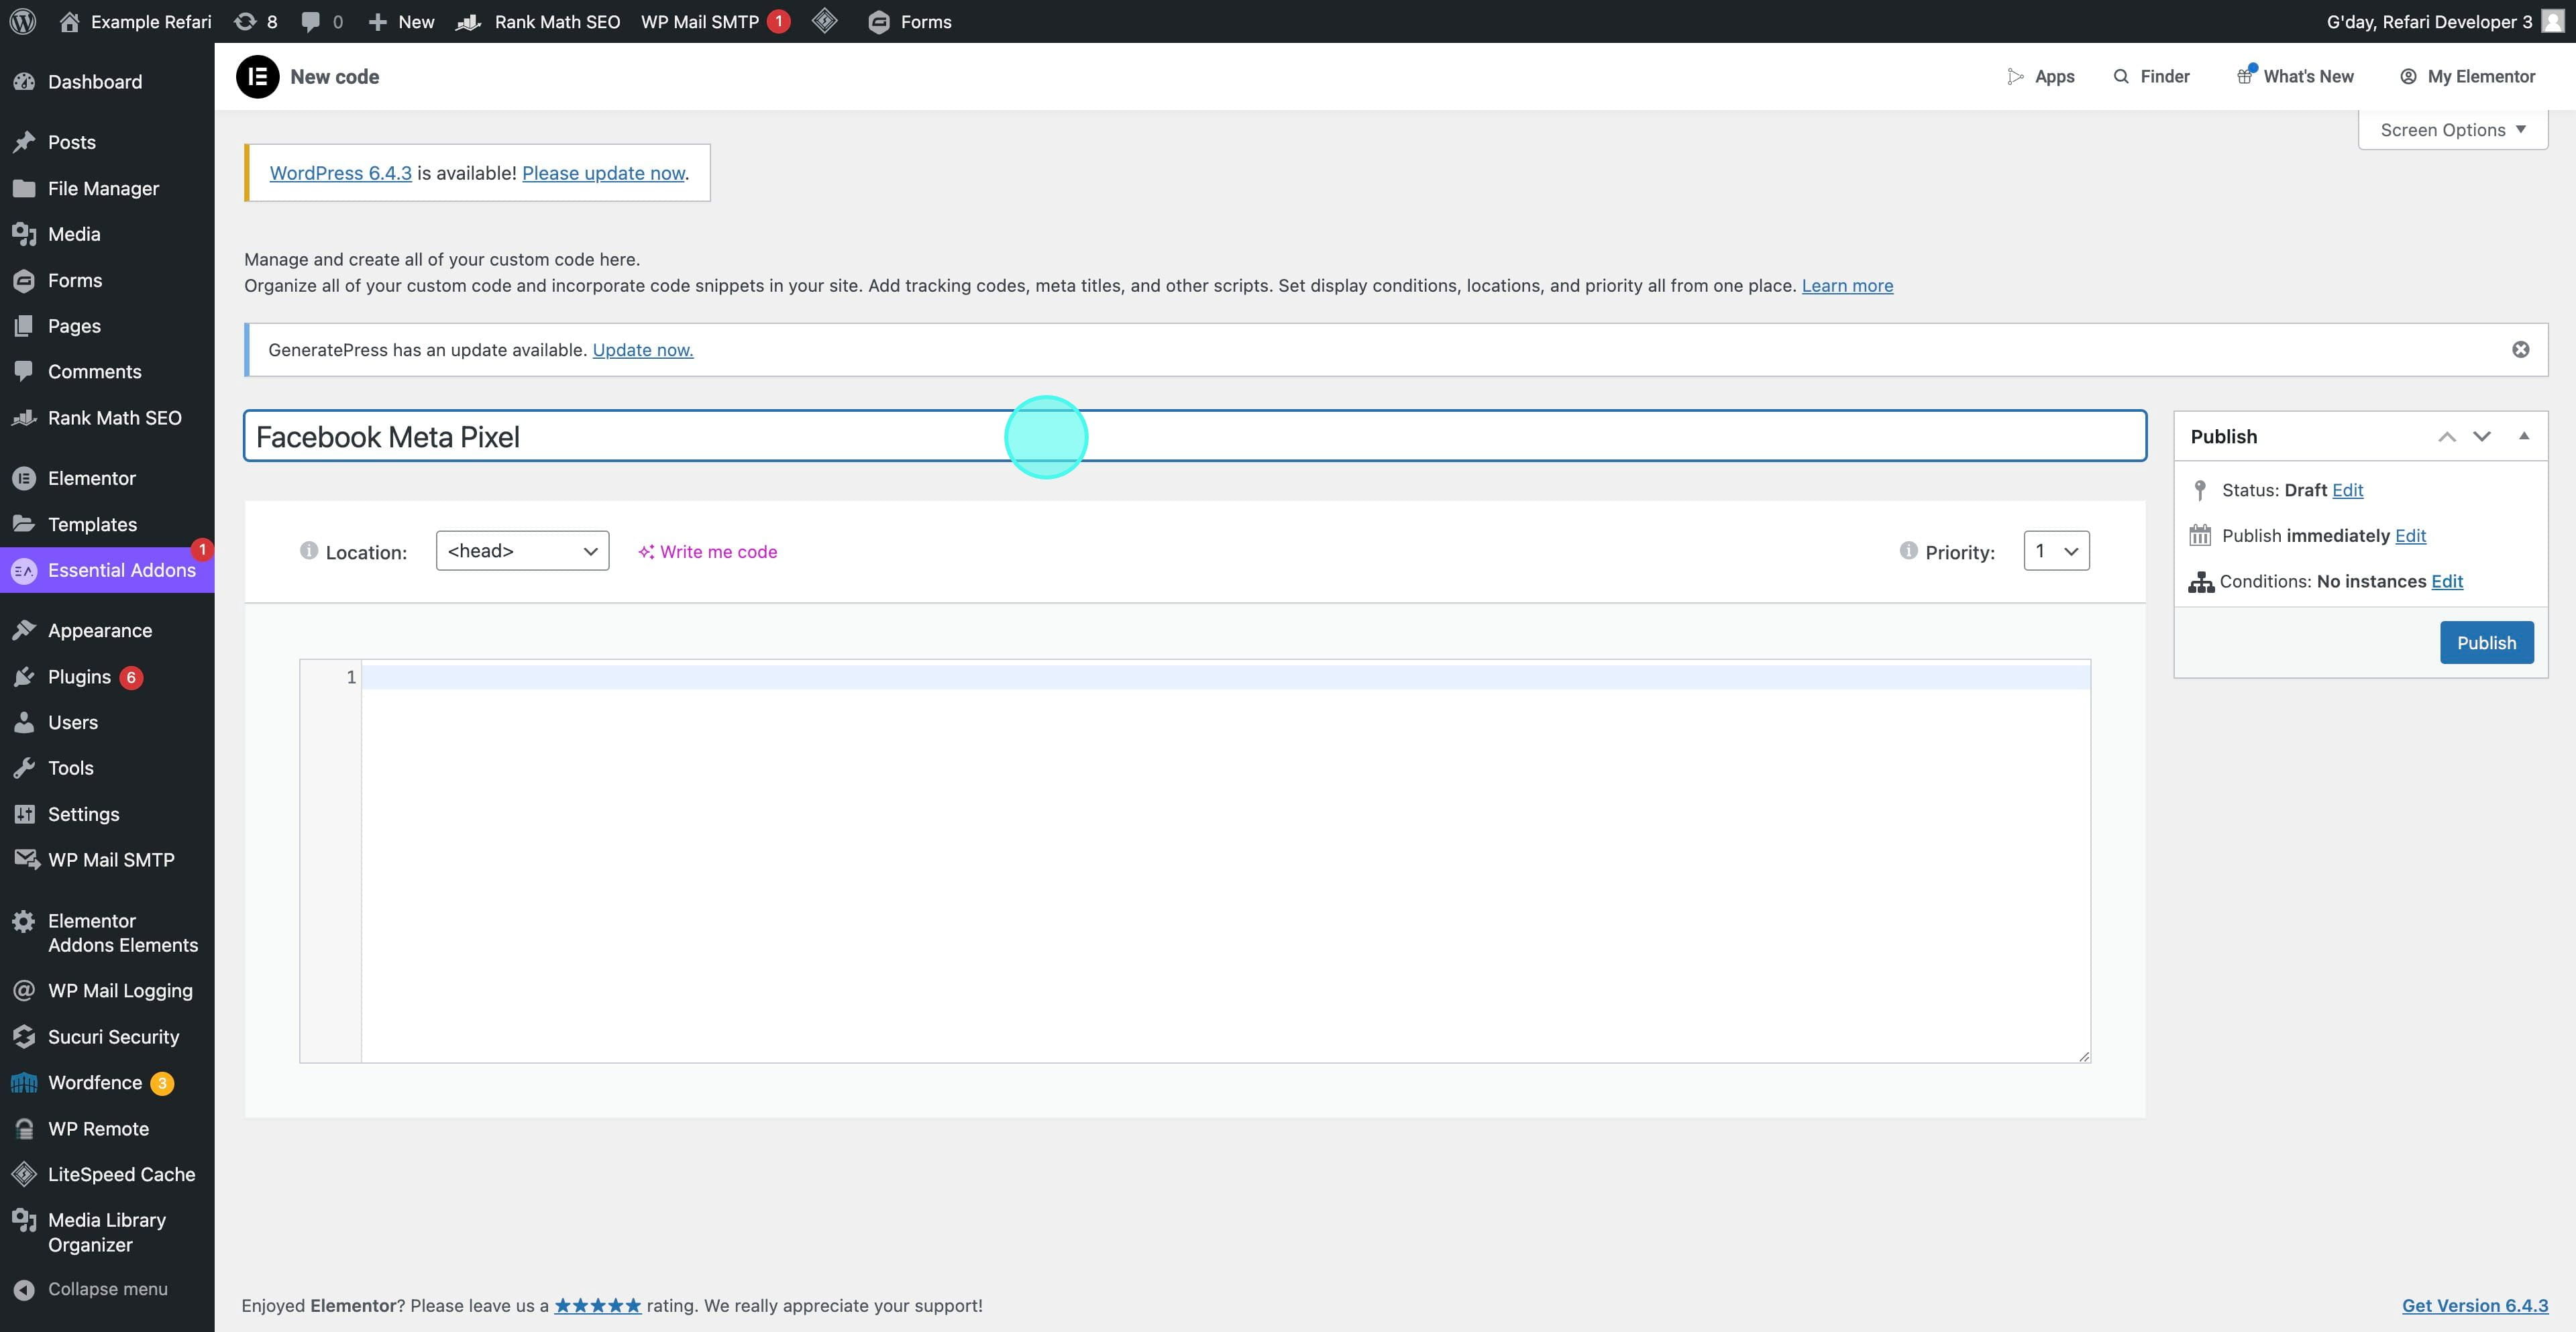
4. Insert Your Facebook Meta Pixel Code
Paste your Facebook Meta Pixel code into the provided field. This code is critical for tracking and should be copied in its entirety from the Facebook Ads Manager to ensure accurate data collection and analysis.
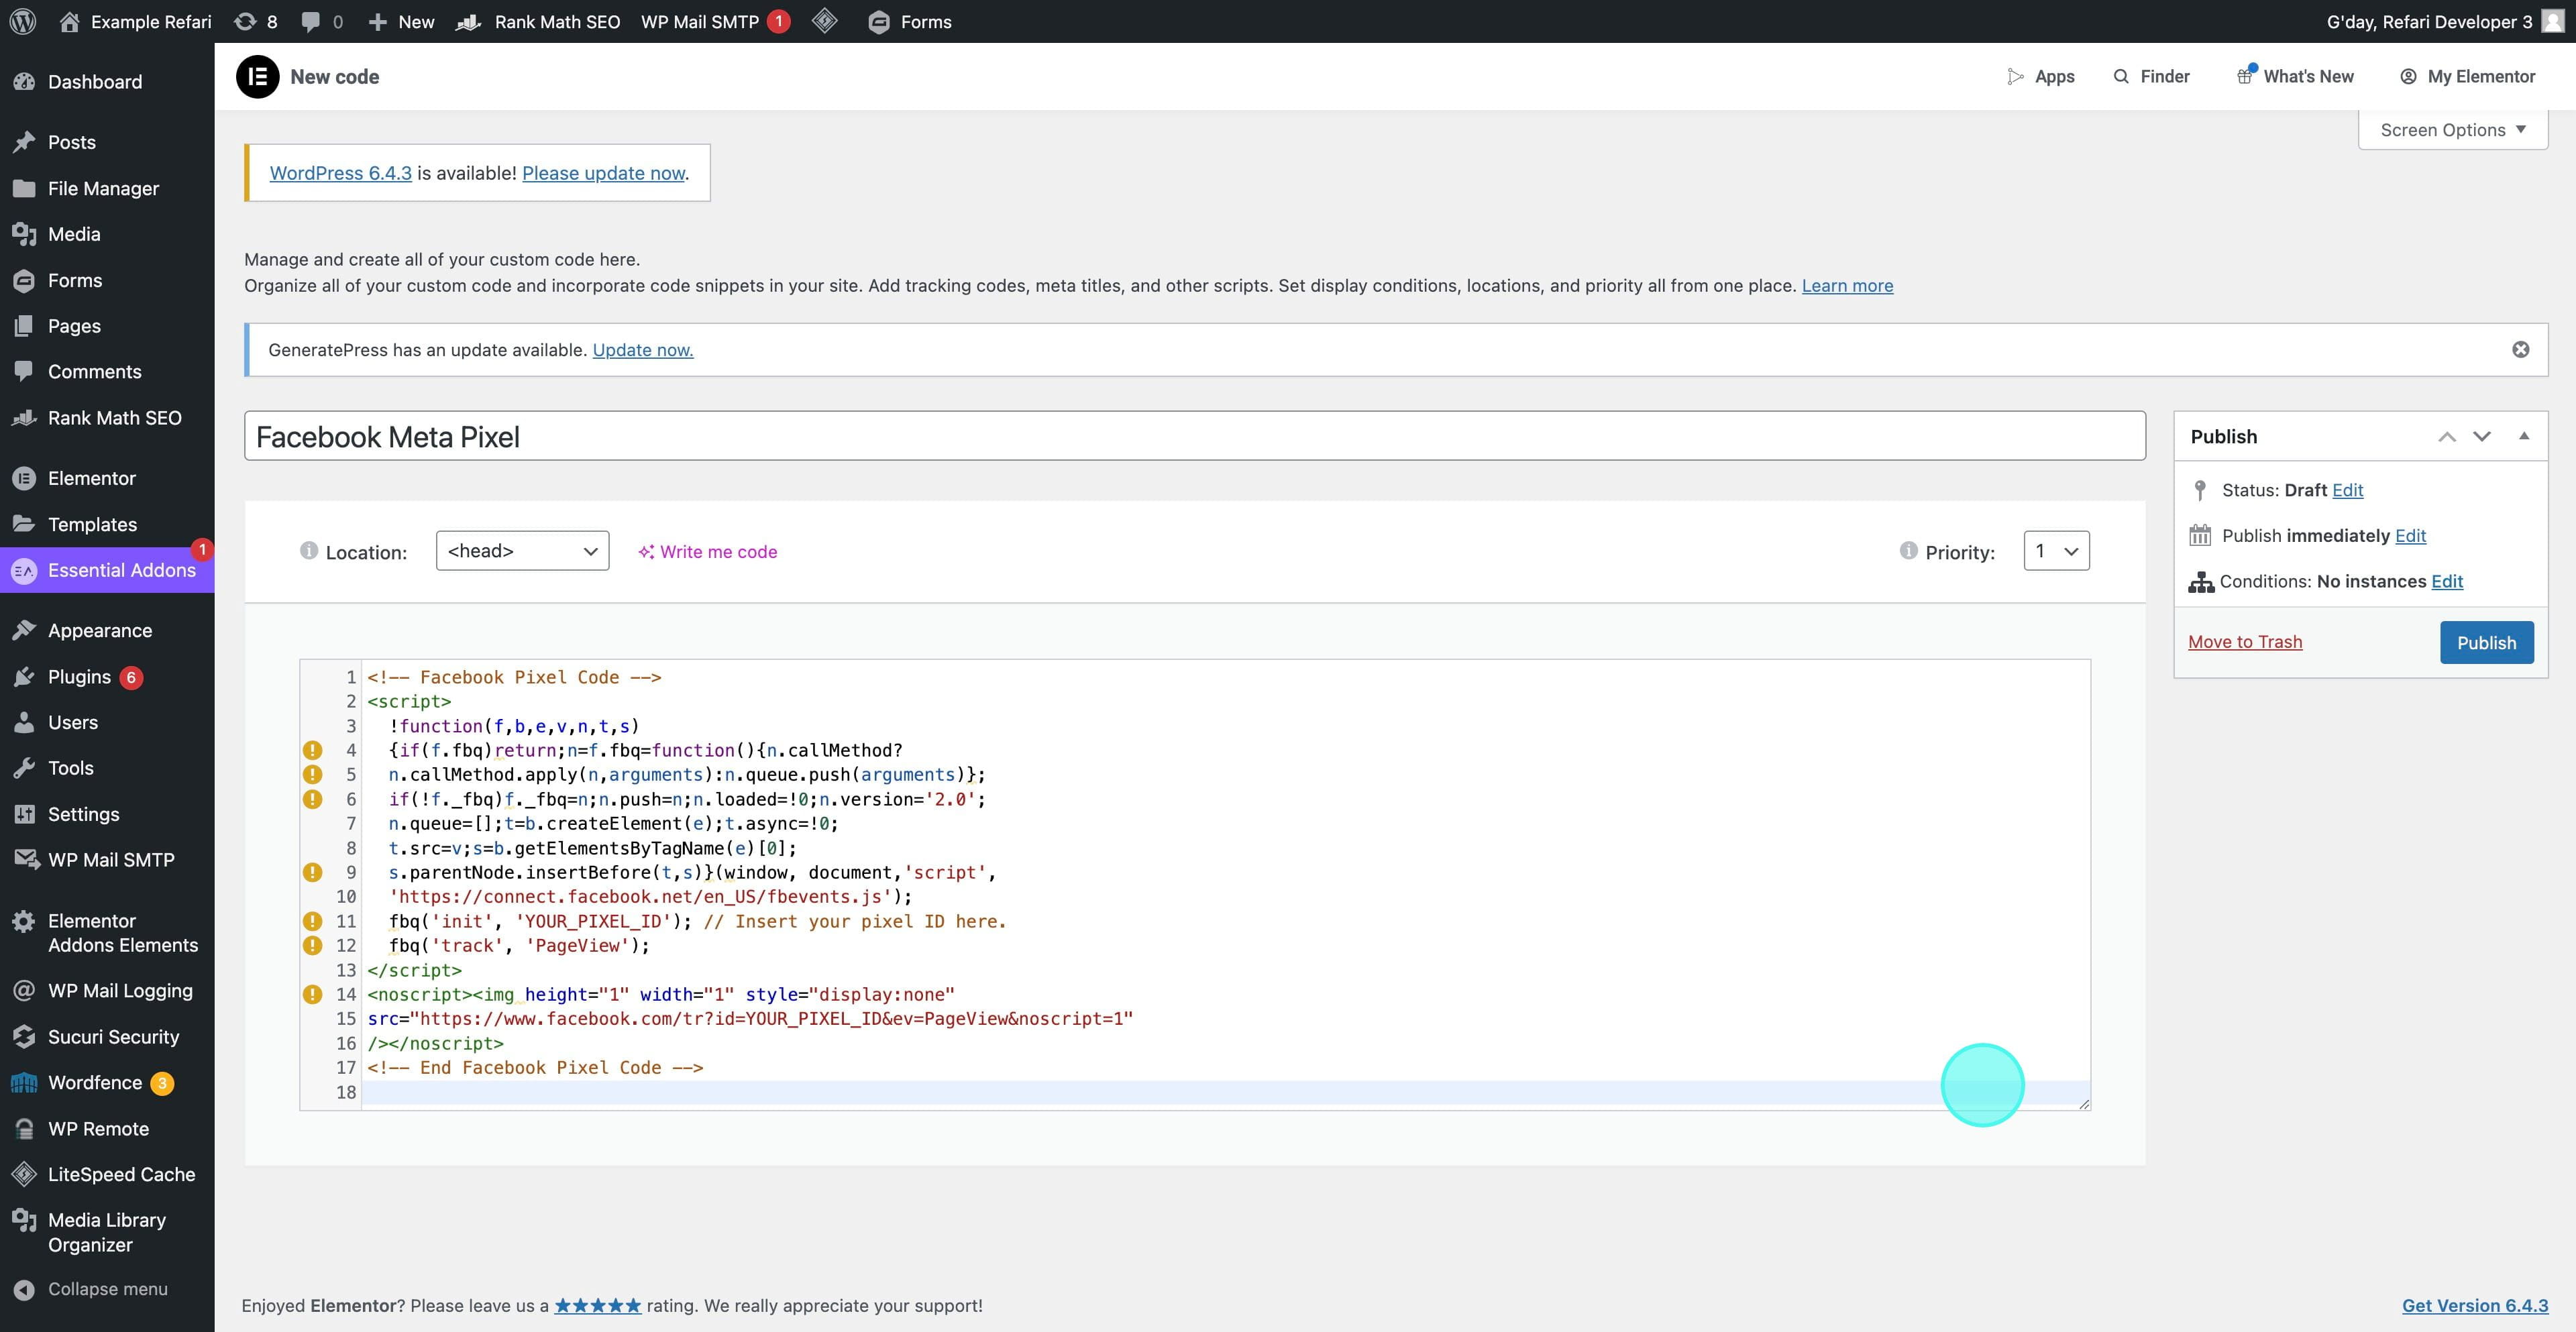
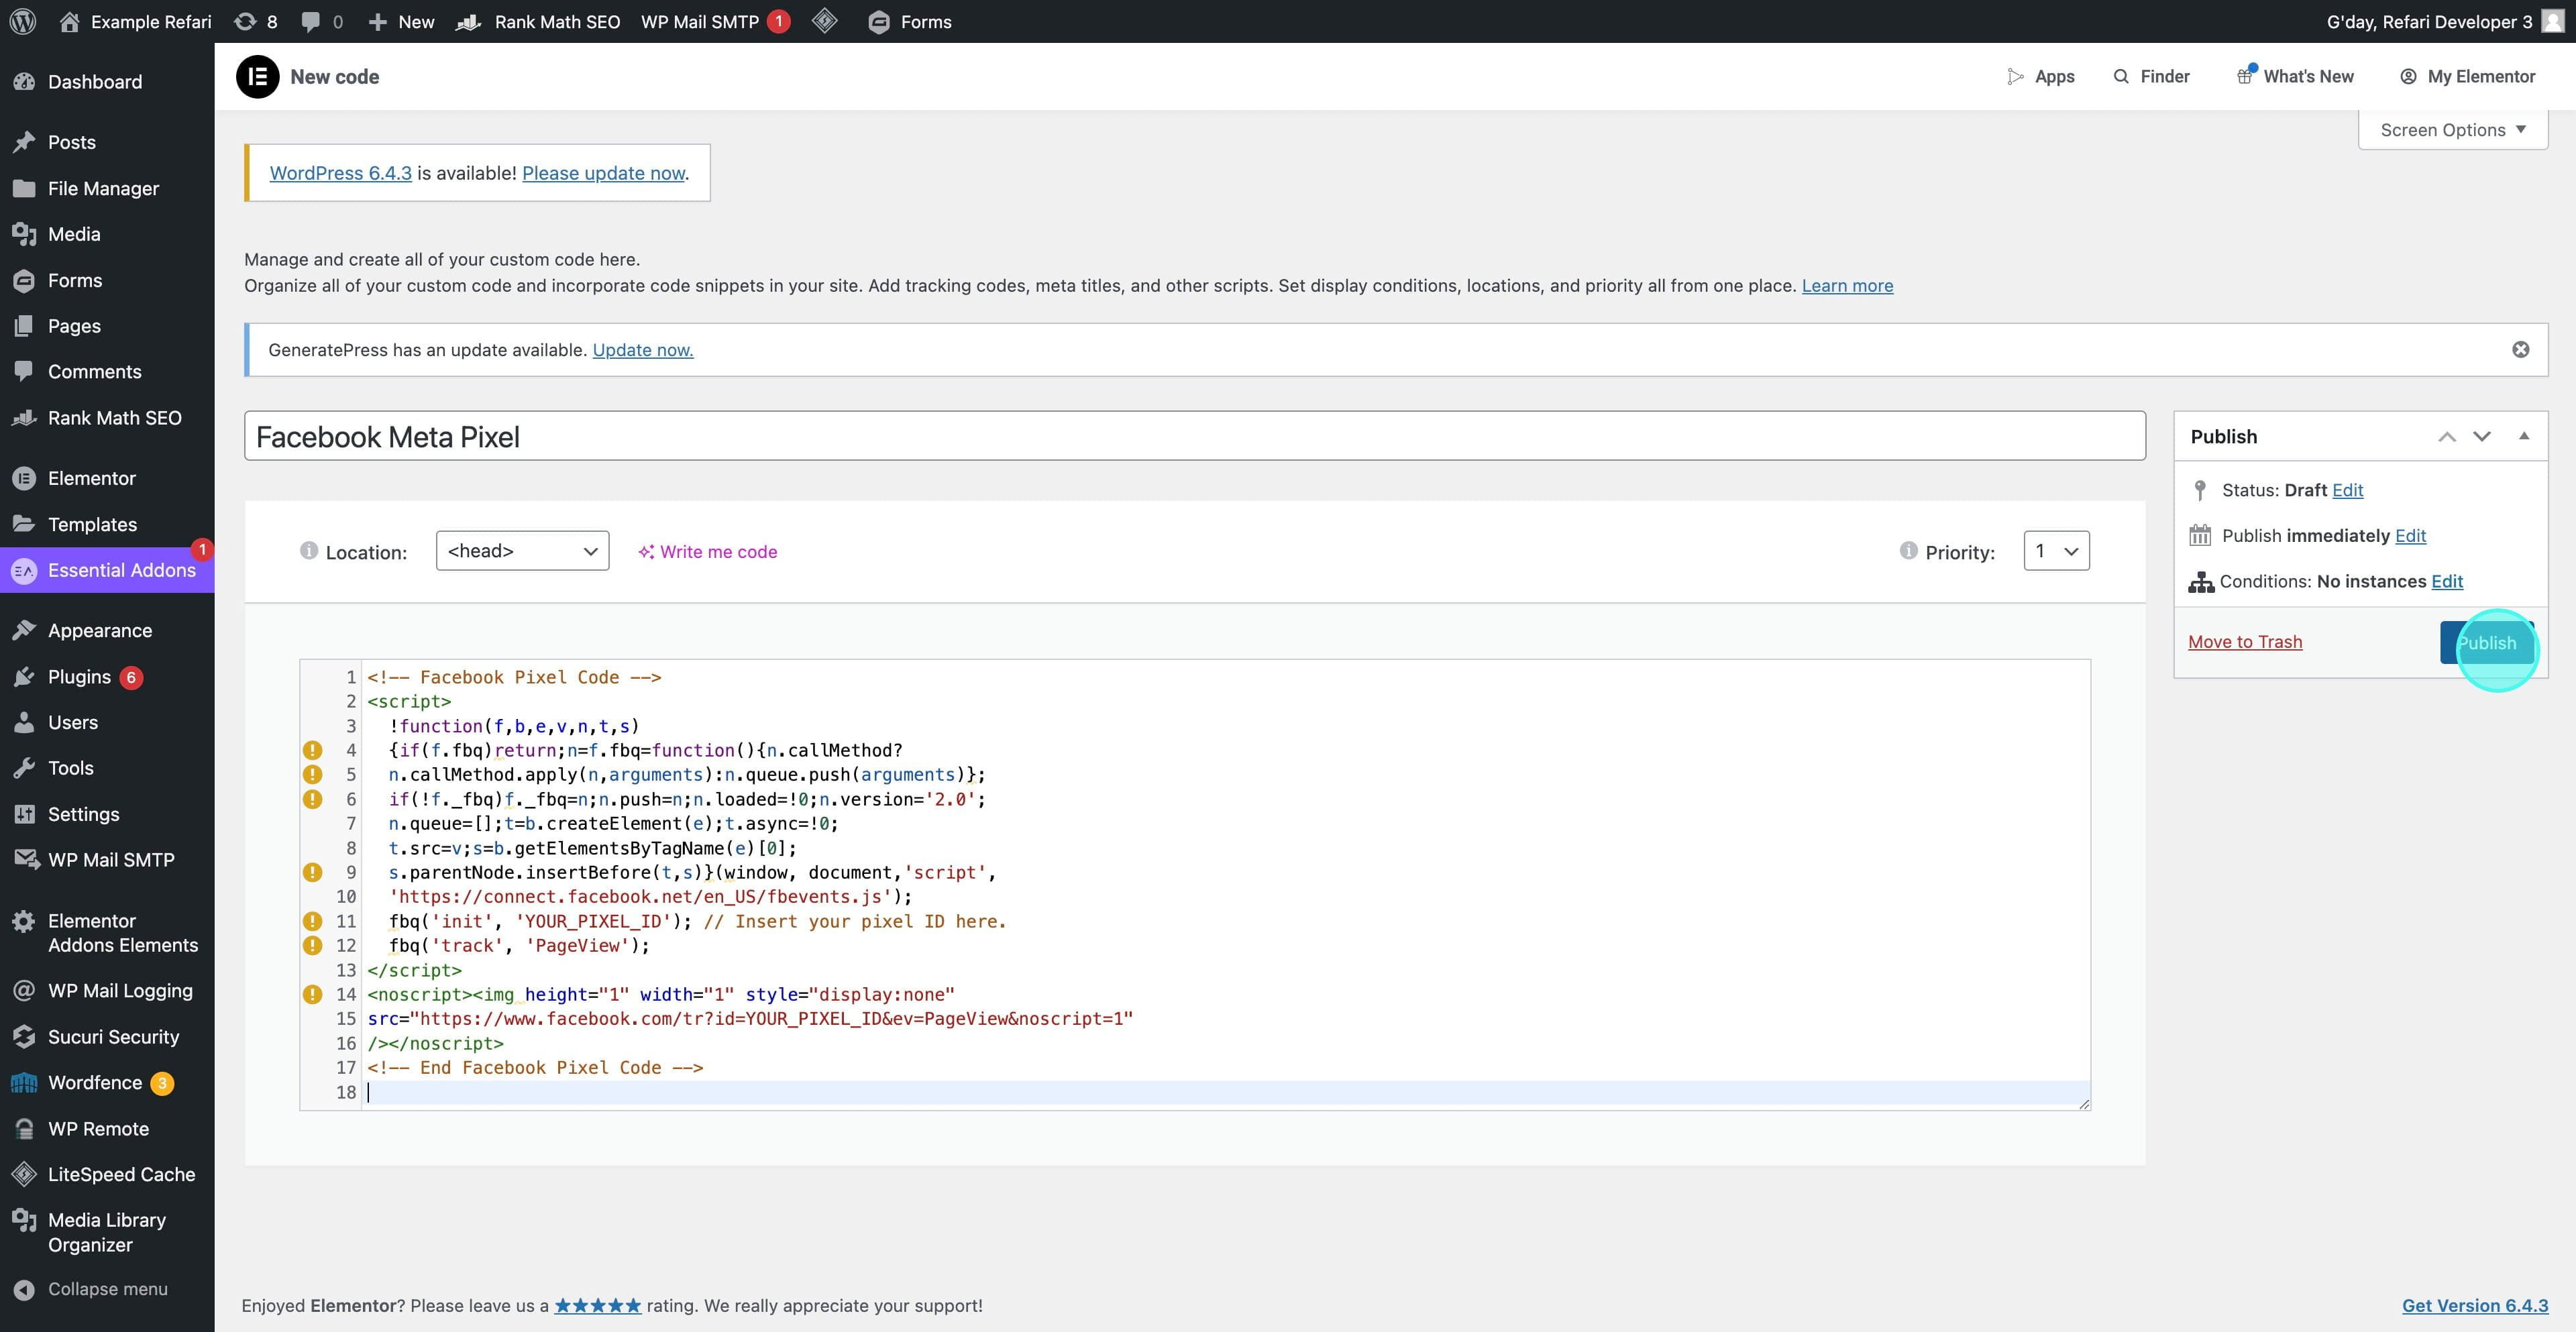
5. Publish and Activate Your Pixel
After pasting the Meta Pixel code, proceed to "Publish" it. You might need to specify where the script should run, but generally, it's set to operate across your entire site to ensure comprehensive tracking.
Optimising Your Integration
Clearing Your Cache
Post-implementation, clearing your site's cache is advisable to ensure the Meta Pixel starts tracking immediately, reflecting the changes you've made without delay.
Verifying Pixel Activity
Utilize the Facebook Pixel Helper, available as a Chrome extension, to confirm the successful activation of your Meta Pixel. This tool is beneficial for troubleshooting and ensuring your Pixel is operational.
For Refari's clients, adding the Facebook Meta Pixel to your site via Elementor simplifies the process of leveraging powerful analytics and optimisation capabilities. By integrating this tool, you're equipped to gain deeper insights into visitor behaviors, refine your marketing strategies, and ultimately, enhance the effectiveness of your digital advertising efforts. Following the steps outlined in this guide ensures a smooth integration process, setting the stage for improved marketing performance and audience engagement on your Refari-managed WordPress site.
Was this article helpful?
That’s Great!
Thank you for your feedback
Sorry! We couldn't be helpful
Thank you for your feedback
Feedback sent
We appreciate your effort and will try to fix the article